How to Get Disney Princess Skin
I've been playing around with the "buffing technique" for a little over a year, and I can't believe how cool this trick is...you'll see the proof at the end. It makes me feel like a Disney Princess, and I hope you'll give buffing a try. P.S. If you could see me right now, I'm doing my happy dance, which kind of looks like this:
I'm so thrilled because I've spent hours upon hours of my life sifting through YouTube footage and blog posts about buffing, then trying out different combinations of all that info, so I can definitively state that layering proudcts in a certain way, then buffing them all together, makes your skin look insanely beautiful. Stick with me - this post is a long one - but I'm taking off next week to celebrate Thanksgiving so think of it as a two-for-one special!
Step 1: Skin Prep
There's a lot going on with this look, so it's imperative that your skin is ready. I make sure to follow my normal morning skincare routine: cleanse, exfoliate, tone, apply serum/eye cream/moisturizer. If I have time, I also like to do a peel or mask after the exfoliation step.
Once I'm ready to start with the makeup, I use a thin concealer on my lids and dust on a light layer of translucent powder. I then mix a primer with an illuminator, and smooth the concoction all over my face and neck.
Step 2: Eyes
Do whatever your heart desires here - I would suggest, at a bare minimum, curled lashes with two coats of mascara.
Here is an easy smokey eye and an over-the-top gilded eye to try.
Step 3: Skin
Now we're getting to the good stuff. Here is the inspiration...
...but I had to take it in another direction. It's like a recipe - I always follow the instructions the first time, but then I start tweaking it to fit my needs. This method requires layers upon layers of makeup that no one really has time to apply (this video, by far, shows the least - many I've seen do a primer, thick foundation, cream contour, highlight and illuminator, concealer, powder, powder contour, powder blush, bronzer and illuminator, and a shovel to remove it all later), so here's my version - which you'll see in action on Friday:
Primer * Concealer * Foundation * Setting Spray * Loose Powder * Powder Contour/Blush/Bronzer/Illuminator * Buff with Pressed Powder * Setting Spray
I realize that still seems like a lot of makeup, but there are a couple of things to keep in mind. First, the addition of the loose powder (this is amazing) keeps you from buffing off your foundation. Second, make sure to add foundation on areas NOT covered by concealer so there is only one layer of product (even though there are two products).
Step 4: Brows and Lips
Fill in your brows, add your favorite lippie and you're done! I'm not wearing any lipstick in the photos below because I got so excited about the skin that I just hauled off and started snapping. Please forgive me.
*Can't-Miss Tips*
*Sheer down the foundation by adding some moisturizer, primer or illuminator (unless you want full coverage) to keep it light
*When it comes to the powder blush/bronzer/contour part, you don't have to do all three. I would suggest picking at least blush or bronzer so the face has dimension - and if you do contour, I would also blend that out with some blush and/or bronzer
*Make sure setting spray dries before adding loose powder. This is still my favorite.
*This one is important! When applying the loose powder, you need to use a powder puff or sponge to press and roll the powder into the skin. Don't be afraid of it! You'll knock off the excess when buffing
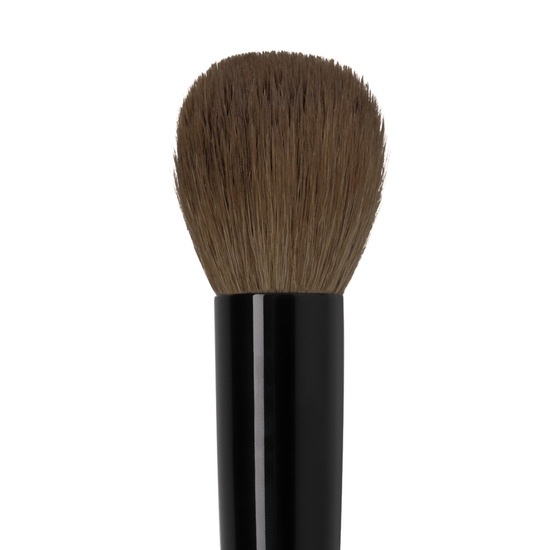
*The buffing brush doesn't have to be special, but it should be soft with a flat-ish top. A great steal is from Real Techniques - only $9! For a luxury option, you can't beat Wayne Goss's #13 for $53.
The Three Things That Make This Awesome
Out of all the versions of the buffing technique I tired, these are the three constants, the three things you must do in order for this to work:
- Make sure your concealer and foundation do not overlap
- Press the loose powder over the entire face
- Don't be scared to buff for a while, making sure to use the smallest amount of pressed powder on the brush
The Proof
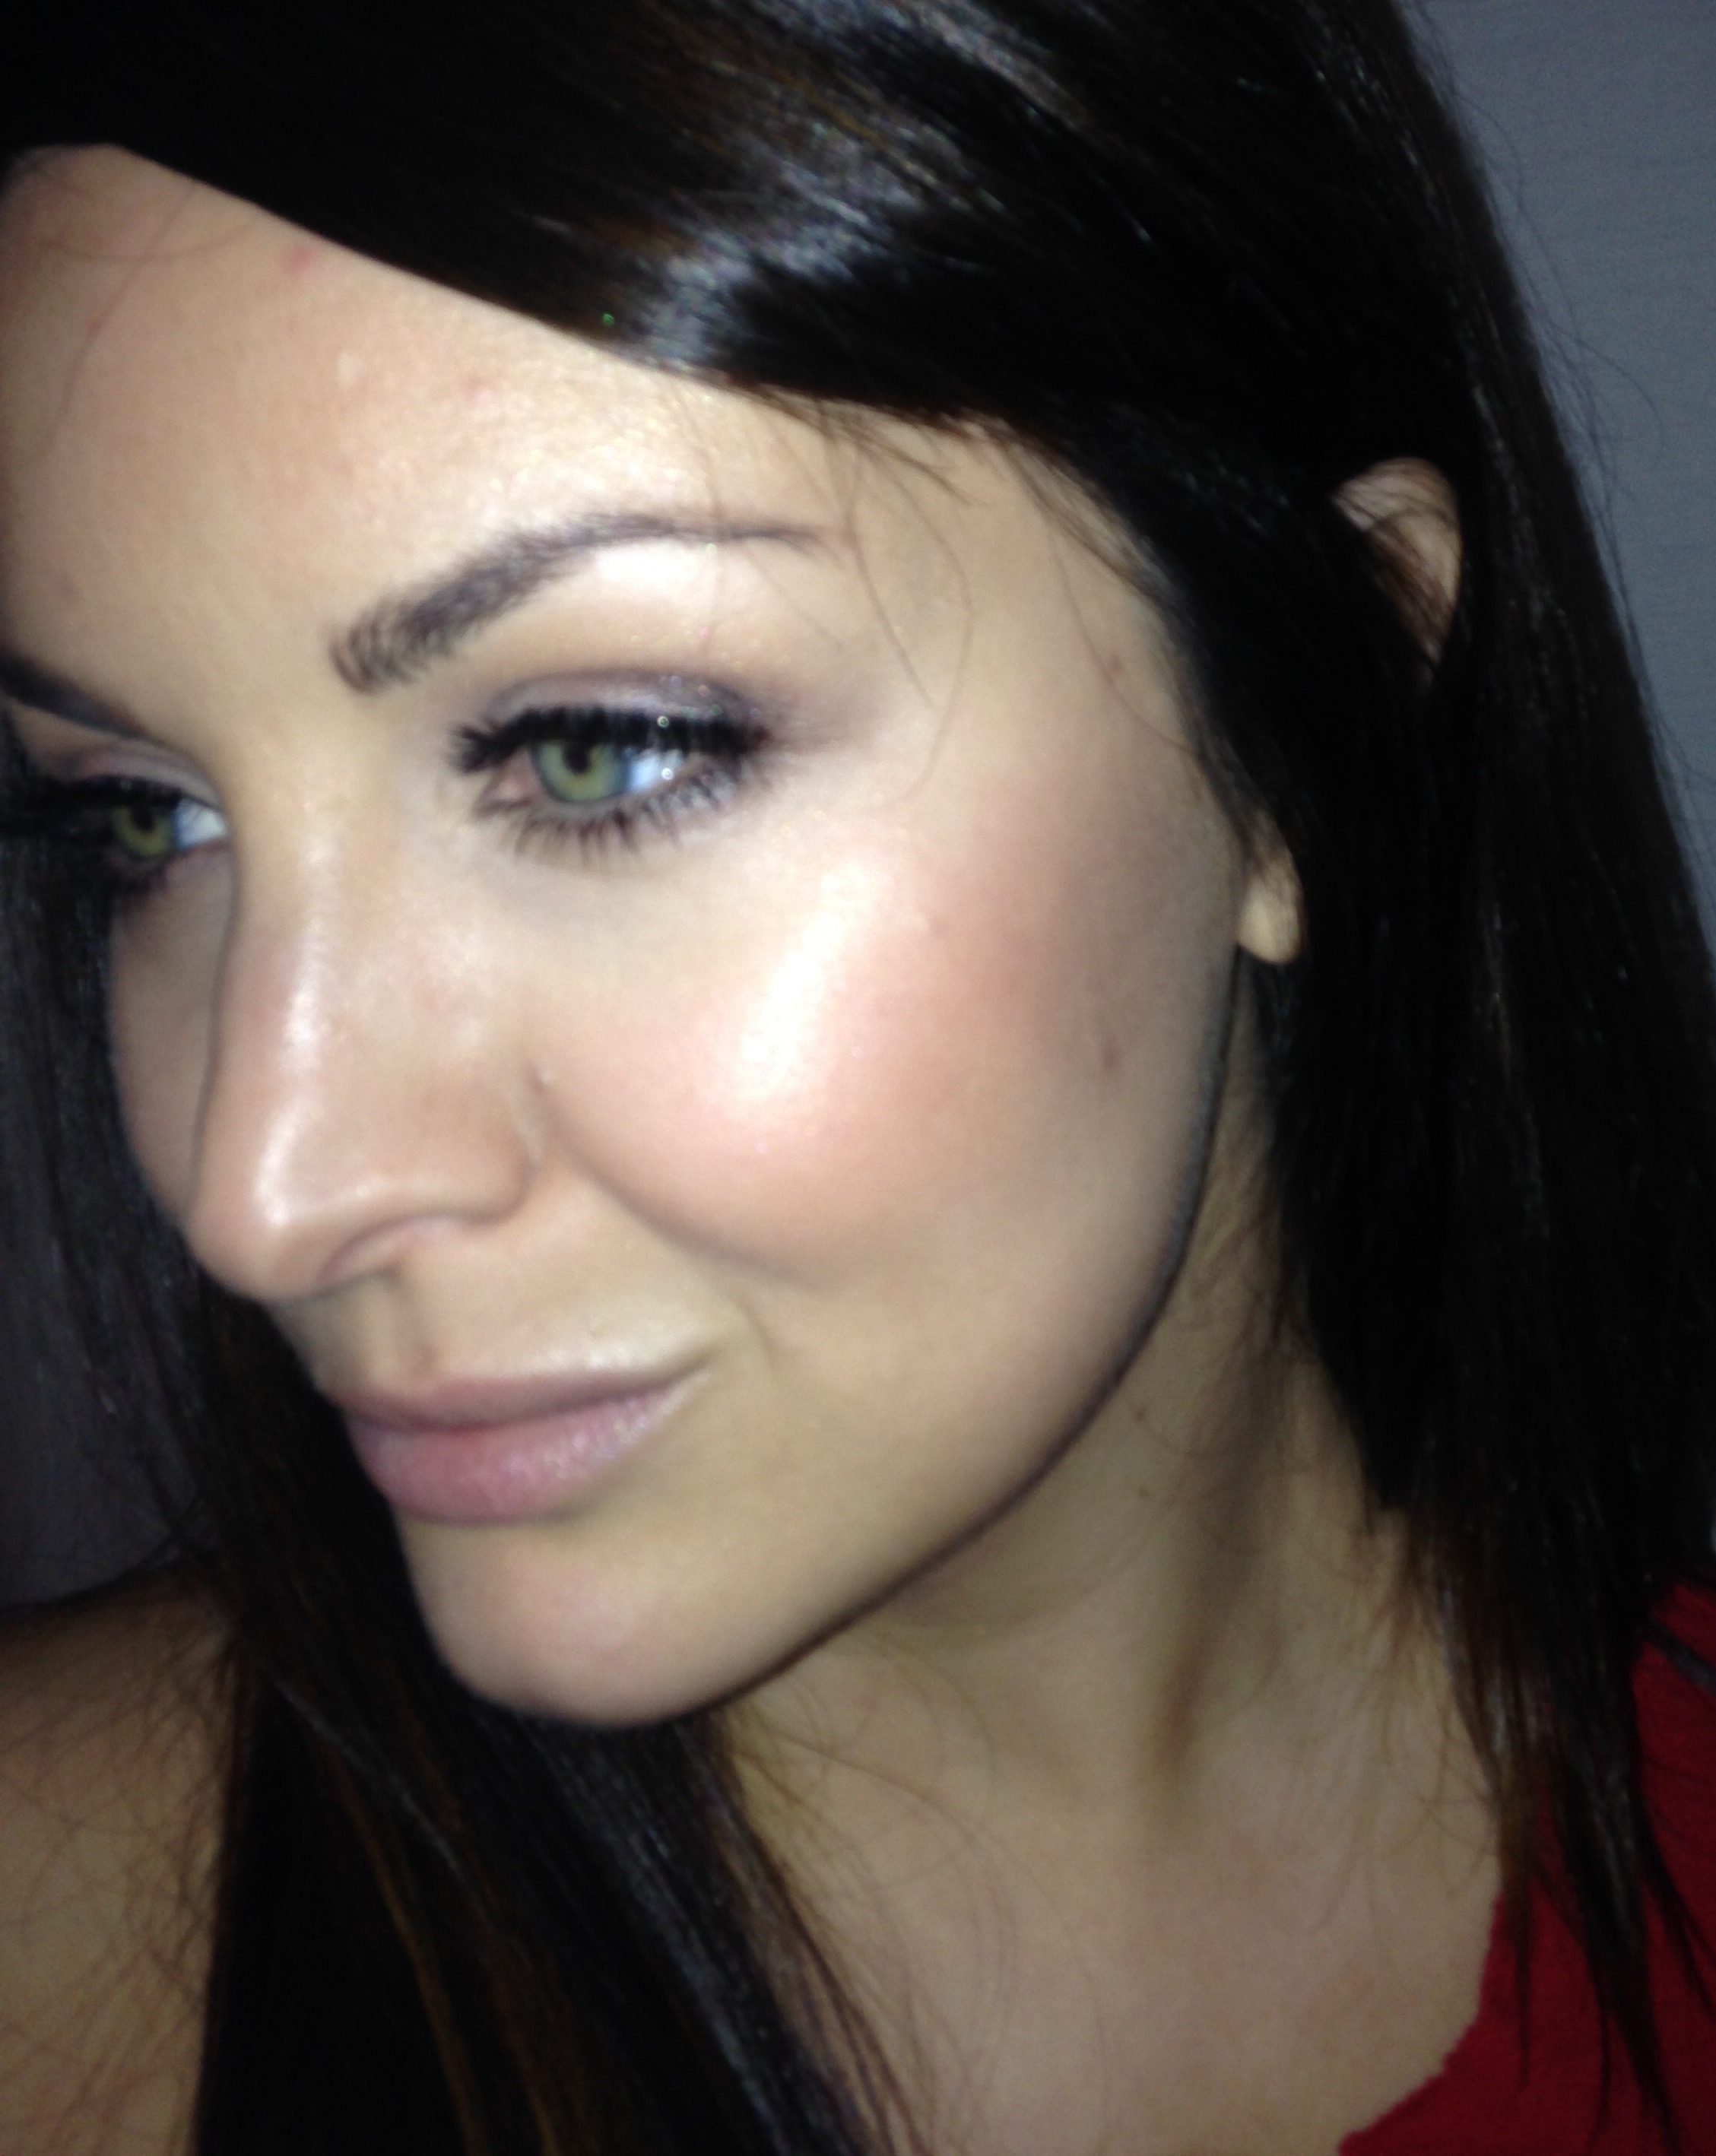
These are un-retouched, unedited iPhone photos in a dark room with a flash - a.k.a. the worst light possible.
RIGHT?! You can still my skin - I intetionally did not cover sunspots/freckles/pimples to show that even with all of those "layers," the buffing action beautifully blends everything together and makes the makeup look like it's your skin (if your skin were made of glass).
~~~~~~~~
I feel like I need a nap after all of that. I really do hope you'll give this a try, and don't forget to follow @ElectraLane on Facebook and Instagram so you don't miss the Friday Flash of this look (a sped-up demo). As always, thanks for stopping by, and please subscibe to this blog! As I mentioned, I'm taking next weekend off for Thanksgiving, so I hope you enjoy your week.
Images: Author, Ulta.com, Beautylish.com, Google Images


