Let's Do This

How I Do Glam

glamdate.jpg

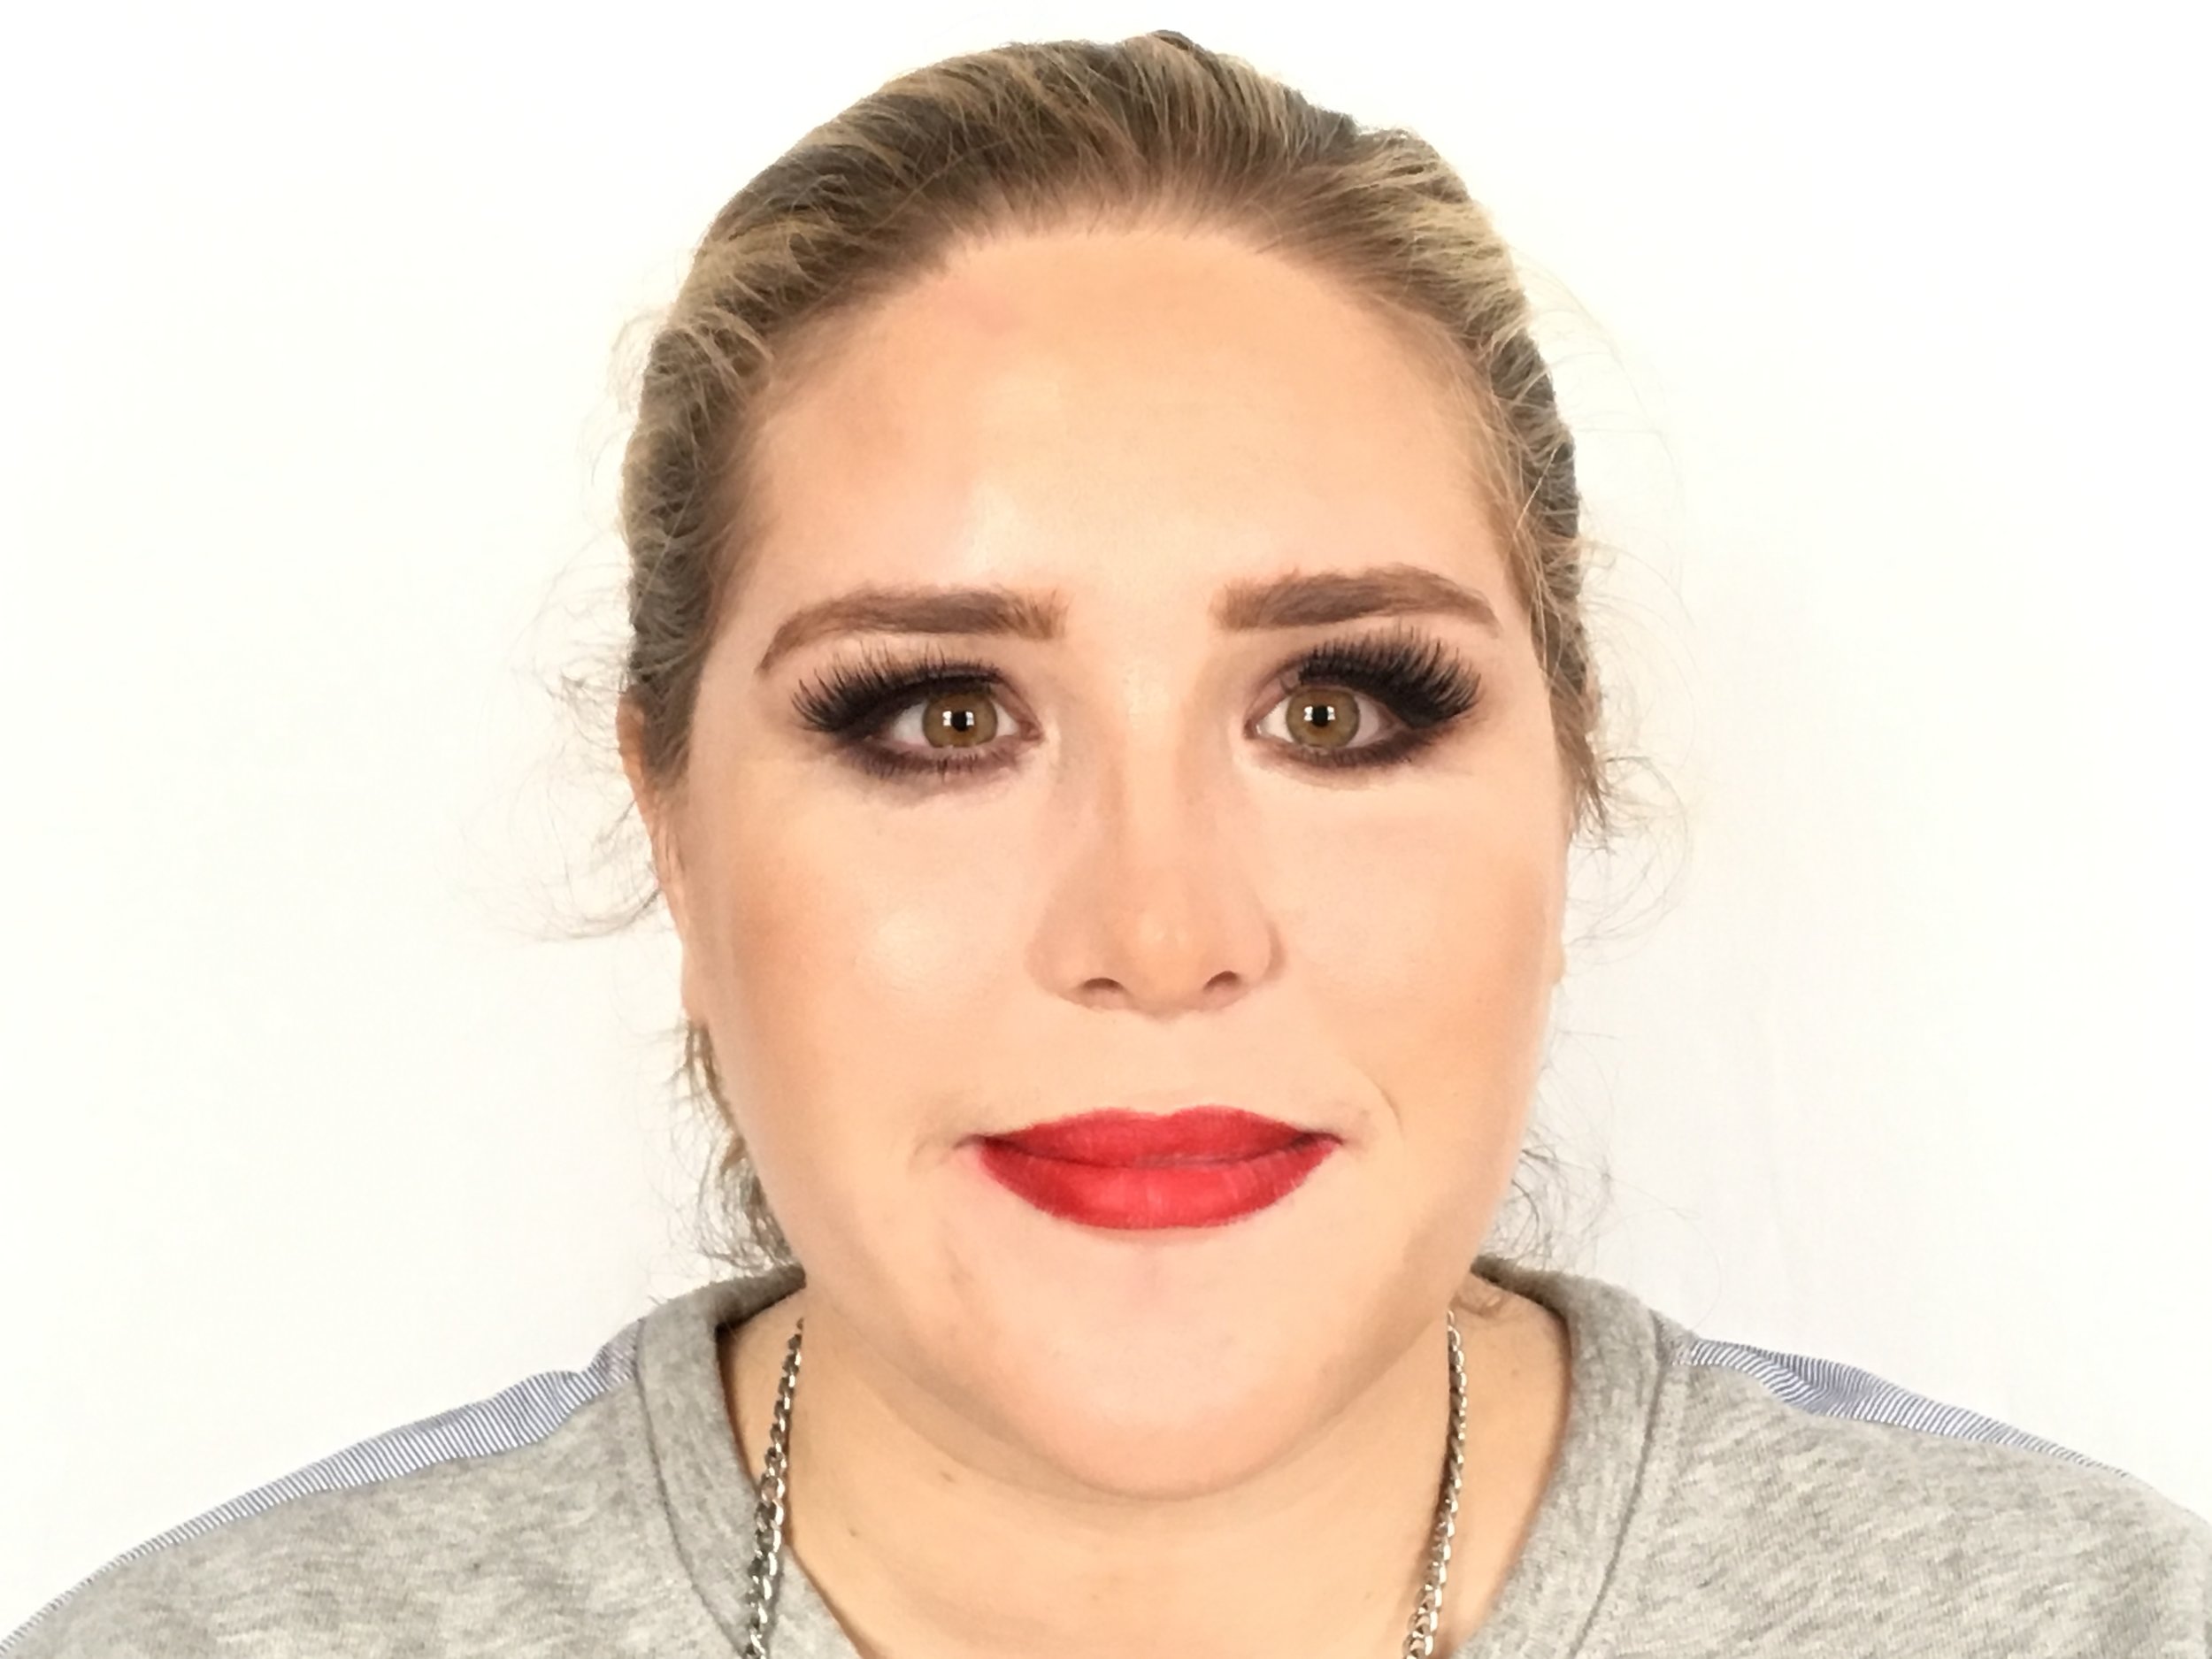
There are levels of makeup. There's the five-minute I'm-Lucky-To-Get-There-On-Time, every day makeup. Then there's fancy night out/wedding guest/celebration makeup when you want to step it up. Finally, there's special occasion makeup when you usually call on a pro (Like me - Email Jessica@ElectraLane if you're in the DC area or need a lesson via Skype). Since I mostly focus on skincare and basic makeup, I'm going to show you the second type - for when bottles are poppin', selfies are taken, and you want to look GOOD. The good news is you can make a big impact with a few simple changes like swapping foundation for your daily tinted moisturizer and adding some highlight to your face's high points. But there are some other tricks involved, and I'll explain a few now.

Quick disclaimer - this makeup is what works for me, for my skin type, my bone structure, and so on. If you do something I suggest and it doesn't work for you, please DO NOT get frustrated! Hit me up on Instagram (@ElectraLane) and ask a question. Or, better yet (another shameless plug), set up a 30-minute chat session to ask all of your burning makeup questions.

Ok - y'all ready to get glam?

Step 1 - SKIN (part 1)

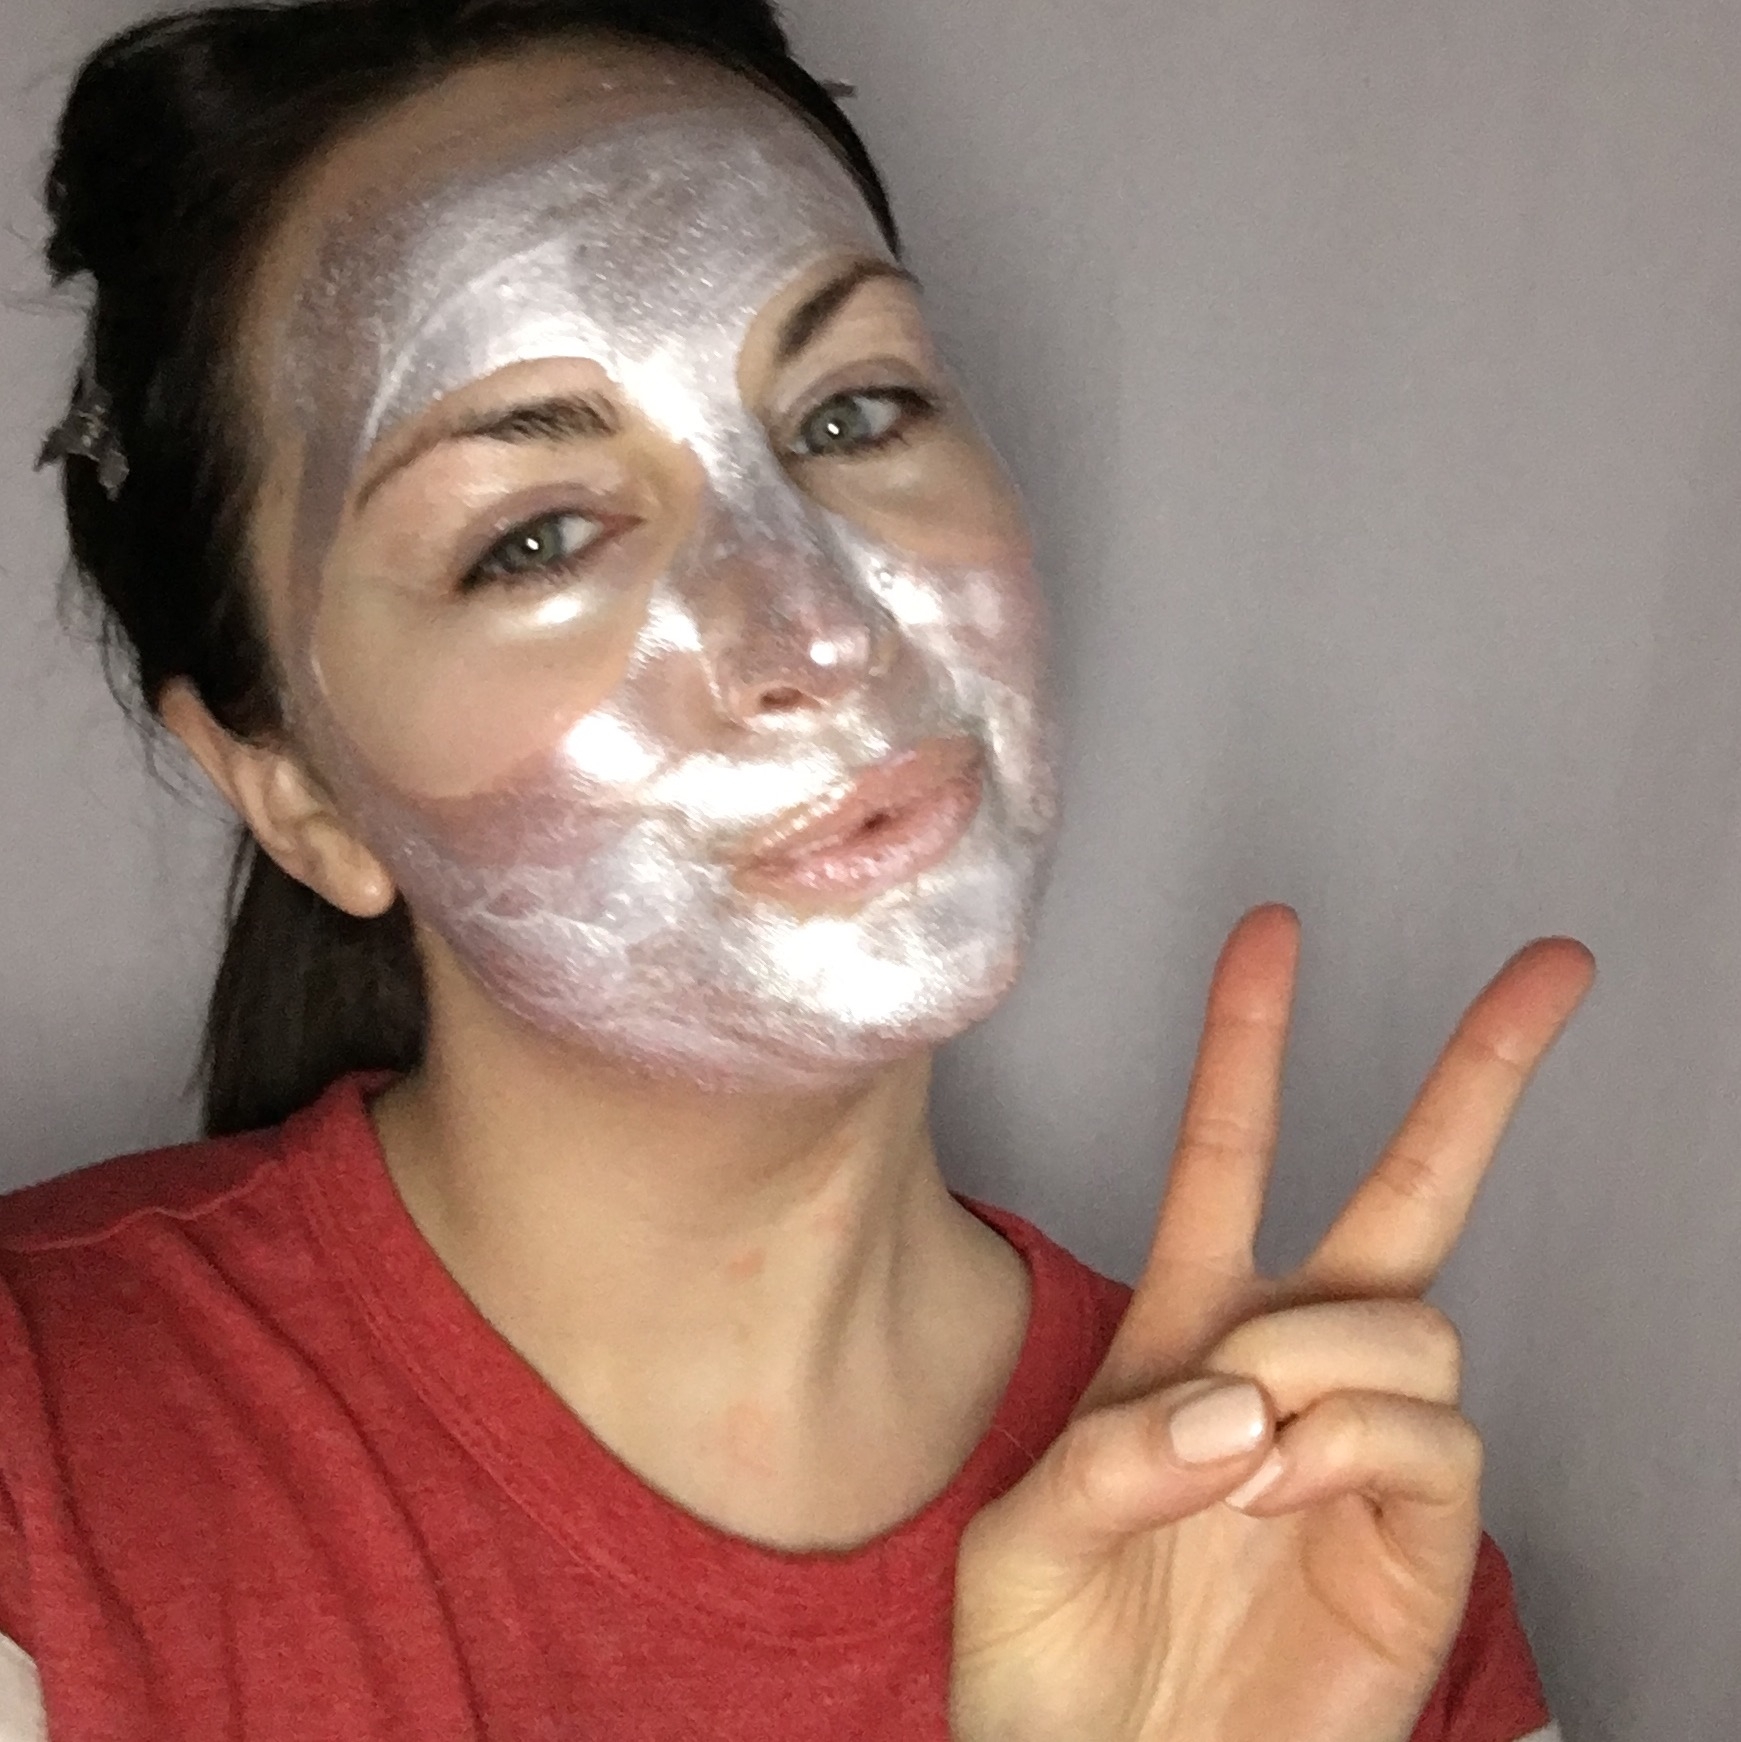
Prep your skin (here's what I do). If you have time, I highly suggest doing a face mask to further get your skin ready to handle all the goodness you're about to apply. My favorite is the Glamglow Gravitymud mask that makes you look like an alien but then firms and plumps the skin, taking at least 2-3 years off your face.

Next, I add a primer - there are millions it seems - so get something that works for your skin type. I also like to take this opportunity to prime my eyelids with a little concealer and powder. Here's where it gets fun - at this point, I like to skip to my eyes. I know traditional wisdom says start with foundation (because it's the *cough* foundation), but there are lots of benefits to letting makeup set/settle/sink in so I like to skip around.

Step 2 - EYES

Again, a million options here, but I like to do eye shadow/liner/mascara/lashes, but wait to do the brows. THIS is one of my favorite eye looks.

Step 3 - SKIN (part 2)

Now that the primer has soaked in, I do THIS technique to get flawless, long-lasting foundation, and HERE is a tip for perfect blush plus my #1 favorite trick that pulls the whole look together. Also interested in my favorite bag-busting, dark-circle cancelling under-eye concealers? Boom.

Step 4- BROWS + LIPS

I find that somewhere between blending eye shadow and applying foundation, my brows get a lot of junk in them, so that's why I wait to fill them in - which I do with anything from a brow pencil, to a gel liner, to a plain, old eye shadow. Do what you like! Just make sure to comb out all the other makeup particles first (with a spoolie or eyebrow comb). Then, on to lips. I tend to go for a nude gloss that can easily and discreetly be reapplied throughout the night as needed but, if you love a bold lip, you must try THIS trick to keep your lips on all night!

Step 5 - FINISHING TOUCHES

You made it! You've sat through at least 20 minutes of makeup application, so let's make sure it's perfect and it stays on. Take a Q-Tip and use it to gently buff any harsh lines, pick up eye shadow or mascara that's fallen, or fix any bleeding lipstick (which you won't have if you do my trick...just saying). Once everything is in place, spray it with a setting spray (like Urban Decay's All-Nighter) then go have fun!

TOUCH-UPS

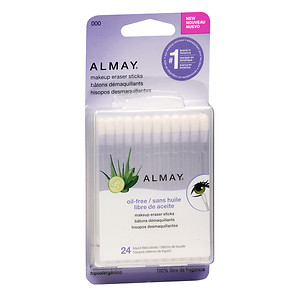
I absolutely hate to leave the dance floor to check my makeup, but when I do excuse myself to the ladies room, I like to have a few things in my bag in case anything needs a little tweak. Obviously, carry your lipstick or gloss with you. I also like to have a couple Almay Makeup Eraser Sticks on hand to clean up any makeup that's moved, and I definitely suggest keeping some eyelash glue nearby if you're sporting falsies (which you should because they're amazing).

Please tag @ElectraLane so I can see your own Glam Goddess selves, and I'll meet you back here next week!
One Technique, Endless Opitons

IMG_1603.jpg

I think makeup should be like cooking - you have a recipe and, while you can tweak the ingredients to your taste, you follow the recipe and you get basically the same results.

Today, I'm giving you the simplest makeup recipe that requires only three ingredients, but yields endless outcomes.

For this eye look, the ingredients are a medium eye shadow, a dark eye shadow, and an eyeliner. As far as tools, a fluffy crease/blending brush and eye shadow brush are all you need, but an angled or smudge brush helps, too.

Here are the steps:

  1. Blend the medium shadow into the crease
  2. Line the eyes on top and smudge the liner up towards the crease color, then add a little liner on the outer corner of the bottom lash line - smudge towards the inner corner
  3. Pat the darker shadow on top of the liner using the eye shadow brush (or your finger!) as well as under the bottom lash line
  4. Define the eyes by lining again but just the top lash line
  5. Blend the shadows around the edges with the blending brush to make sure there aren't any hard lines, then add mascara and/or faux lashes

That's it! Now it's up to you to get creative. Choose a mix of matte, metallic and/or sparkly shadows, and don't just stay with traditional, neutral eye shadow colors - experiment rosy tones, blues, greens or violets, just make sure the shades aren't super close together. Get even more adventurous by keeping your liner close to the lash line or wing it out like Amy Winehouse. It's up to you!

Here's a step-by-step tutorial for you to follow:

Please give this look a try, and tag me on Instagram @ElectraLane so I can see your awesome work! Please *subscribe* to this blog so you don't miss any more tips or tricks, and I'm looking forward to seeing you again next week.


Do This One Thing for Big Impact

lash-FI.jpg

Back in the day, the only time I wore false lashes was when I was on stage with ballet or theater performances, or competing in pageants. I just couldn't get over the label of "fake" anything. Well I did get over it, and I really believe that lashes are one of the best makeup investments you can make. They're affordable, elevate your entire look to where you practically need no other makeup, and, with a little practice, are effortless to apply.

AFFORDABLE

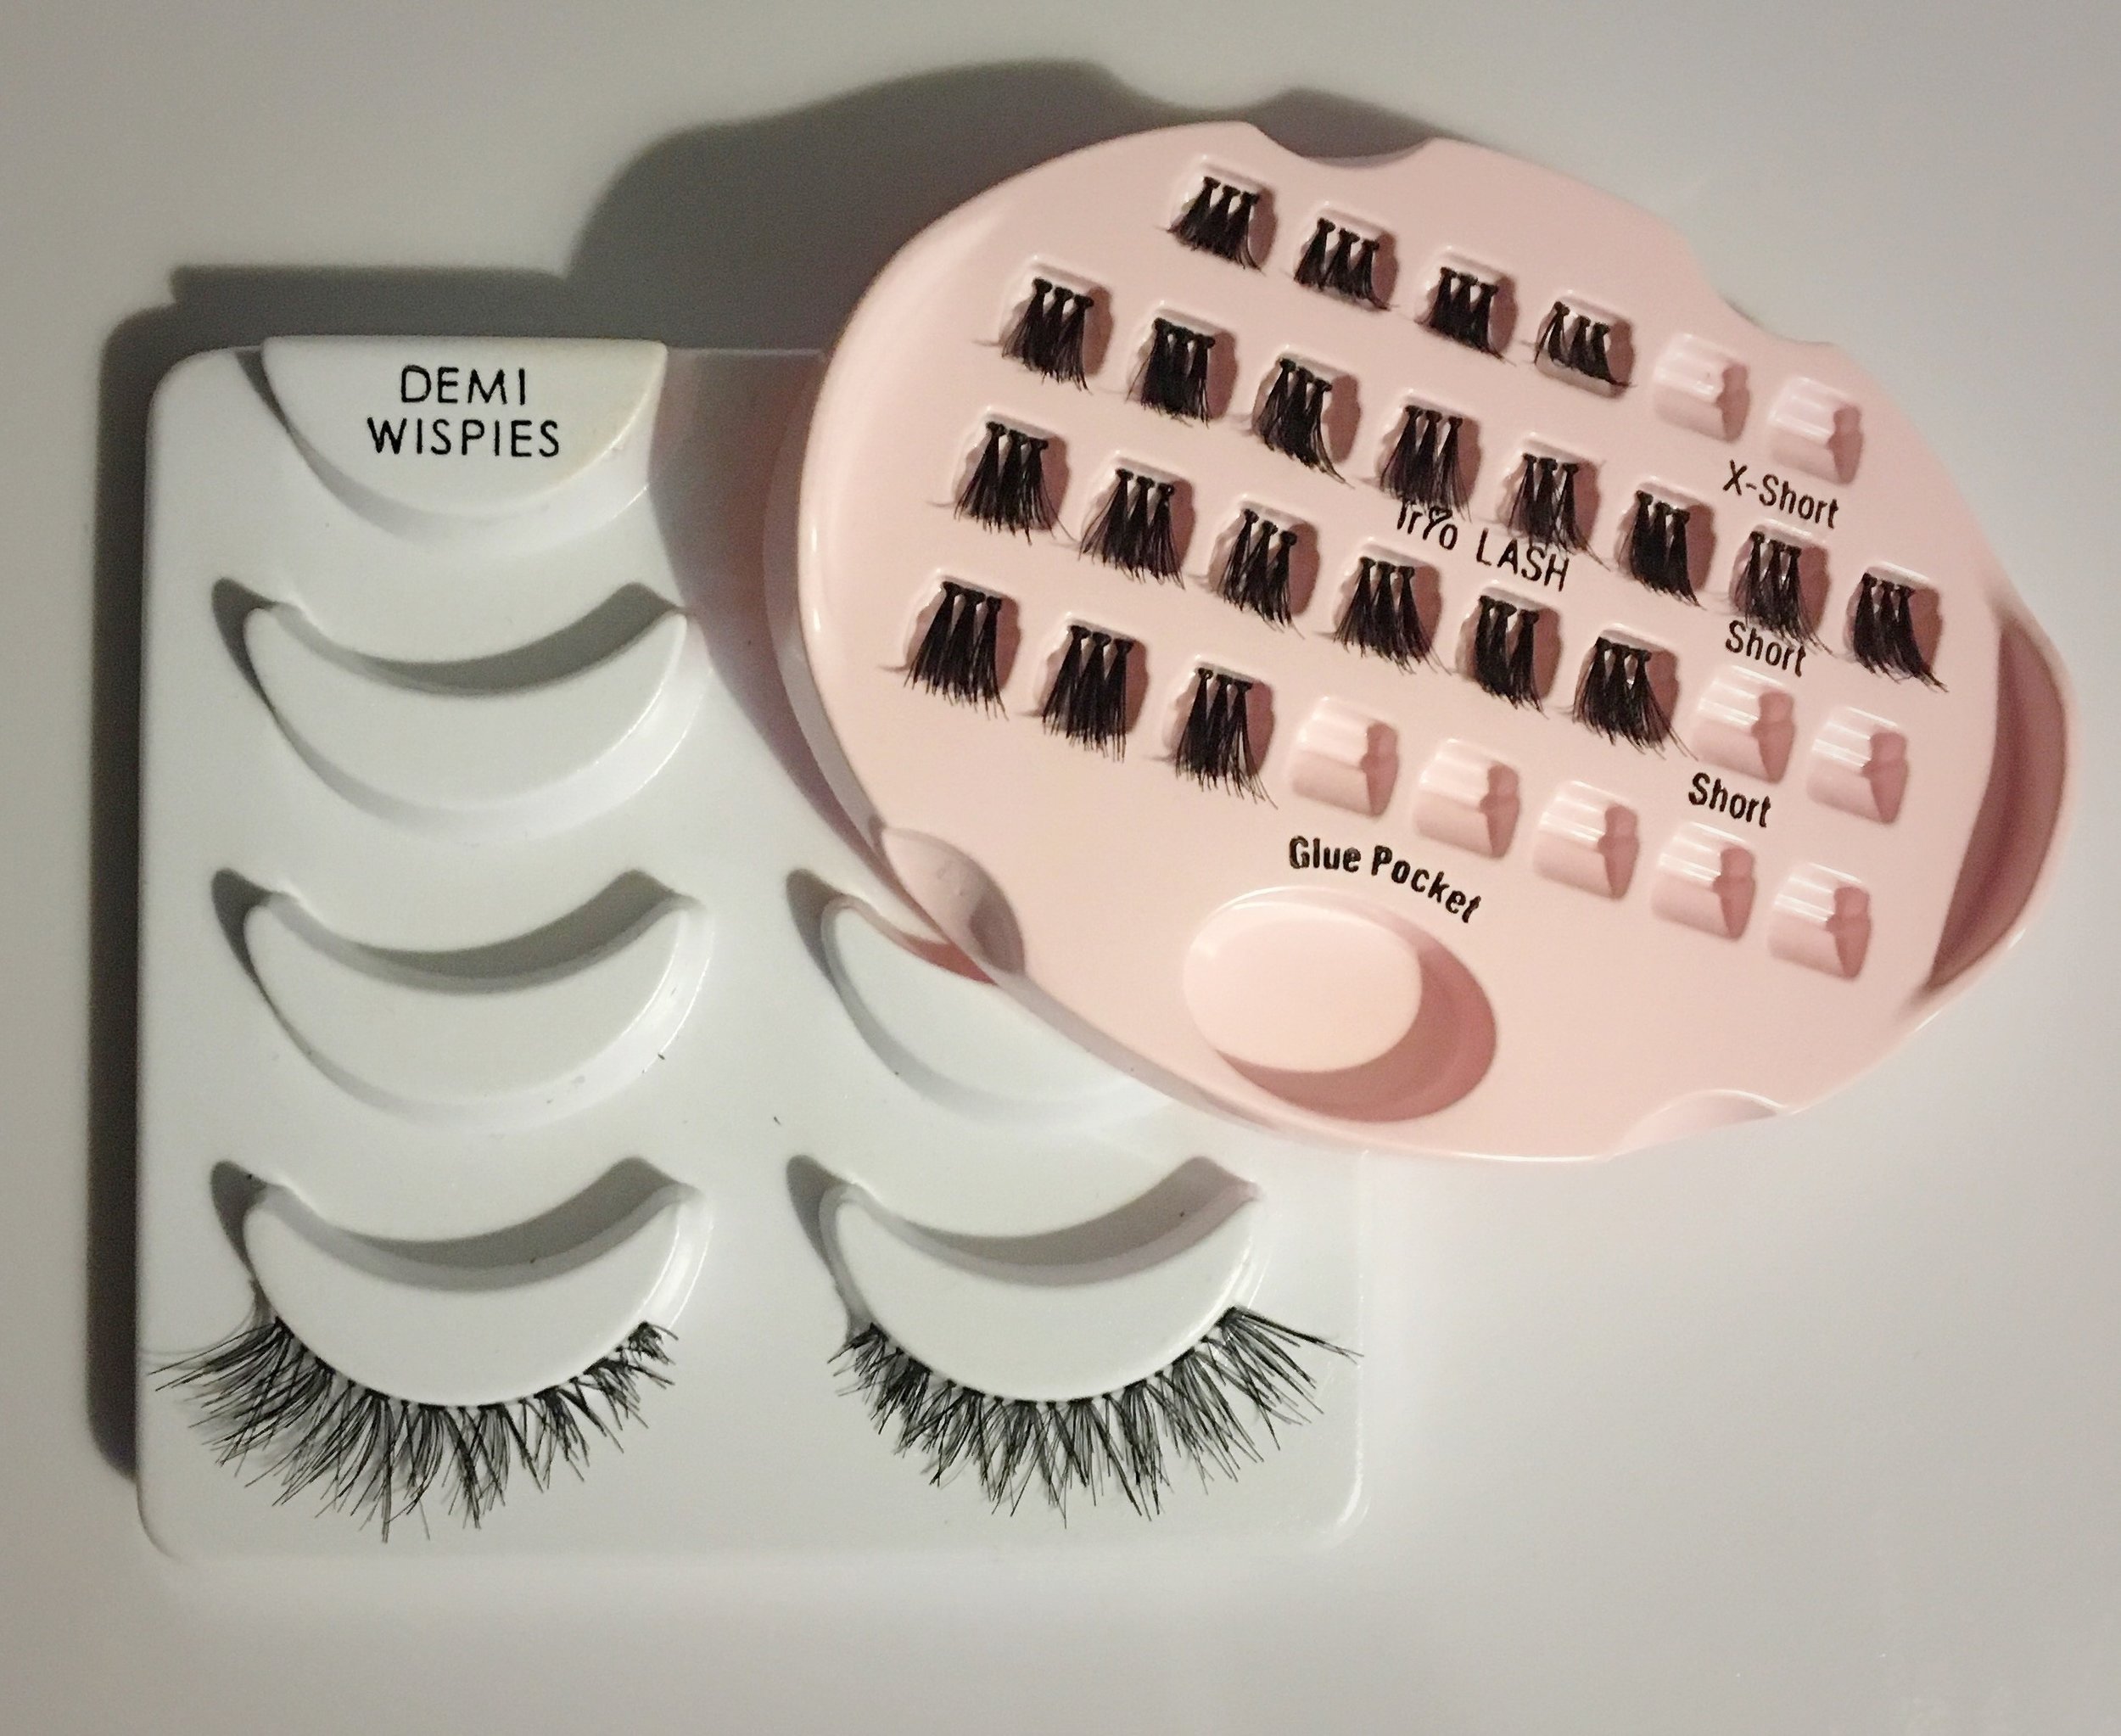
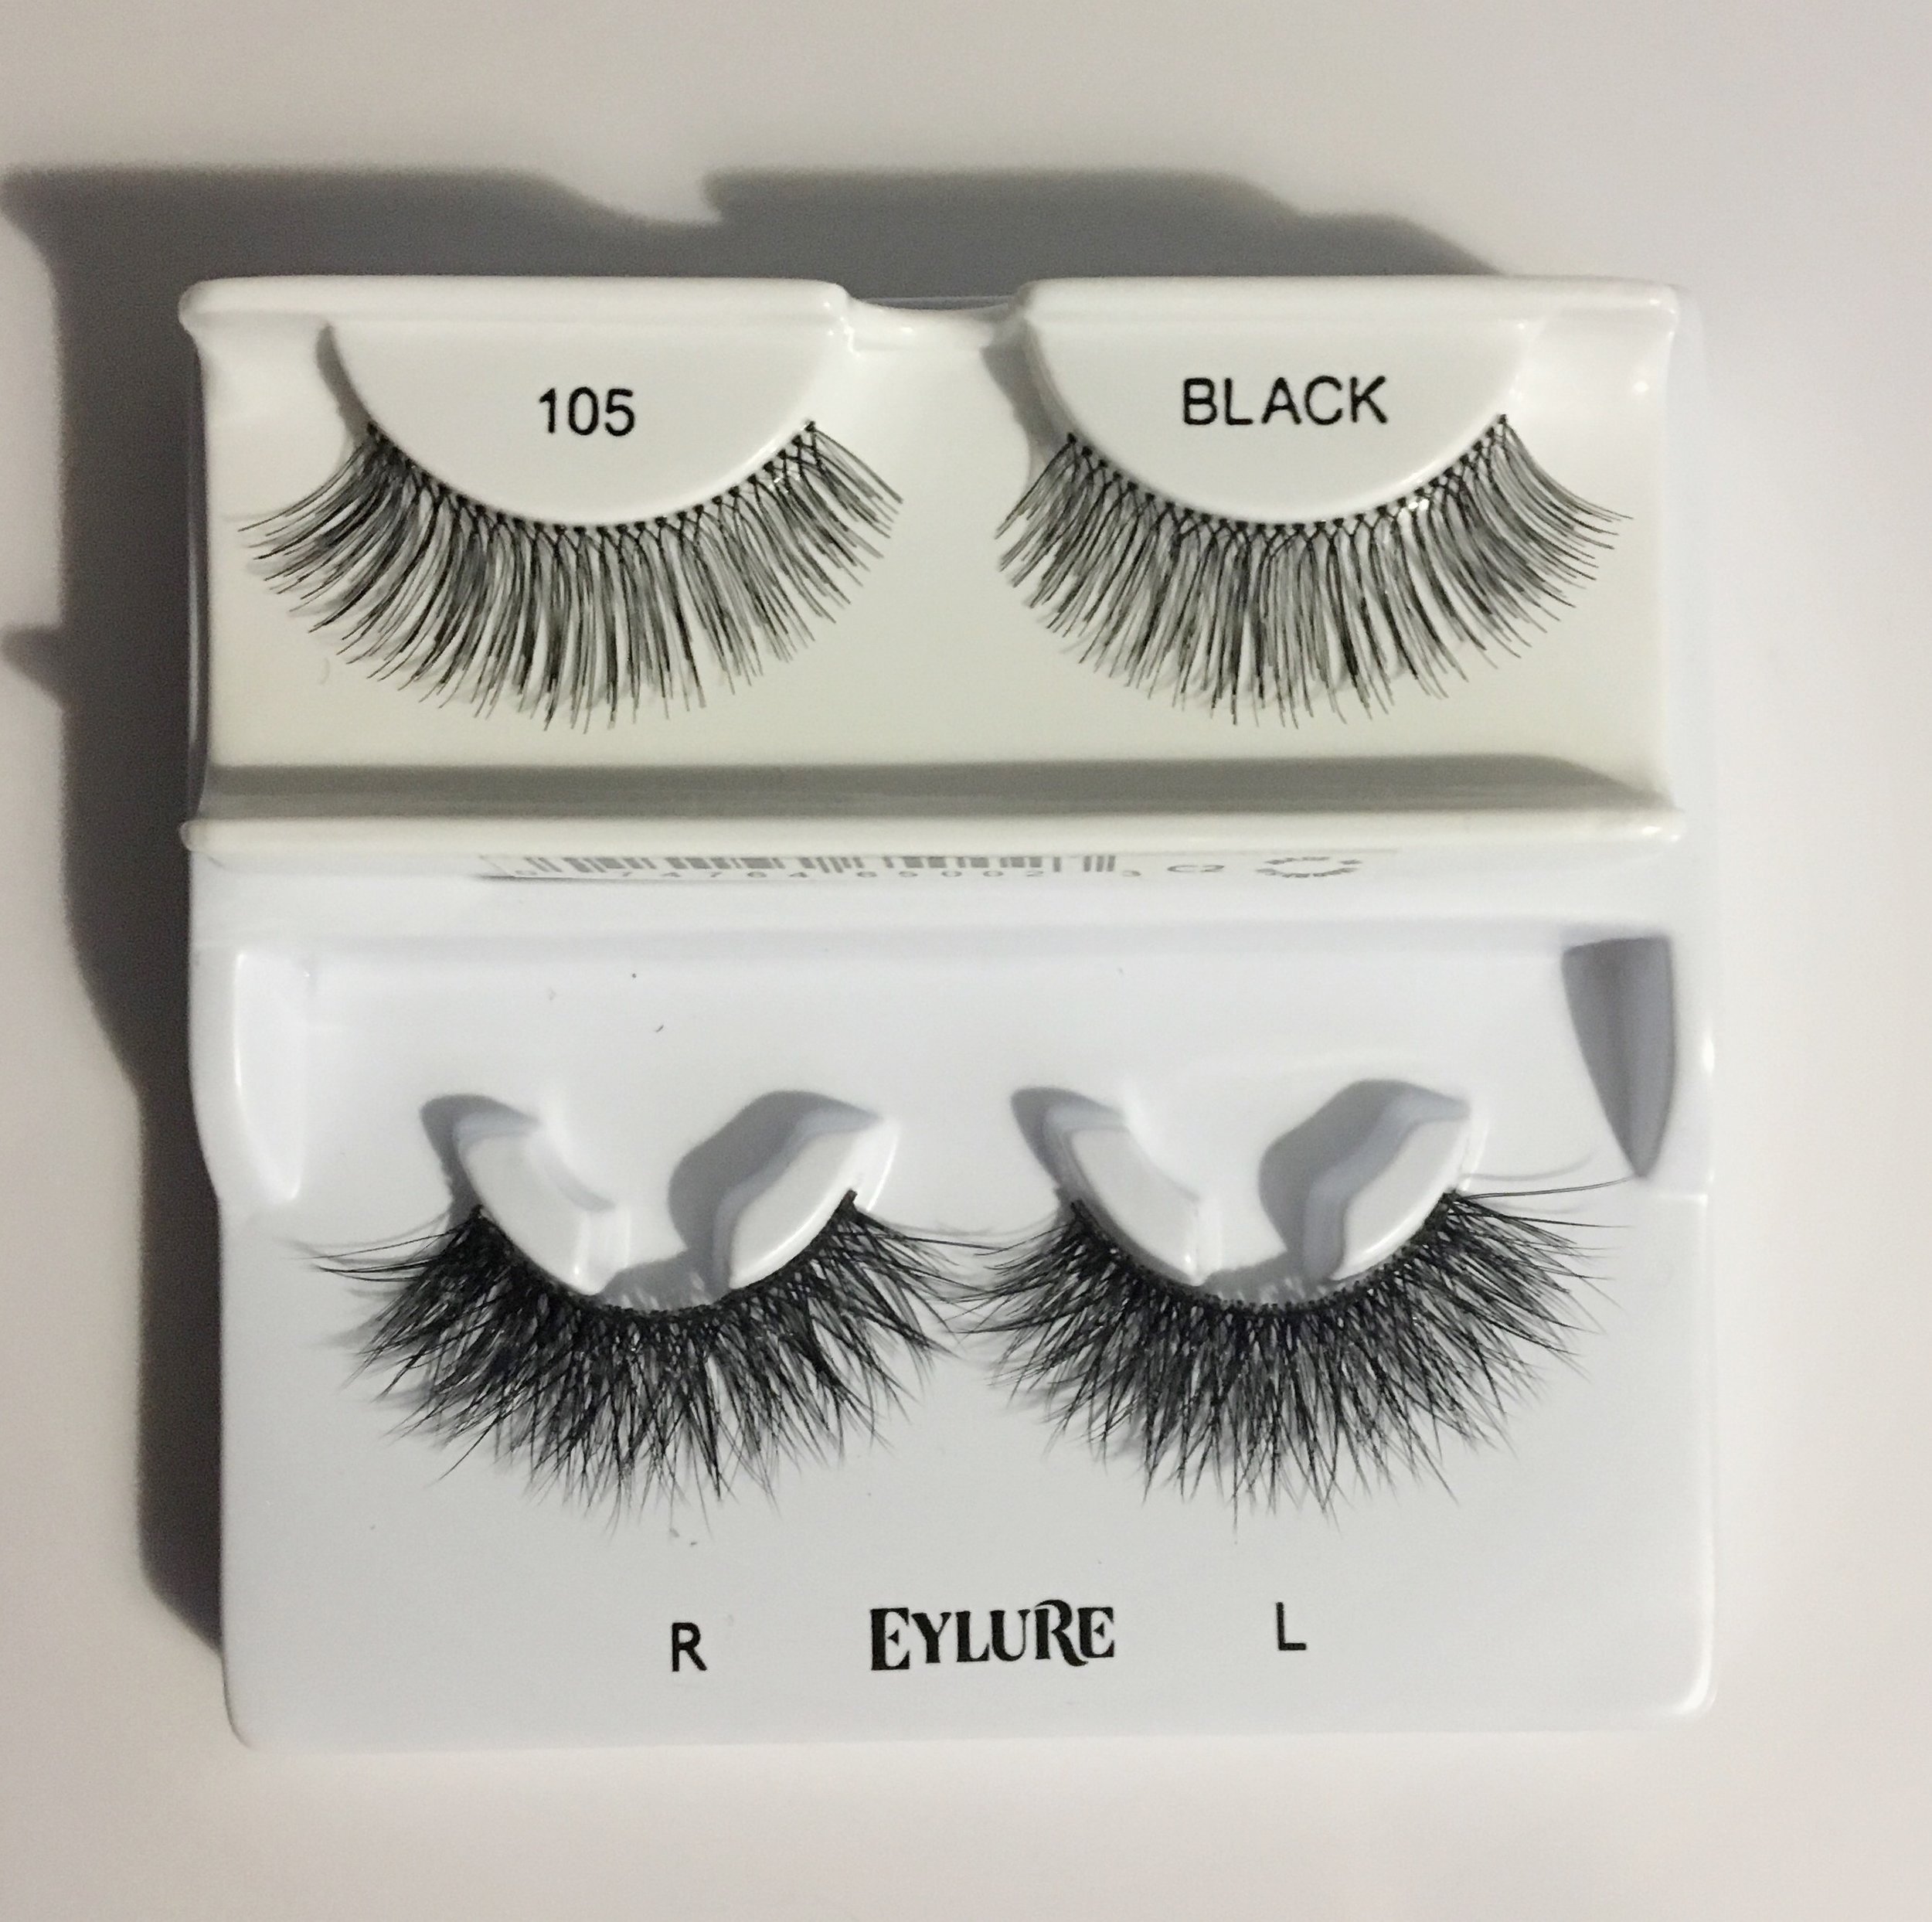
At just over $2 a pair, my favorite strip lashes are an incredible investment. Think about it - if you're someone who wears little or no makeup every day but you want to up your game for a special event, and you don't want to spend lots of money on a whole makeup wardrobe, lashes and a bold lip will make you look amazing for less than $10.

Pictured below are those strip lashes as well as my all-time favorite lash, the KISS clusters:

ELEVATE

Last month, I did Maggie's makeup for an Inaugural Ball. She loves a red lip and was wearing a MAJOR dress, so we focused on the lashes by doubling up. A lengthening lash topped a full-fringe lash for lots of drama:

We kept her eye makeup very simple and added dimension with just bronzer so the focus would be on her gorgeous eyes and stunning lips:

My point is that with some lipstick and great lashes, you don't have to have a ton of time, money or skill to look like a million bucks.

EFFORTLESS

I used to be so intimidated by lashes, but they're really not that scary. Here are three videos to show you how to apply your lashes, as well as customize them so they work for you:

 I hope you'll give lashes a try! As always, don't hesitate to reach out @ElectraLane on Instagram or Facebook with any questions. For a personalized makeup lesson, or just to ask all of your makeup questions, email me at Jessica@ElectraLane.com to set up an appointment (online or in-person). See you next week!

Welcome to 2017!

Happy New Year! I truly hope you had a rejuvenating holiday break and are ready to tackle new challenges this year!! Okay, that's BS, especially if you work retail or a service industry. I've worked every holiday, birthdays, anniversaries, major football games (I'm an SEC girl, y'all understand), and for lots of folks, the holidays are the most stressful time of the year.

If that's you, or if you've just had a stressful year in general, I'd like to share my focus for 2017:

be still.

In my life, 2017 was filled with births, deaths, friends eloping, friends divorcing, and health challenges. All unexpected, and, with exception of the births and weddings, it all sucked. Personally, I had hip surgery at the beginning of the year so, while that was an enormous blessing, I'm still recovering. We also moved to our dream location, but that's such an unsettling experience.

With all that upheaval and change, I found myself asking, "WHY?!" so many times. I couldn't understand why I was doing the right thing, but the wrong things kept happening. I tried to force everything into my "perfect" ideal of how it should be, on my timetable.

Yeah, that's not how life works.

And, for the first time, I'm okay with that. I don't know exactly what shifted, but I finally understand that I'm not in control. As a Christian, I believe God is, but maybe you believe in something/someone else. I actually hope you do, because it's all too much to carry on our own.

Celebrating NYE with my sweet husband.

And I certainly don't want to complain because when it comes down to it, I live a truly blissful life. Seriously. I am blessed beyond measure and, while I have worked very hard for everything I have, I still have more than I ever asked for or imagined.

So, as the one who usually has a long list of resolutions AND actionable steps to reach them, I have nothing. And frankly, it feels so, so good. I was at the point where my game plans were too complicated and were taking over my life. My focus this year is just to work hard, be kind, and be still. I believe everything will fall into place from there.

Clark and Kent (@TheSuperBeagles on Insta) getting into the holiday spirit!

I'd love to hear your resolutions (or lack thereof!), so let's continue the conversation in the comments on Facebook under this post announcement.  Next week I'll be back with makeup/skincare goodness, but I think it's important to concentrate on the inside stuff first. CHEERS to the new year and a new outlook!

And the Winner Is...

FullSizeRender.jpg

...drumroll...

Becky Lear!

Congrats! I'll ship your gift tomorrow!!

THANK YOU to everyone who subscribed. Get excited to see some goodness in your inbox starting in January 2017, and you have no idea how much your subscriptions mean!

~~~~~~~~

It has been quite a year, from my surgery in February, to how to perfect a smokey eye, and how to get skin that could land you the role of a Disney princess. I hope you've learned a few tricks that give you confidence and help you feel polished. Please stay connected with me on Facebook (Facebook.com/ElectraLane) and Instagram (Instagram.com/ElectraLane) for some live makeup tutorials, details on fancy holiday looks and skin-saving at-home spa tips until the blog returns.

I wish you all the blessings and joy you can hold for the rest of 2016, and into 2017. See you next year!