how-to

How to Get the Perfect Smokey Eye

image1-1.jpg

It's fascinating that every time I get a woman in my makeup chair, she wants to look glamorous. But as I add the glam, she starts talking about how she really just wants to know how to do eye liner for every day, or how to do makeup that also makes her look like the best version of herself. So I created Electra Lane, to bring you all my tips and tricks and knowledge and hands-on info I learn from painting faces, in the hopes that you could have a resource for the more practical side of makeup since there is so much over-the-top makeup inspiration out there.

But guess what?

While folks need to learn practical makeup, I think they want to at least know how how to get the enchanting smokey eye and chiseled contour.  So, in my attempt to bridge the makeup gap between inspirational and attainable, I will be posting more in-depth blogs, videos and posts mixed in with the basics.  To make sure you don't miss any of these goodies, please subscribe to this blog, to my YouTube channel, and follow me on Instagram or Facebook.

This week, I'm sharing the two things you need to know in order to get the perfect smokey eye, as well as a video tutorial for a classic smokey.

image2-1

Blend Like a Pro

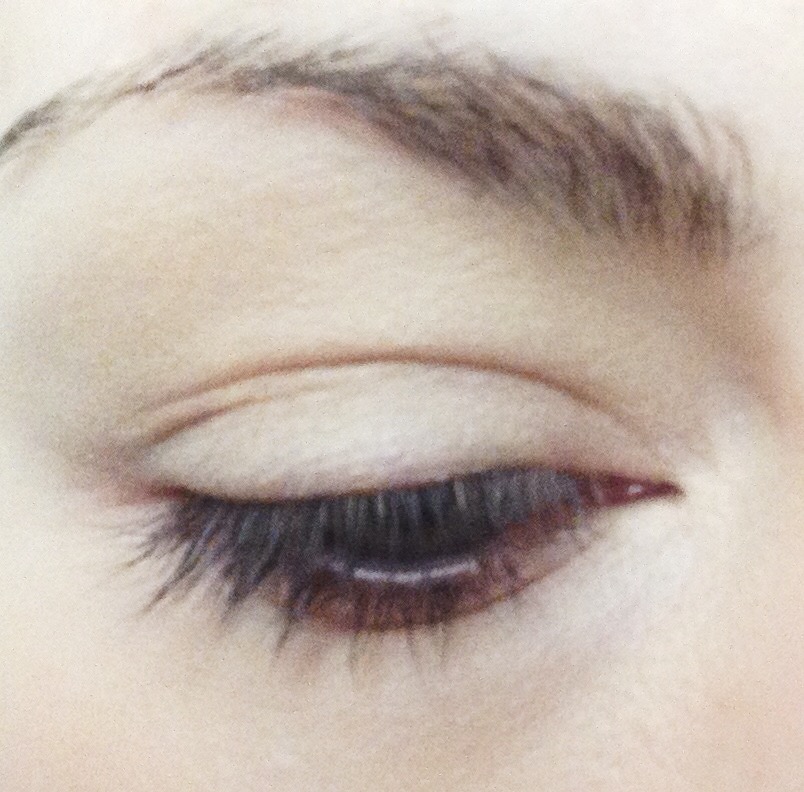
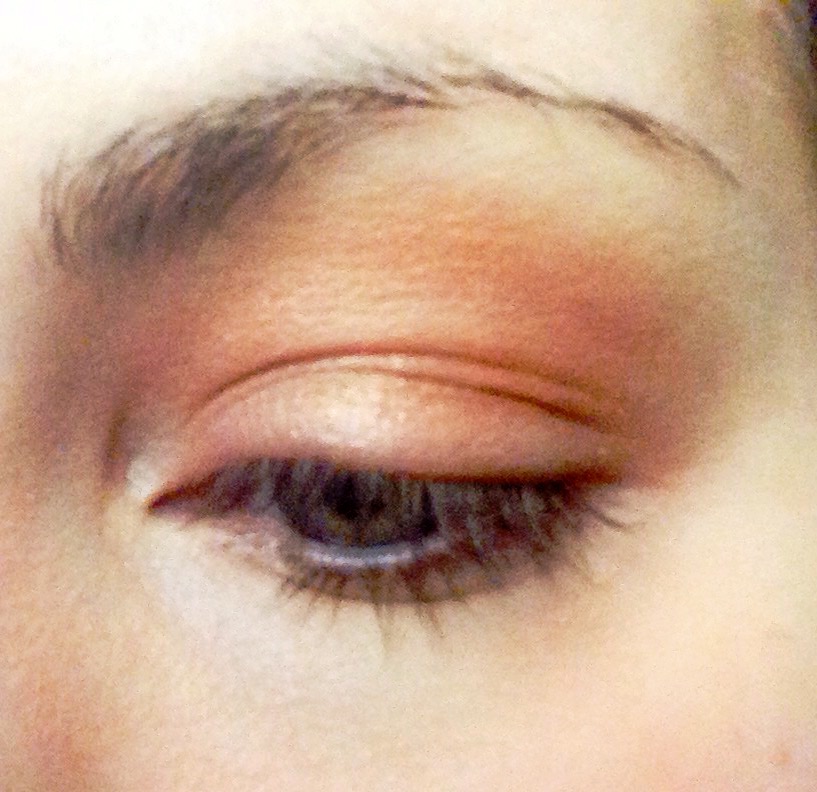
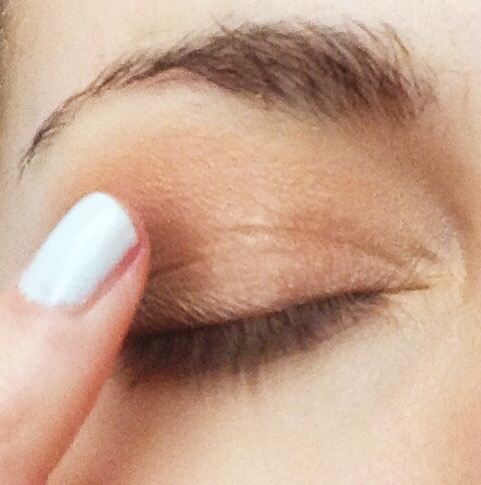
You hear it all the time - the perky YouTuber chirping, "Blend, blend, blend!"  So you "blend," only to have shadow all over your eye and no distinction between the colors you've used. To blend properly, make sure you're blending with a clean brush, or at least a brush you used on a shadow lighter than the one you're trying to blend (you'll see this in the video - I only use one brush for the whole lid). Then, you want to keep your blending just where you want your shadow to be. A good rule of thumb is to not go below your top lash line or beyond the tip of your eye brow.

img_3405

Layer Appropriately

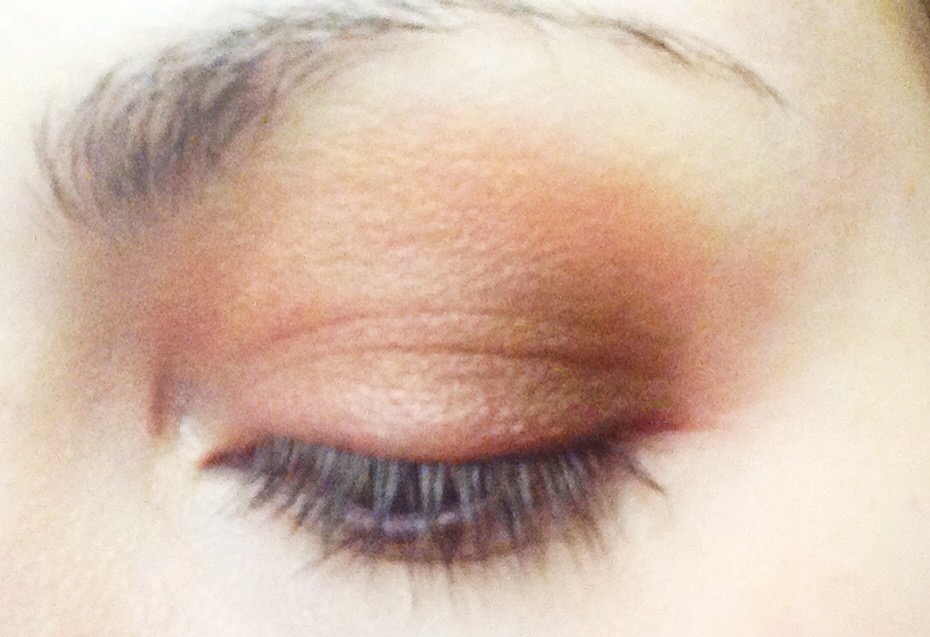
The biggest "Aha!" moment I had in makeup is when I started layering my eye shadows. In my opinion, the best eye makeup I do uses a minimum of six colors. Seriously (if you want to see how to create this gradient of color, this Jaclyn Hill video is a great example - start at 1:45). A big mistake I see is when people start with a really light color, then go in with a really dark color.  You have to have something for the darker shades to blend into (which you'll also see in the video below), so make sure to gradually go darker with your shades.

And now, the tutorial:

~~~

Thanks so much for stopping by and, if you like what you see, please feel free to like and share this post!

How To Get the Most From Your Makeup Shopping Trip

tumblr_m0ee9cjd6r1r8o5o8o1_500.jpg

Recently, I saw this article in the Wall Street Journal, which highlighted makeup "moochers," or folks who habitually visit makeup counters to use the testers instead of purchasing makeup. As a makeup artist, makeup consumer, and former makeup counter worker, here are my three tips for making the most of your makeup shopping experience.

Keep It Clean

Y'all. Do not use open testers. Ever. It's like eating food off of a stranger's plate that's been sitting out for months (or longer). Think about it - someone uses the bathroom, then doesn't wash her hands. Then she dips those nasty hands into a jar of moisturizer. Later, the nice Sephora employee offers to make you a sample of that same moisturizer, out of the jar that's infested with fecal matter. I'm not exaggerating because I've seen it. Part of being a certified makeup artist is learning about/having extremely high sanitation standards. I sanitize everything between clients, even if they're in the same family. WHY, then, would you use this stuff that hasn't even been consistently monitored for cleanliness?

So, practice smart sampling.  Try lipstick on the back of your hand, then wash your hands. Or, if you must try it on, make sure the lipstick is shaved and sanitized. Same goes for any product that is not in an individual package or an airtight pump. Safety first, people.

{About to clean + sanitize everything after a job with the help of Kent Beagle}

Play Nice

Let's say you're not grossed out by using the testers and you want a makeover (I HIGHLY suggest taking some alcohol pads with you, just in case. And if the brushes don't smell/look clean, they're not. You have the right to request clean brushes).  You will receive great service if you are up front with the salesperson and simply ask if there is a fee for a makeover.  They'll say no, but remember he or she is a salesperson - not your personal makeup artist.  If you want a full makeover, be prepared to purchase at least one of the items they used, or offer a tip - even $5 is greatly appreciated.

f2e4a684d999b22f0eb42dd0e7e020de

Make Friends

Conversation I had today with a non-makeup salesperson at the mall:

Salesperson: I looooove your makeup, your eyes are amazing.

Me: Thanks so much! I'm a makeup artist, so I've had lots of practice.  If you go to MAC or any of the counters here, they can show you how to do what you want.

Salesperson: I have...the reason I hate MAC is because they make me look like an oompa loompa.

Me: I've worked with several MAC artists, and I assure you that they are trained to achieve any look you want! Just be really specific, tell them you want something simple, not a full face.

via GIPHY

Two takeaways - first, most folks who work at a makeup counter/store do so because we love makeup, so we love to talk about it. Ask questions! The more specific you are, the more we can help you. For example, if you want to learn how to do an everyday smokey eye, don't ask for full makeup. Ask for a simple smokey eye that only uses two or three products and takes about five minutes. Second, use that time like a makeup lesson, not just as having someone put makeup on you.  I was at MAC today and told the salesperson I loved her lashes. After she shared which mascara she used, I asked her how she used it, too.

***

Makeup shopping is intense. Pushy salespeople, the rush of fellow shoppers, and "that lipstick is HOW much?!" can add pressure to what should be a fun experience. If you try these tips, hopefully your next shopping trip will be amazing.  Or, just order the goods online...


Images c/o Google Images

How To Put On Makeup

IMG_0186.jpg

In honor of my 100th post, I'd like to address the number one question I get as a makeup artist: "In what order should I put on my makeup?"

While this obviously differs for everyone based on what makeup you want to use, this is the basic flow I've adopted over the years that lets me get everything on my face quickly, and helps it stay there all day.

Step 1. Prep eyes and lips

Apply some lip balm and lid primer (or a thin layer of concealer). Optional: if you have dark under-eye circles like I do, I also like to apply a heavy duty concealer or color corrector just to the dark areas now.

Step 2. Skincare

It's always best to prep your skin with a moisturizer or primer to help the rest of your products go on smoothly.  If you're oily, there are plenty of primers that will keep your skin matte.

Step 3. Eyes

While your skincare soaks in, do all of your eye shadow, liner, and mascara.

Step 4. Foundation and cream products

Skip over to your foundation/tinted moisturizer/powder or mineral foundation.  If you don't use any of that, make sure you've applied sunscreen! This is also a good time to apply any other cream products like highlighter, blush, bronzer...if you have blemishes, cover them now, too,

Step 5. Setting Powder

Even though my skin is dry, I sweep on a very light layer of loose, translucent powder to set everything I've already done and prep my canvas any other powder products (blush, contour, bronzer, highligter...).  *TIP* Don't forget to dust a little powder over your brows, too, so any of the cream or liquid products applied earlier don't interfere with your brow products.

Step 6. Brows

Fill in and set your brows with your favorite products (currently loving this).

Step 7. Color

If you haven't applied cream versions yet, dust on powder blush/bronzer/highligher/contour now. *TIP* Add blush, then bronzer in the regular places including on top of blush to really make the blush pop and everything look blended.

Step 8. Concealer

As a final step, I like to apply a brightening concealer 1-2 shades lighter than my skin in the corners of my eyes, around my nose and mouth, on my lips (to make lipstick last longer), and anywhere else that needs some lift.

Step 9. Spritz #1 and lips

My top-secret tip (also mentioned in this video) for lasting makeup that looks like skin - spritz your face with a setting spray.  While it dries, put on all your lip products, then...

Step 10. Buff and spritz #2

Take a soft, fluffy brush and buff all of your makeup together (see the above video for a demo), then one more layer of setting spray.

Now that I have this pattern down, it takes me 10 minutes or less.  Give it a try, and let me know how it goes on Facebook, Instagram or Snapchat, all @ElectraLane.  Have a great weekend!


PSL-Insprired

IMG_4664.jpg

Yes, I went there. No, I do not like Starbuck's Pumpkin Spice Lattes.

Yes, I know that we're not officially even in the fall season.

But since everyone seems to have an opinion about the PSL - including a blogger who changed the recipe and a fellow grad school classmate completing a brilliant marketing project on the subject - I thought I'd share what makeup comes to mind when I think of the sickeningly sweet beverage (IMO...just saying).

For the skin, I kept it clean with tinted moisturizer, concealer, bronzer, and a bit of highlighter on my cheekbones.  For lips, I went with Whirl lip liner from MAC, NYX Cosmetics Butter Gloss in Creme Brulee, and a little dot of MAC's Sugarrimmed Dazzleglass gloss in the center of my lips.

On my eyes, I started by prepping the entire lid with MAC's Soft Ochre Pro Longwear Paint Pot:

"The Milk"

Next, I buffed MAC's Amber Lights shadow from the lash line into the crease:

"The Pumpkin"

Then, I tapped Galapagos by NARS on the outer corners (blend well!) and under the bottom lash line:

"The Cinnamon"

Using my pinkie, I applied a bit of Cream from the Lorac Pro Palette to just the center of the lid and blended outward:

"The Whipped Cream"

Finally, I lined the top lash line and bottom waterline with MAC's Coffee eye pencil ("The Coffee." Yes, I did.).

IMG_4654


Multiple Personalites

IMG_4558.jpg

Many people I know don't do a smokey eye every day. In fact, many people I know don't even wear eye shadow every day, and many don't wear daily makeup beyond mascara. Then why does seemingly every makeup "tutorial" show you how to get dramatic makeup?

I'll be the first to say that even "natural" makeup that lasts more than an hour takes around 12 products, so I get it. But the YouTube video crowd doesn't seem to cater to normal people who don't own 27 eye shadow palettes. (this is a big part of why I created Electra Lane).  I can't argue with millions of devoted followers, though, so I won't try.

What I will do is present as many real-life makeup situations as I can.  Like this one: you own two eye shadows, a lighter shade and a darker shade (if you have four-shadow palette, check this out).  And you feel stuck doing the same thing over and over, but you don't want to buy more makeup.

Here's the solution: think of those shadows as your Little Black Dress or white Oxford.  With a few accessories, you can have four different eye shadow looks.

#1 - Classic

Take your lighter shadow and sweep it all over the eye, from lash line to brow bone, with a large, fluffy brush.  Then, with a smaller brush, tap the darker shadow all over the lid.  Finally, blend the top edge of the darker shadow with the fluffy brush.

#2 - Big Eyes

Start the same way as the classic eye, but place the darker shadow in the crease instead.  Don't forget to blend gently.

#3 - Simple Smokey

Line your top and bottom lash line with a dark eye liner and smudge (with your finger, a cotton swab, or a smudge brush).  Top that liner with your darker shadow using a small brush.  With a fluffy brush, blend the lighter color starting on the brow bone and down into the darker color.

#4 - Dramatic

Do "Big Eyes."  Take an even darker shadow shade or eye liner, and place lightly in a sideways V in the outer corner of the eye.  Gently blend inward, then repeat if you want more depth.

If you need a visual, check out this video:

Shameless plug - if you want to take advantage of pro makeup tips, tailored to your wants and needs, with your own makeup video, email me: jessica@electralane.com