Background

Party All Night

FullSizeRender-2.jpg

My idea of a great party includes my husband, some version of takeout, a good movie, and our beagles.  This past weekend, though, we celebrated the nuptials of dear friends, surrounded by more lifelong friends.  It was epic.  It was also filled with very long nights. We know that the better your skin is, the better makeup makeup will look, so dehydrated, puffy skin and dark circles aren't the best canvas for makeup that needs to stay on 12+ hours.  After years of trial and error, I've unlocked how to maintain party looks for the duration of the party.  Here are my top three tips:

1. Inside Out

We've talked about my past skin issues, so when I travel, especially on a road trip, I make sure to stock up on enough bottled water for around two liters a day and make sure to get green smoothies/fruit/veggies for breakfast and snacks.  That way, I can at least start the day on the right note - because the rest of the day tends to look like this:

IMG_3426

2. Mask Up

Even if you have oily skin, a hydrating mask will cool and calm the skin so it will glow all day and night.  I prefer sheet masks because they're an affordable treat and don't require extra equipment.  Here, I used the Sephora Pomegranate mask and the Dr. Jart Water-Replenishing mask, both available at Sephora.

FullSizeRender (1)

3. Layer Light

"Less is more" truly applies here.  You want to use the lightest layers and fewest products as possible because, as the night rolls on, all the goo (sweat/humidity/skin oils) combines with the products, and fewer products mean a smaller chance for melting.  The first night, I had been wearing my every day makeup from 10am until 2:30am the next morning.

IMG_3439

Before we headed out for dinner, I just took a blending brush (like my Wayne Goss brush) and buffed a little powder all over my skin, then re-applied a bit of concealer around my eyes. (And no, my cute husband isn't wearing makeup, he naturally has no lines or pores.  Feel free to barf.)  This photo was taken around midnight.

Two days later, I actually spent some time on my makeup.  Starting with the Dr. Jart mask which also acted as a primer, I warmed foundation on my hand and applied with my fingers, followed by a light dusting of powder.  Everything that followed was applied lightly but deliberately, and this is the last photo of the night after around 14 hours of wear:

IMG_3634

Not naked, just wearing a strapless dress, by the way.

The point of a party is to have fun and not worry about your makeup, so I hope these tips help you become the life of the party instead of touching up your makeup in the bathroom.  And don't forget: if you want more information on how to achieve these looks, please take advantage of Electra Lane's birthday specials!
Makeup {Bug Out} Bag Part II

IMG_3260.jpg

Last week, I covered what Skin and Eye products I'd toss in a fictional "bug out bag," so here are the Lip products, Brushes, and Tools I'd add.  Remember, this it what works for me, and remember that I get a makeup artist discount on most of these products.  If you want to find out what works for YOU, email me at jessica@electralane.com to set up a chat or to have me create a makeup wardrobe that works for you and your budget.  And stay tuned!  There will be a very special announcement next week to celebrate Electra Lane's first birthday. Without further ado:

Lips

IMG_3259

1. Pencil

MAC pencil in Subculture: this matches my lips perfectly, which allows me to just wear it alone over lip balm or slightly overdraw my lips if I want to fake a fuller mouth.

2. Lipstick

MAC Creme Cup: Unfortunately, my favorite lipstick, Chelsea Girls by NARS, was discontinued.  Thankfully, this peach-pink neutral is a lovely substitute.

3. Gloss

MAKE UP FOR EVER Artist Plexi Gloss in 202: these new glosses live up to the hype -  non-sticky, long-lasting, and come in a vast range of shades and finishes.

Brushes

1. Founation Brush

MAC #130: I was introduced to this brush by a Smashbox artist years ago, and I've found nothing better.

2. Powder Brush

Wayne Goss #13: if you buy one expensive brush in your life, get this one - if it's even available since it constantly sells out.  This does powder, liquid, cream, and is the softest, smoothest brush for blending.

3. Contour

NARS Ita: I wasn't sure about this brush at first, but I love to apply contour - cream or powder - with the brush longways, then flip it to a wide angle to blend.

4. Bronzer

MAC 138: the almost cone shape of this brush allows for precise placement in all of the different face contours.

5. Blush

MAC 113: blush brushes need to be specific to your cheek shape, and this one allows me to tap on the perfect amount of product.

FullSizeRender

6. Fan

MAKE UP FOR EVER 138 Wavy: great for powder illuminator, bronzer, and powder, but I love to use this brush to knock off excess powder or eye shadow fallout from my skin.

7. All-Over Eye/Blending

MAC 224: the favorite for applying a base shade, then to blend throughout the eye shadow application process.

8. Crease

MAC 217: the perfect crease brush.

9.Corner

MAC 221: great for applying and building a dramatic corner, but also beautifully blends eye liner for a smokey effect.

10. Brow

Anastasia Beverly Hills 12: a nice, stiff brush for powder or gel, and the attached spoolie brush blends the product into the brows.

IMG_3263

Tools

IMG_3261


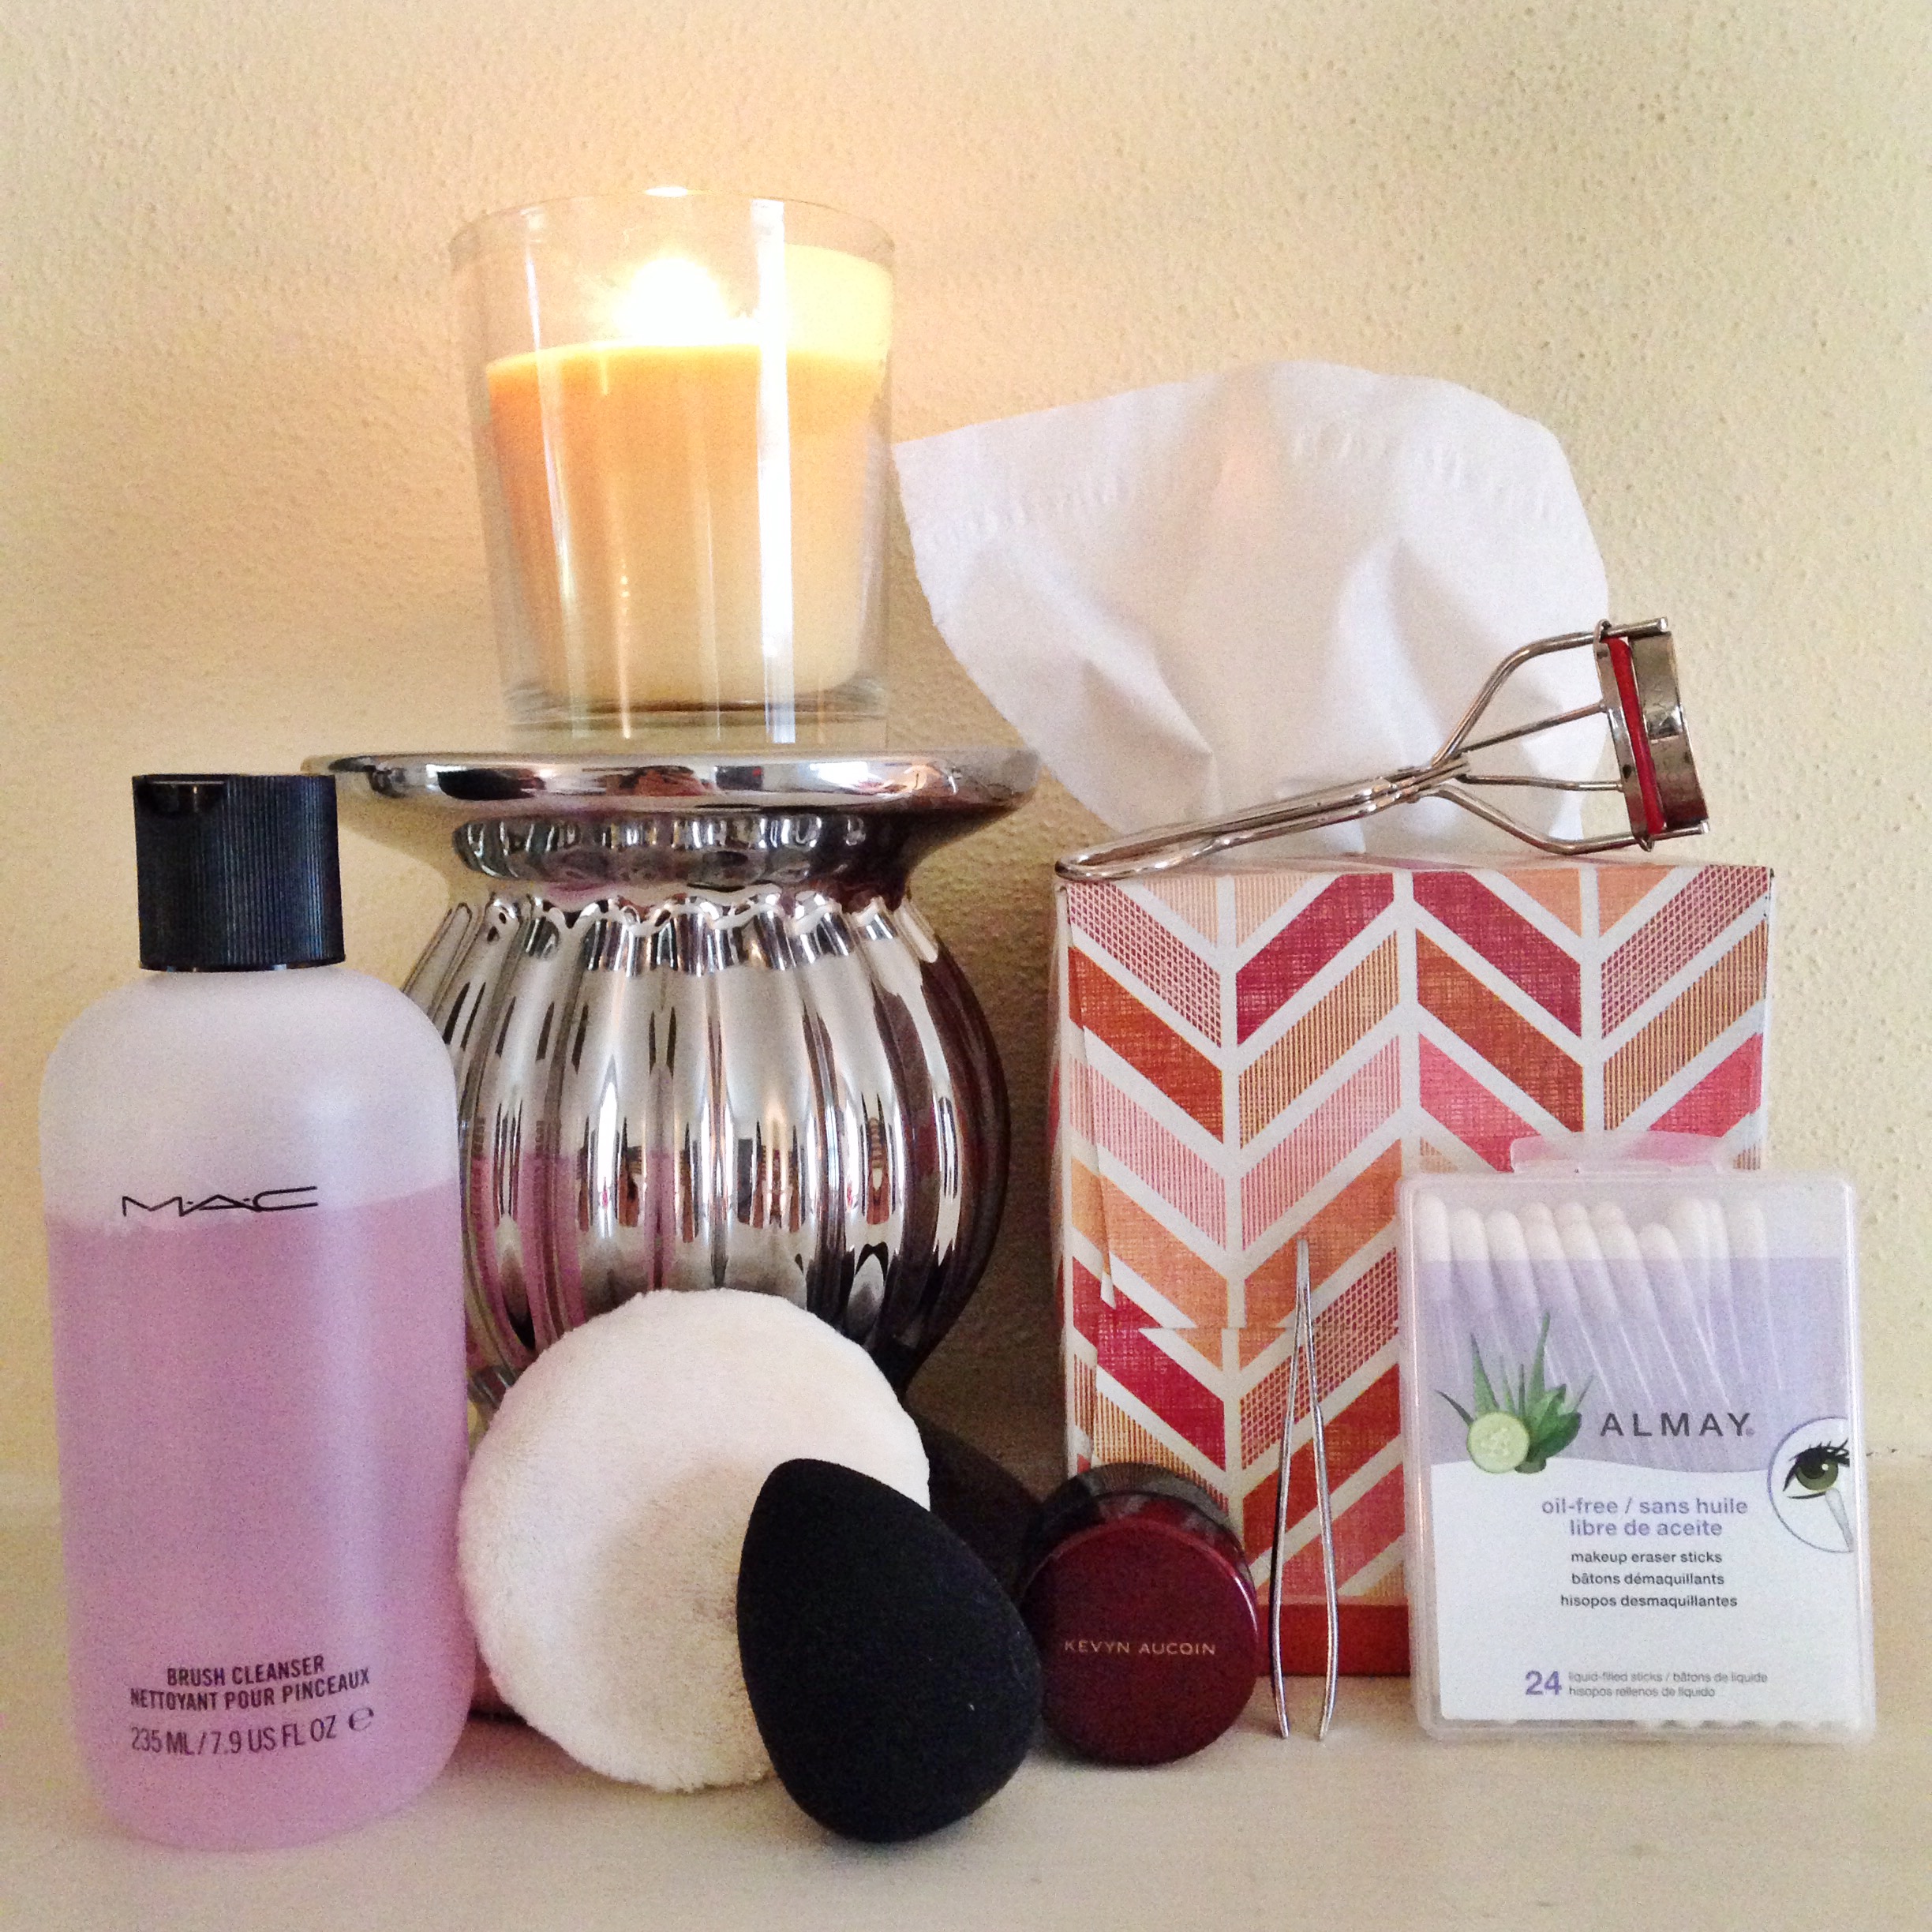
1. Beauty Blender: it's as good as they say, and no other sponge even comes close.

2. Power Puff: for applying powder as well as slipping over a finger to act as a barrier between your hand and face.

3. Almay Sticks: cotton swabs full of eye makeup remover.

4. Lash Curler: a must, even if you're not using mascara.  Make sure to change the pads every three months or so, and e.l.f. sells five replacement pads for around a dollar.

5. Tweasers: for stray brow hairs and applying false lashes.

6. Kevyn Aucoin Sensual Skin Enhancer: the best multi-tasker on the market, in my opinion.  This cream can transform into a liquid foundation, sheered down to a tint, a concealer, mixed to create lipsticks and cream blushes, used as an eye shadow base...

7. Tissues: blot, clean up messes, wipe of eyelash curlers...

8. Brush Cleaner: good to have on hand to keep brushes functioning at their best and to make sure they last.

9. Travel Mirror: even if it's the mirror in a shadow palette, I like to have something so I'm not forced to apply makeup under bathroom lighting.

10. The Bag: while I'm still searching for the perfect bag, right now this packing cube from Le Sport Sac can easily fit all of my products and brushes.

IMG_3264

Makeup {Bug Out} Bag Part I

IMG_3120.jpg

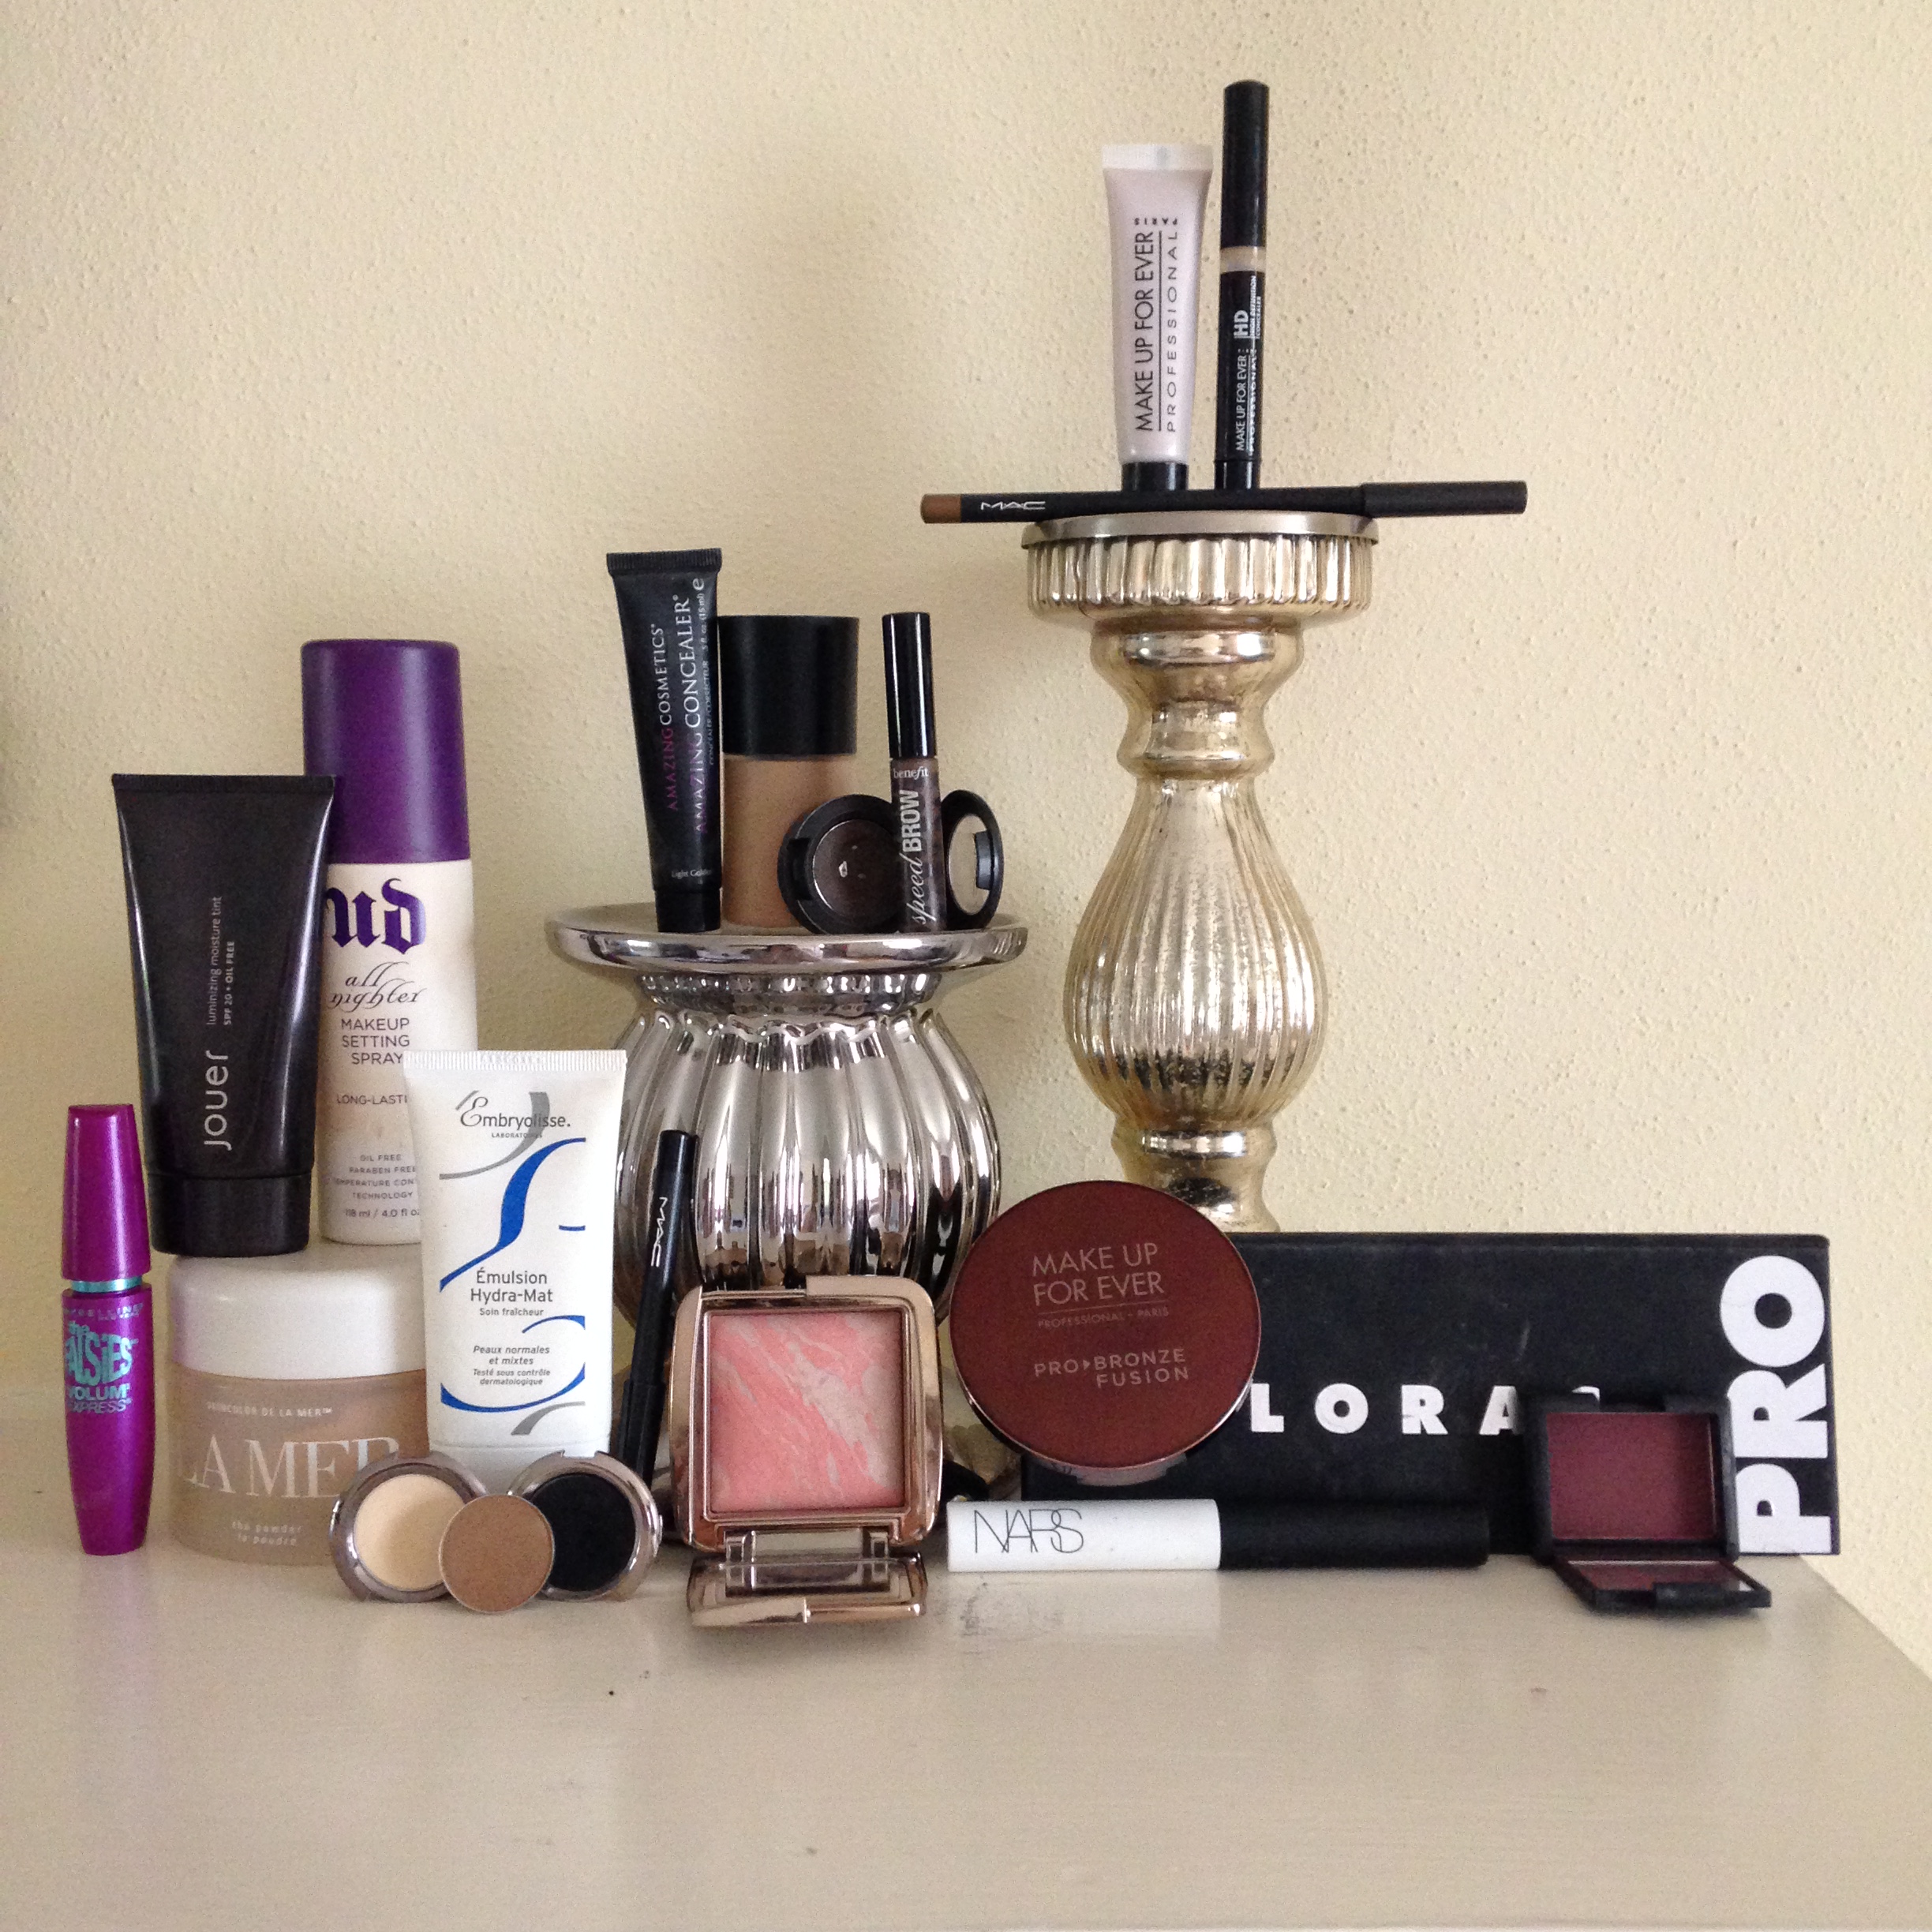
A little while ago, I read Maskcara's post on her personal makeup capsule, and I was inspired to create my own.  Instead of trying to narrow down my collection into just a few pieces, I imagined what I'd put in my bug out bag in case of the zombie apocalypse, so I picked my favorite item in each category of Skin, Eyes, Lips, Brushes, and Tools.  This week I'll cover Skin and Eyes, so stay tuned for the rest of the list coming next week.

Skin

IMG_3118

1. Primer

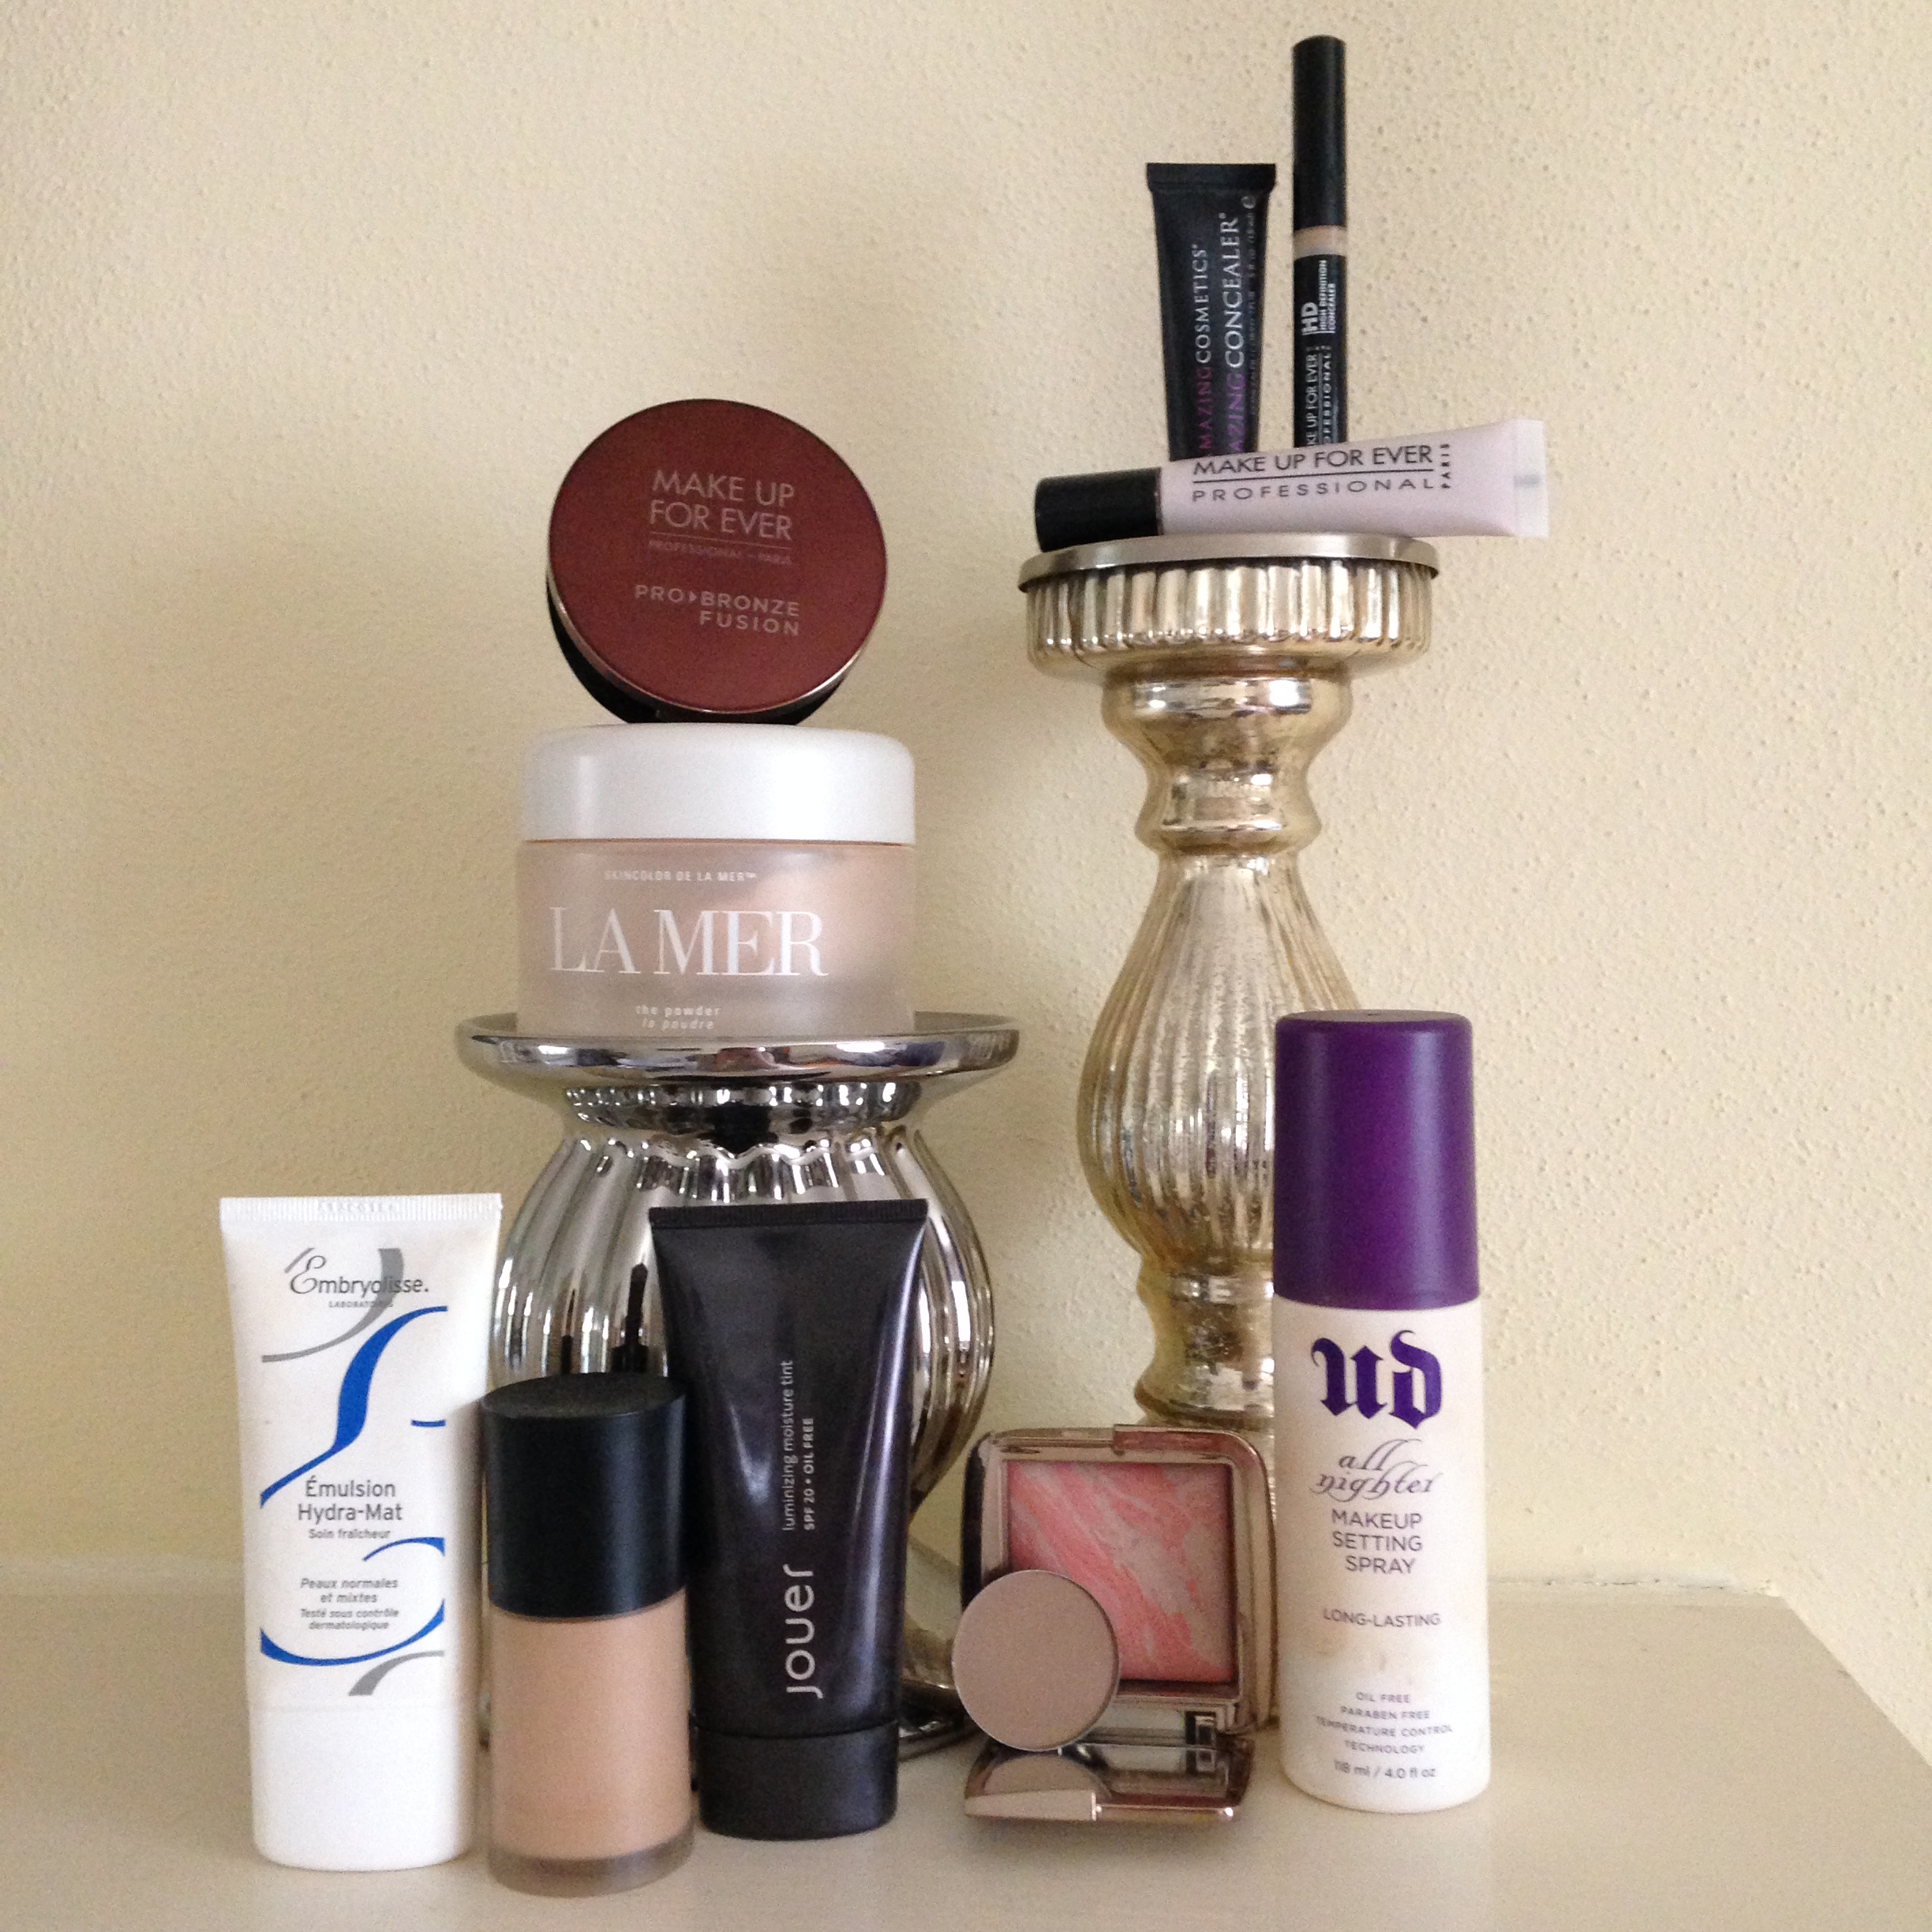
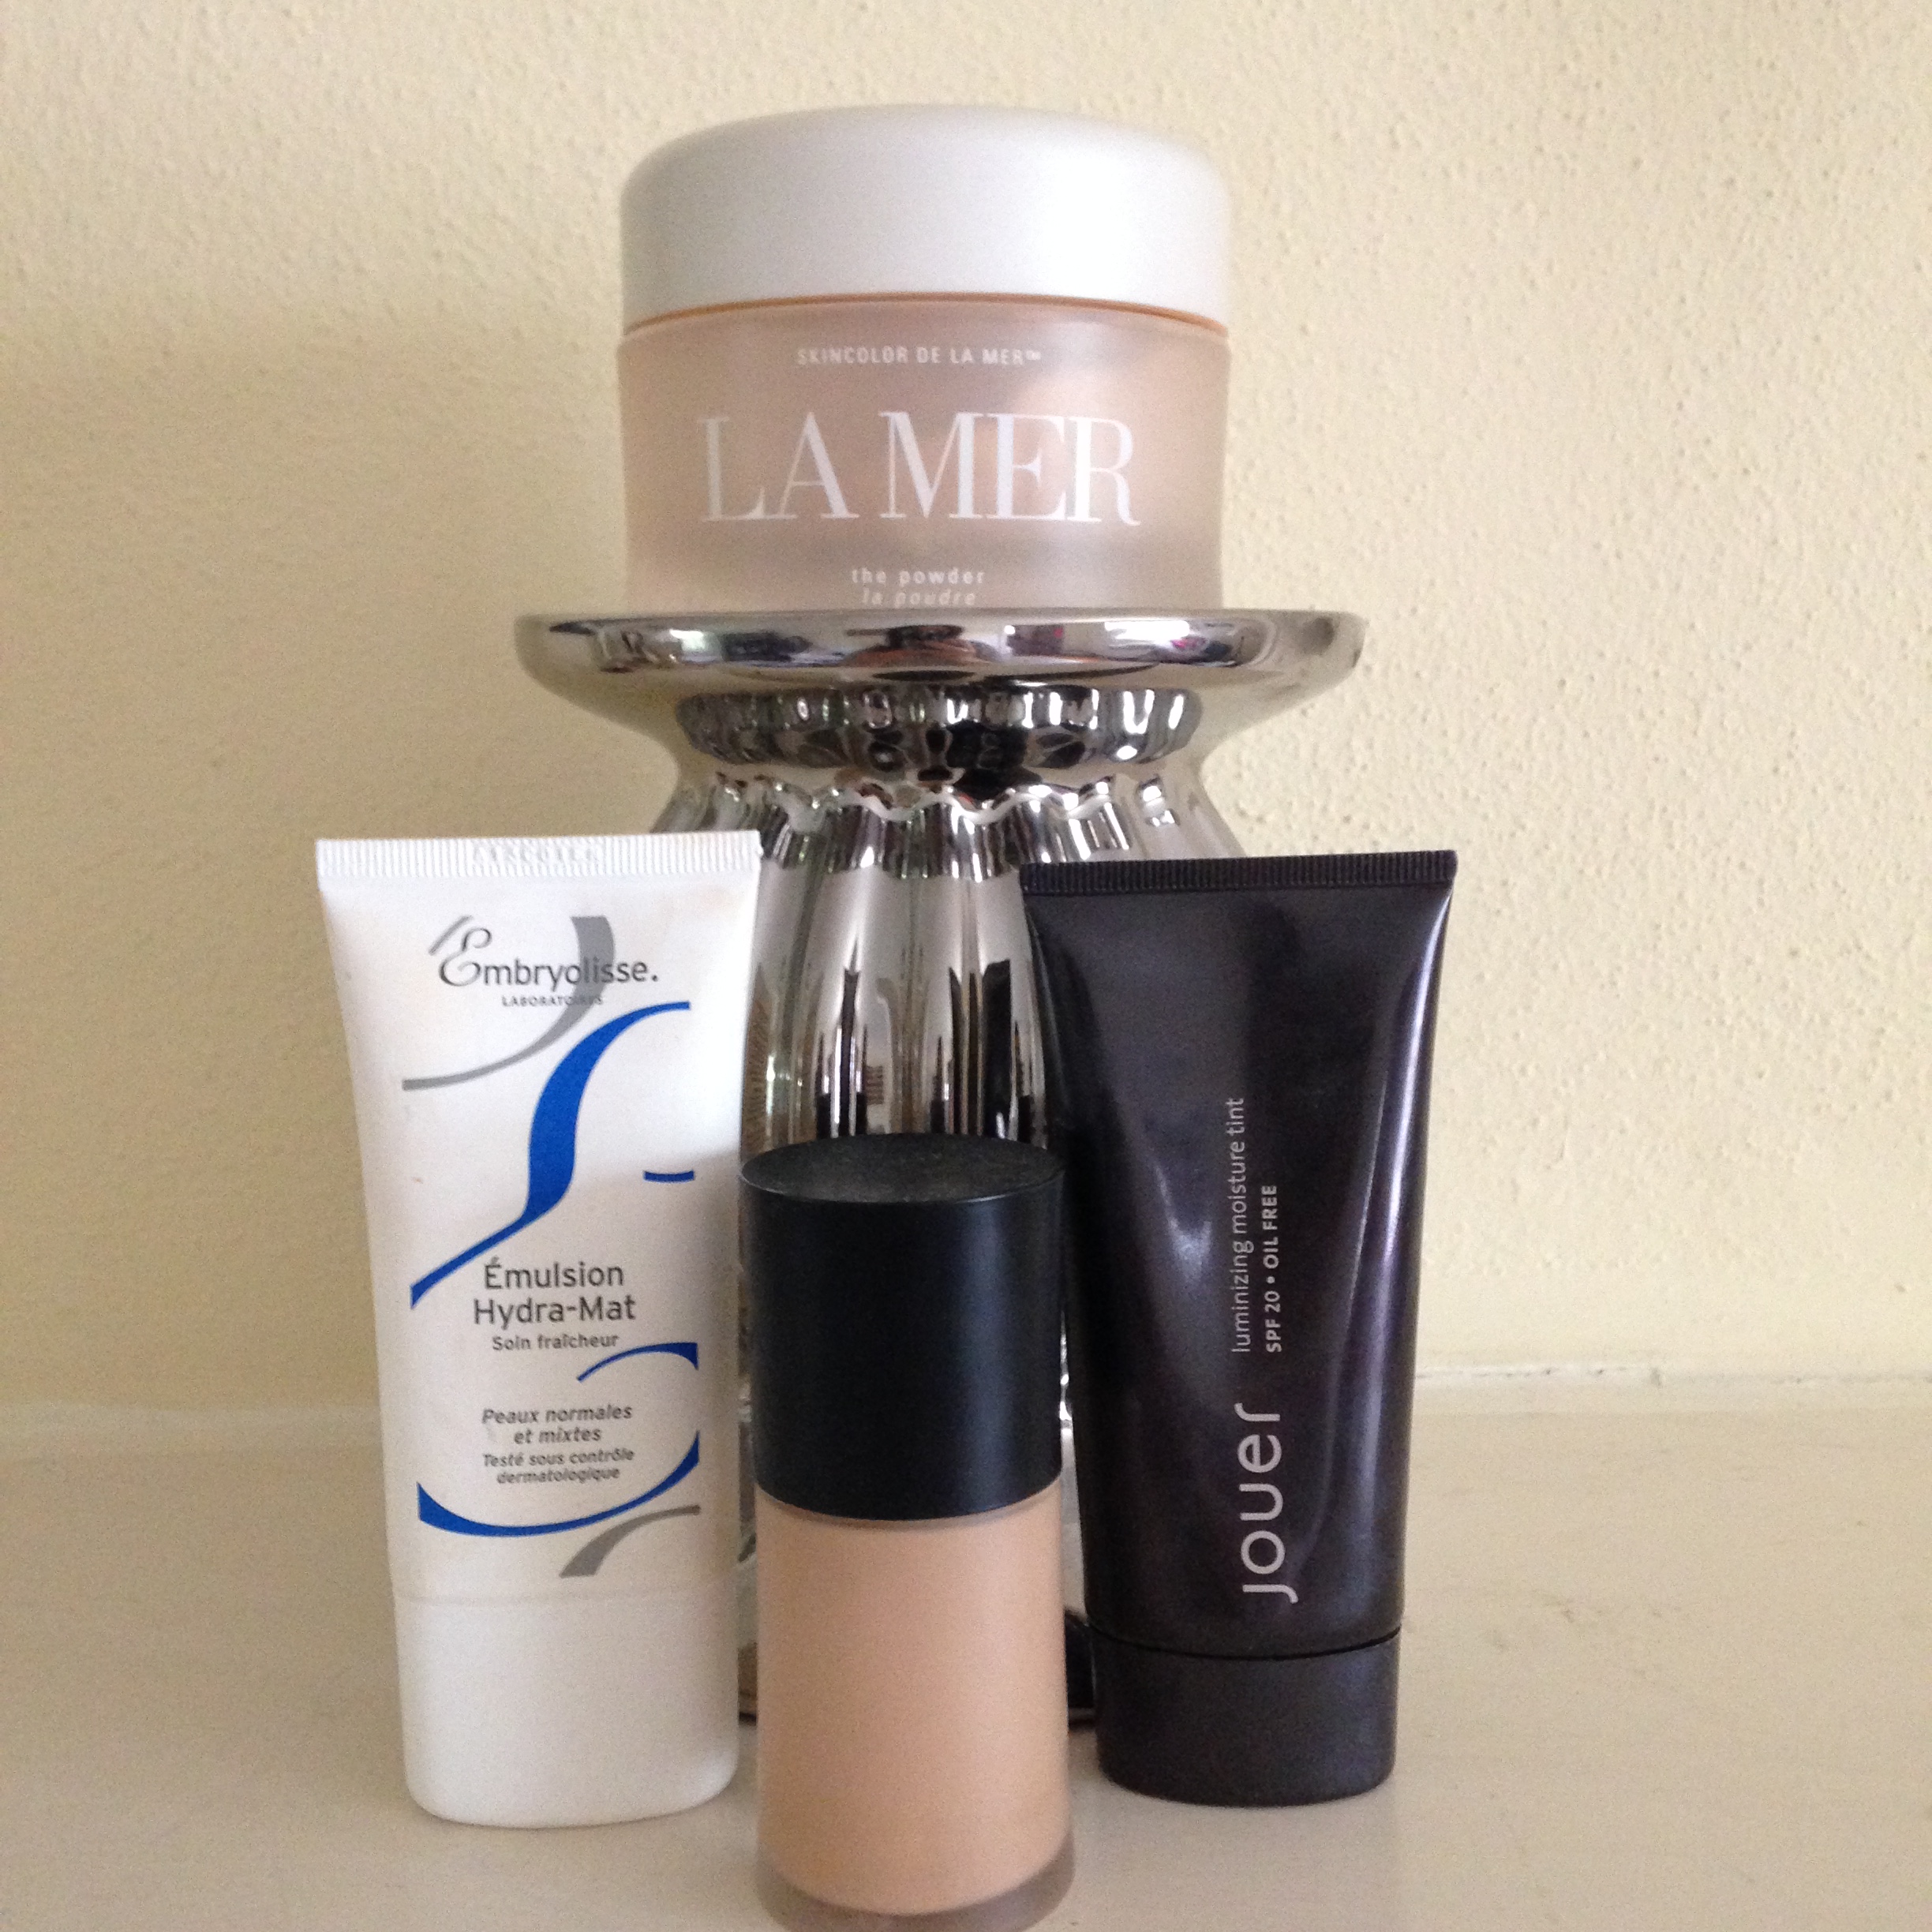
Embryolisse Hydra Mat: a moisturizer that's matte without oil-absorbing properties and perfect for dry skin

2. Foundation

Armani Luminous Silk: it's been my go-to for several years because it looks like skin and is lovely in photos

3. Tinted Moisturizer

Jouer Luminizing Moisture Tint: sheer coverage that lasts all day and provides sunscreen

4. Powder

Creme de la Mer The Powder: weightless, sheer happiness that never cakes or looks heavy

IMG_3124

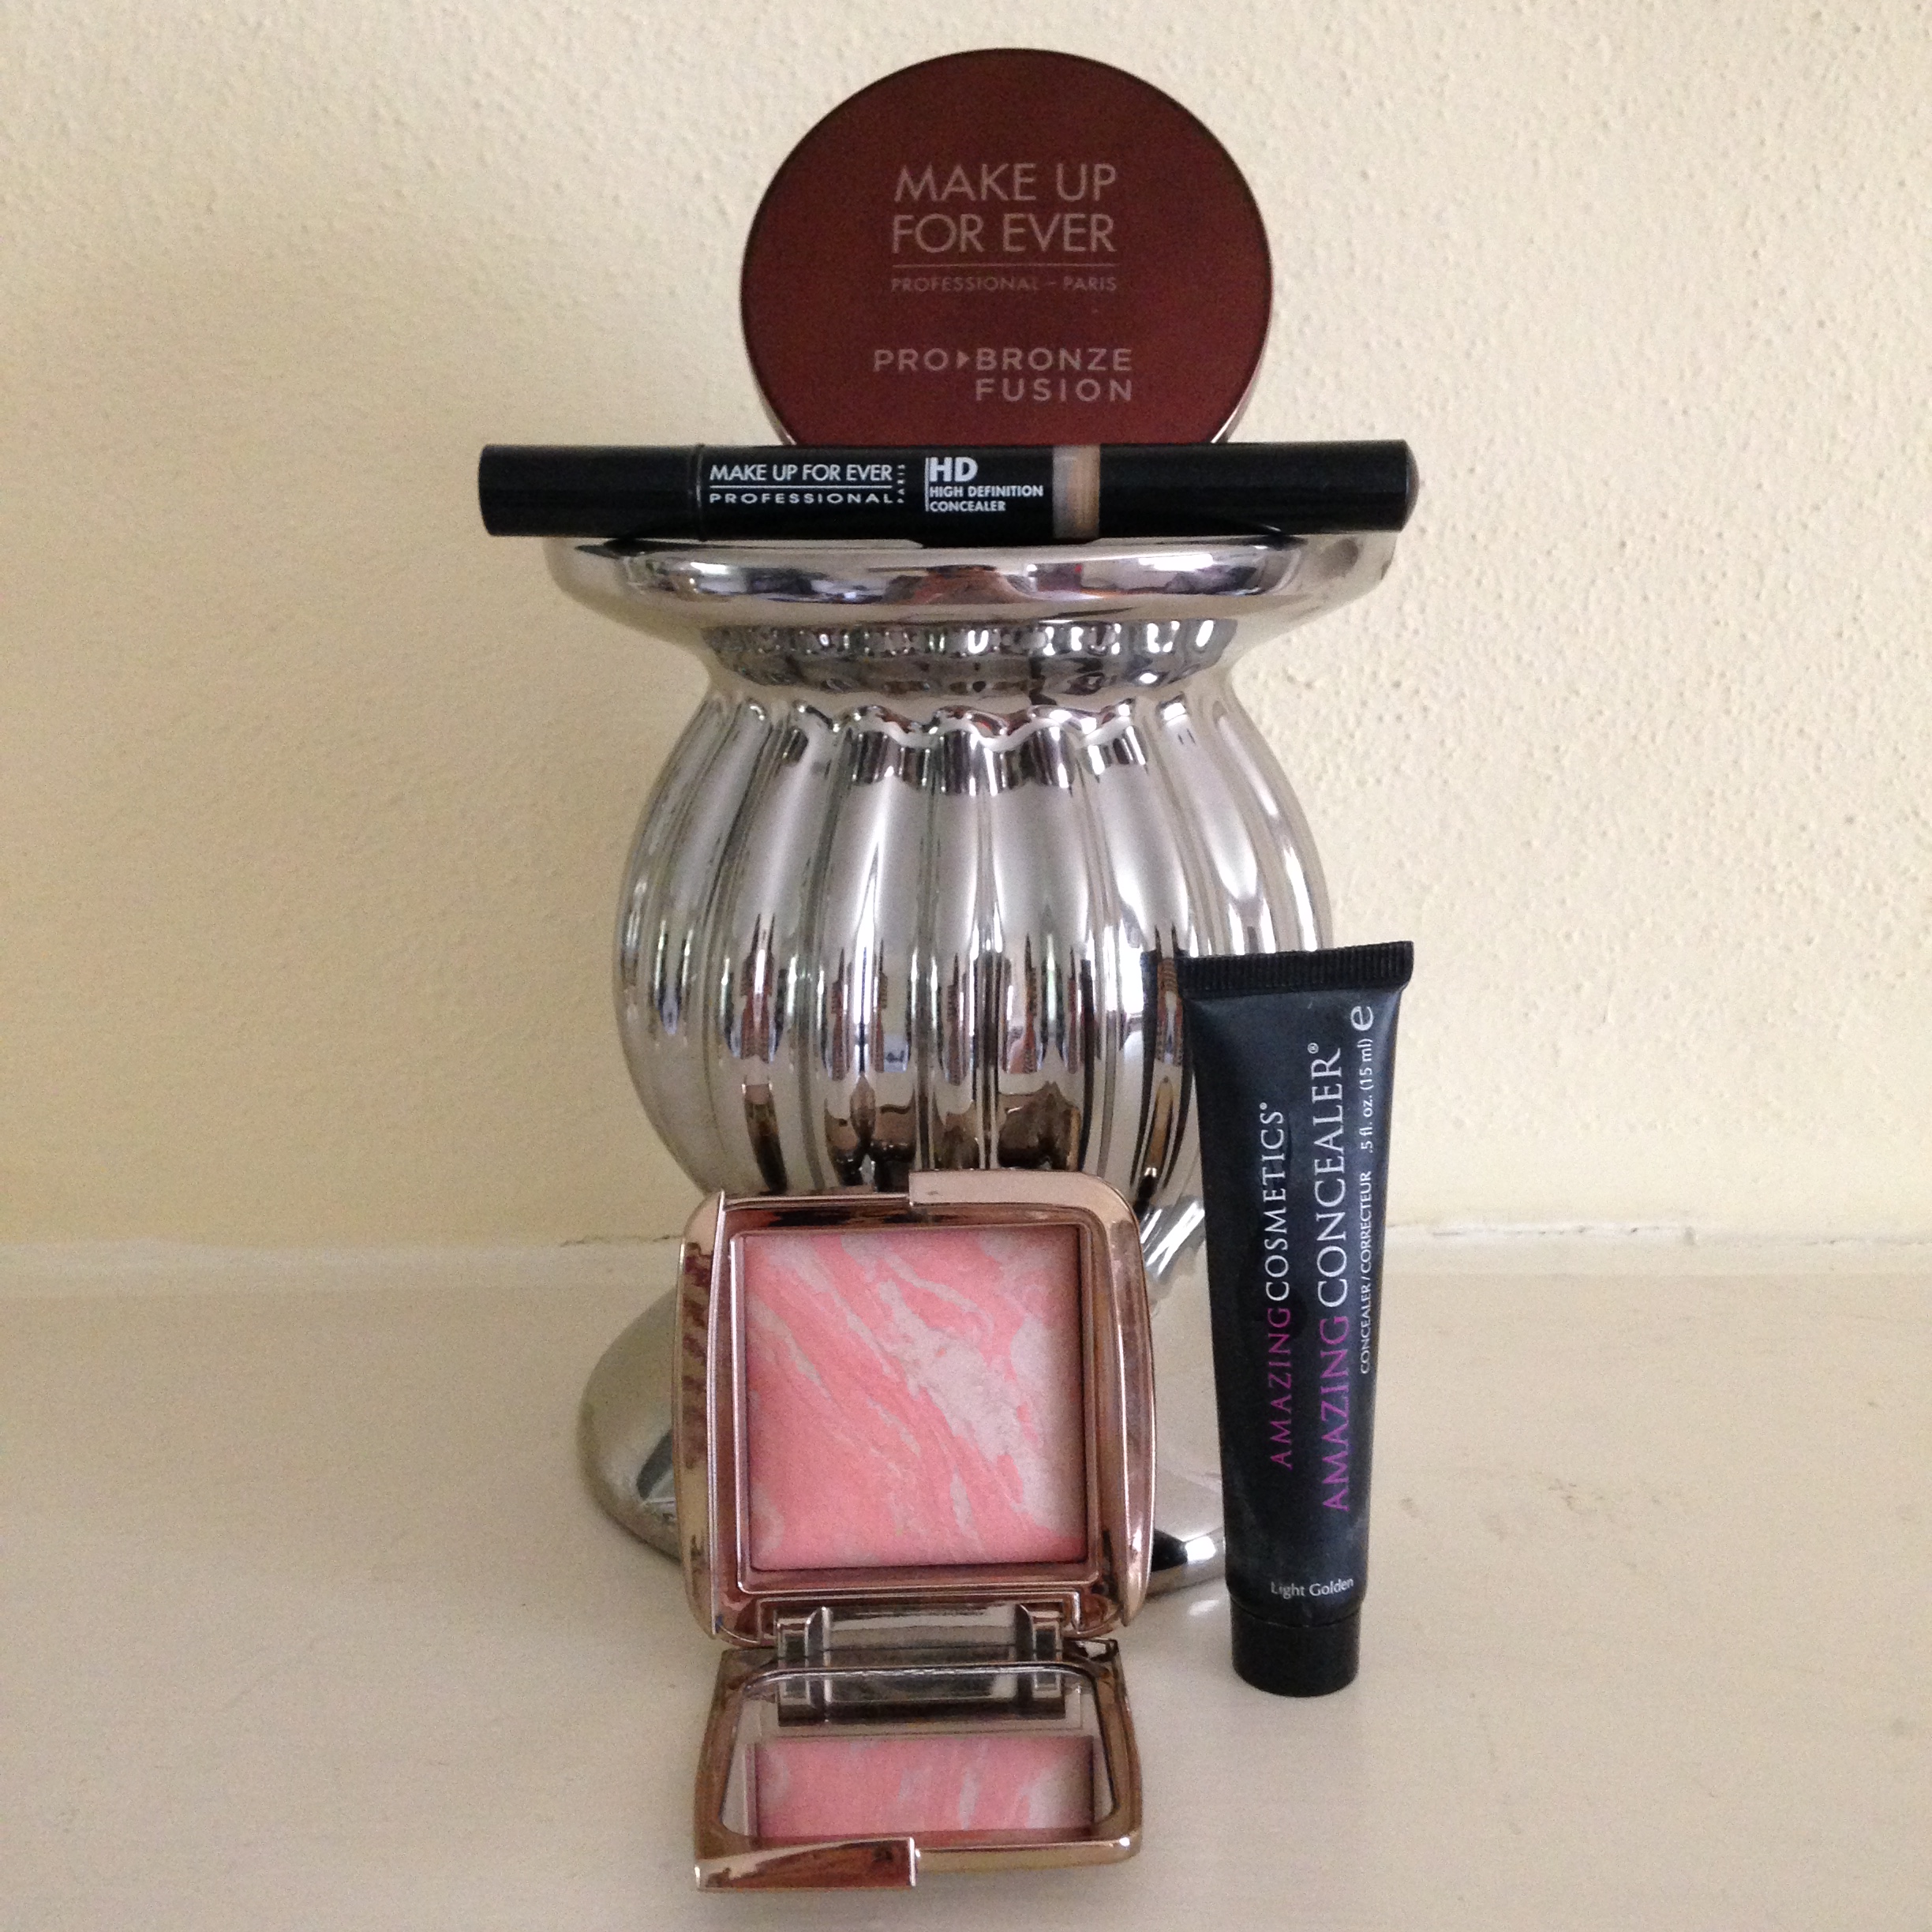
5. Concealer

Under Eye - Amazing Cosmetics Amazing Concealer: covers dark circles with no creasing

Skin - MAKE UP FOR EVER HD Invisible Cover Concealer: excellent coverage that looks like skin

6. Blush

Hourglass Ambient Lighting Blush: a gorgeous whisper of color that doesn't look like blush

7. Bronzer

MAKE UP FOR EVER Pro Bronze Fusion: a brand-new formula that's practically imperceptible except for the warmth in your skin

IMG_3125

8. Contour

Anastasia Beverly Hills Contour in Fawn: a grey-based contour that perfectly fakes a shadow

9. Highlight

MAKE UP FOR EVER Lift Concealer: with dry skin, I prefer a cream highlighter, and this one brightens and makes the skin look flawless

10. Setting Spray

Urban Decay All-Nighter: never fails to live up to its name

IMG_3126

Eyes

IMG_3119

1. Primer

NARS Smudge Proof Eyeshadow Base: although truly smudge-proof, allows shadow to effortlessly glide over it

2. Base Shade

Urban Decay Foxy: for my skin, this is a brightening option that can easily stand alone

3. Crease Shade

MAC Cork: a warm shade that blends seamlessly

4. Liner Shade

Urban Decay Blackout: a deep, dark matte that I can also blend into a smokey eye

5. Accent Shade

NARS New York: such a versatile shade that brings out the green in my eyes

IMG_3127

6. Top Eye Liner

MAC Eye Kohl in Smolder: tried and true GOAT (Greatest Of All Time)

7. Bottom Eye Liner

MAC Eye Kohl in Powersurge: a new favorite that actually stays in place

IMG_3129

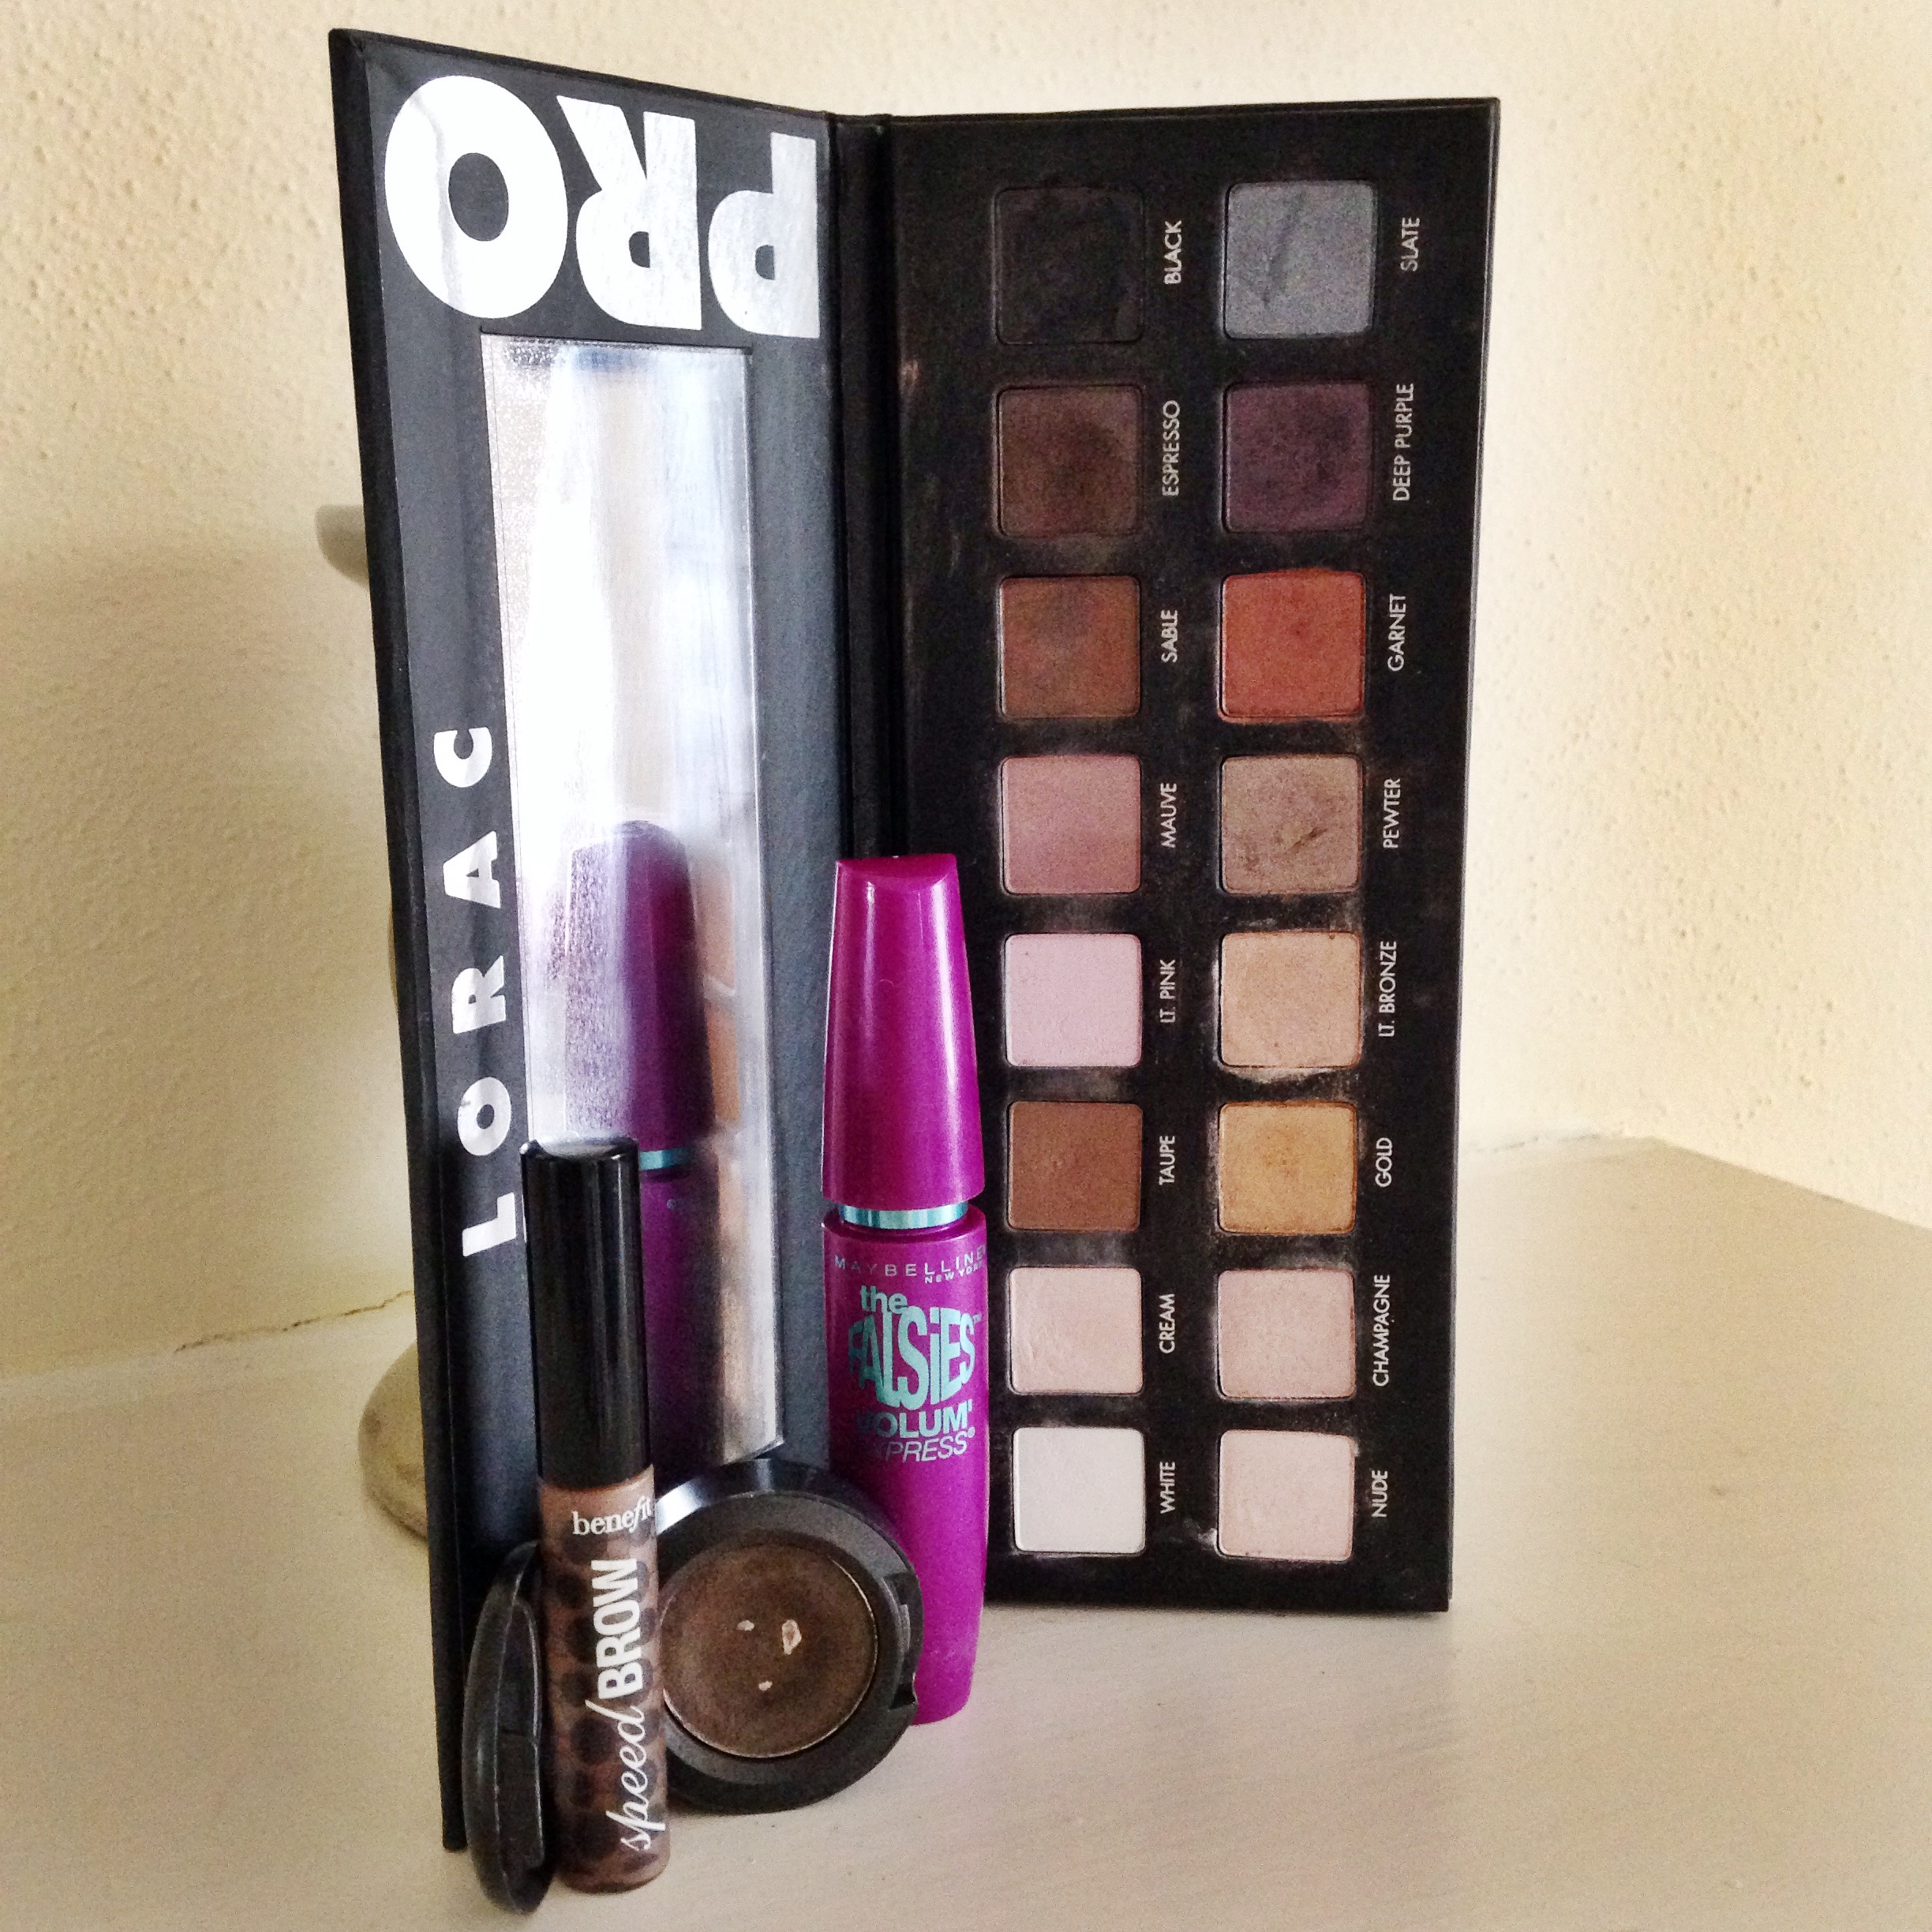
8. Mascara

Maybelline Falsies in Blackest Black: I always, always come back to this

9. Brows

MAC Brun eye shadow + Benefit Speed Brow: my favorite combo for natural, long-lasting brows

10. Palette

LORAC Pro: an equal amount of shades in matte and satin/metallic gives you endless options for every occasion

IMG_3134

Blush: Apples vs. Bones

Where exactly does one put blush? Shown here, I stick to a coral shade applied to where my cheek bones stick out the farthest.  Super makeup artist James Vincent notes that if you’re using red/pink shades, put it more towards the front of the face so it gives you a flushed, ski bunny effect.

For an all-inclusive tutorial that I adhere to religiously, Mr. Wayne Goss gives an incredible and definitive list of blush placement options here.

Not really a blush girl myself, my favorite powders are from NARS in Orgasm and Gaiety, and my favorite creams are from NARS and Make Up For Ever because of their consistency, blendability, and longevity.

Makeup-Free Day (Mostly)

mfd1.jpg

I recently worked 16 days in a row.  When I had that 17th day off, I had so much catching up to do that I didn’t even take a sip of water, so I certainly wasn’t focused on putting on makeup.  Still, the act of applying makeup is almost soothing for me, so I wanted to do a little something.  Thankfully, since I’ve started using Dr. Dennis Gross Skincare Alpha Beta Glow Pads on my face to camouflage my ghostly pallor, I didn’t need to apply anything else to my skin. Only a little concealer, bronzer, brows, eyeliner, mascara, lip gloss, and setting spray were used.  It took maybe five minutes to apply, but it was enough time to take a breath before tackling my day.