skin

How to Get Disney Princess Skin

Disney.jpg

I've been playing around with the "buffing technique" for a little over a year, and I can't believe how cool this trick is...you'll see the proof at the end. It makes me feel like a Disney Princess, and I hope you'll give buffing a try. P.S. If you could see me right now, I'm doing my happy dance, which kind of looks like this:


via GIPHY

I'm so thrilled because I've spent hours upon hours of my life sifting through YouTube footage and blog posts about buffing, then trying out different combinations of all that info, so I can definitively state that layering proudcts in a certain way, then buffing them all together, makes your skin look insanely beautiful. Stick with me - this post is a long one - but I'm taking off next week to celebrate Thanksgiving so think of it as a two-for-one special!

Step 1: Skin Prep

There's a lot going on with this look, so it's imperative that your skin is ready. I make sure to follow my normal morning skincare routine: cleanse, exfoliate, tone, apply serum/eye cream/moisturizer. If I have time, I also like to do a peel or mask after the exfoliation step.

Glossier

Once I'm ready to start with the makeup, I use a thin concealer on my lids and dust on a light layer of translucent powder. I then mix a primer with an illuminator, and smooth the concoction all over my face and neck.

Step 2: Eyes

Do whatever your heart desires here - I would suggest, at a bare minimum, curled lashes with two coats of mascara.

Here is an easy smokey eye and an over-the-top gilded eye to try.

Step 3: Skin

Now we're getting to the good stuff. Here is the inspiration...

...but I had to take it in another direction. It's like a recipe - I always follow the instructions the first time, but then I start tweaking it to fit my needs. This method requires layers upon layers of makeup that no one really has time to apply (this video, by far, shows the least - many I've seen do a primer, thick foundation, cream contour, highlight and illuminator, concealer, powder, powder contour, powder blush, bronzer and illuminator, and a shovel to remove it all later), so here's my version - which you'll see in action on Friday:

Primer * Concealer * Foundation * Setting Spray * Loose Powder * Powder Contour/Blush/Bronzer/Illuminator * Buff with Pressed Powder * Setting Spray

I realize that still seems like a lot of makeup, but there are a couple of things to keep in mind. First, the addition of the loose powder (this is amazing) keeps you from buffing off your foundation. Second, make sure to add foundation on areas NOT covered by concealer so there is only one layer of product (even though there are two products).

Step 4: Brows and Lips

Fill in your brows, add your favorite lippie and you're done! I'm not wearing any lipstick in the photos below because I got so excited about the skin that I just hauled off and started snapping. Please forgive me.

*Can't-Miss Tips*

*Sheer down the foundation by adding some moisturizer, primer or illuminator (unless you want full coverage) to keep it light

*When it comes to the powder blush/bronzer/contour part, you don't have to do all three. I would suggest picking at least blush or bronzer so the face has dimension - and if you do contour, I would also blend that out with some blush and/or bronzer

*Make sure setting spray dries before adding loose powder. This is still my favorite.

*This one is important! When applying the loose powder, you need to use a powder puff or sponge to press and roll the powder into the skin. Don't be afraid of it! You'll knock off the excess when buffing

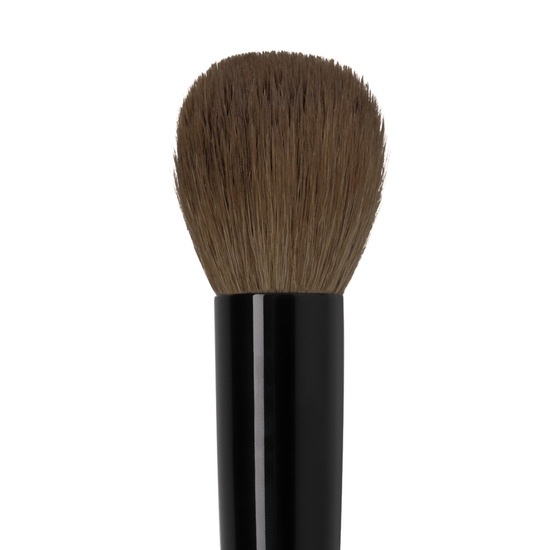
*The buffing brush doesn't have to be special, but it should be soft with a flat-ish top. A great steal is from Real Techniques - only $9! For a luxury option, you can't beat Wayne Goss's #13 for $53.


Real Techniques

Wayne Goss

The Three Things That Make This Awesome

Out of all the versions of the buffing technique I tired, these are the three constants, the three things you must do in order for this to work:

  1. Make sure your concealer and foundation do not overlap
  2. Press the loose powder over the entire face
  3. Don't be scared to buff for a while, making sure to use the smallest amount of pressed powder on the brush

The Proof

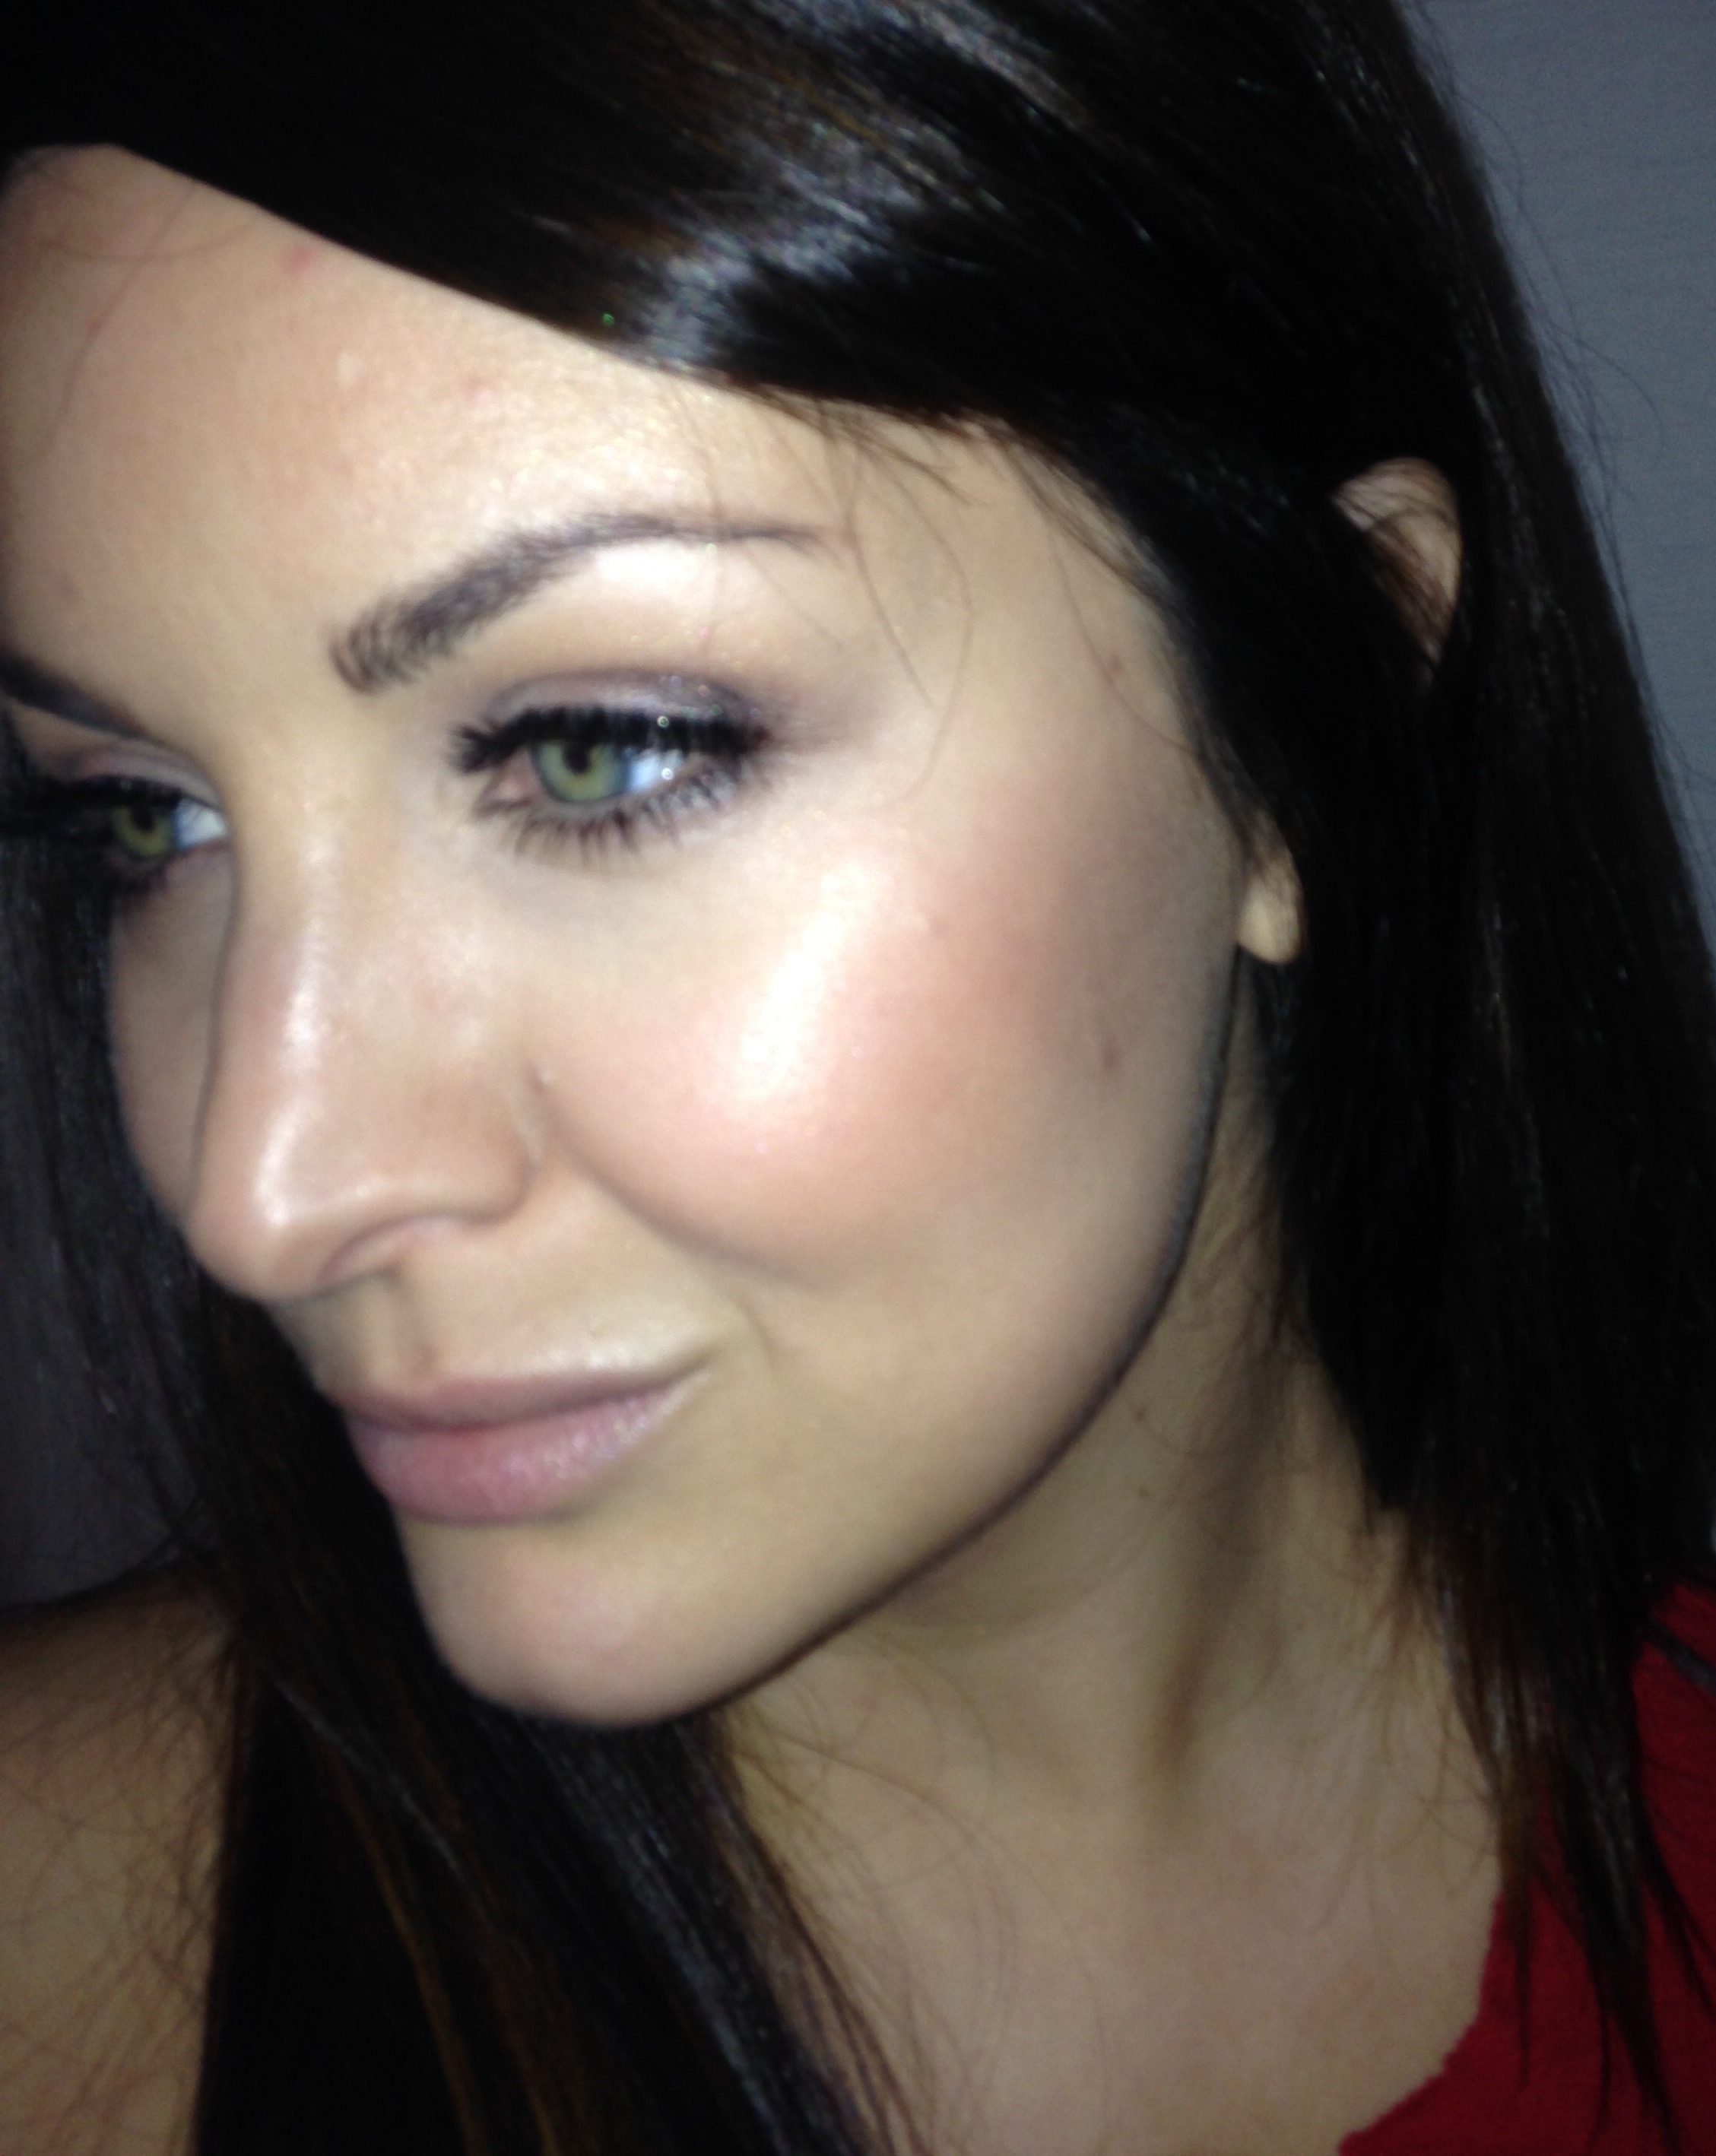
These are un-retouched, unedited iPhone photos in a dark room with a flash - a.k.a. the worst light possible.

image1 image2

RIGHT?! You can still my skin - I intetionally did not cover sunspots/freckles/pimples to show that even with all of those "layers," the buffing action beautifully blends everything together and makes the makeup look like it's your skin (if your skin were made of glass).

~~~~~~~~

I feel like I need a nap after all of that. I really do hope you'll give this a try, and don't forget to follow @ElectraLane on Facebook and Instagram so you don't miss the Friday Flash of this look (a sped-up demo). As always, thanks for stopping by, and please subscibe to this blog! As I mentioned, I'm taking next weekend off for Thanksgiving, so I hope you enjoy your week.

Images: Author, Ulta.com, Beautylish.com, Google Images

2016 Beauty Forecast

jennifer-lopez-makeup-tutorial.jpg

Not one for trends, I tend to veer towards the classics.  This year, though, I’m definitely on board with 2016’s big makeup trend - glowing-from-within skin.  Think: Jennifer Lopez. celebuzz.com

Her makeup artist, Mary Philips, creates an incandescent, never shiny, radiance that is always appropriate and looks just as good on film and photography as is does in person.  Disclaimer: I used to work with someone who worked with Ms. Lopez’s assistants, and JLo dropped an enormous amount of money on keeping her skin flawless.  I don’t blame her, I would, too!  That said, please don’t be too disappointed if your skin doesn’t turn out *quite* as luxurious as hers.

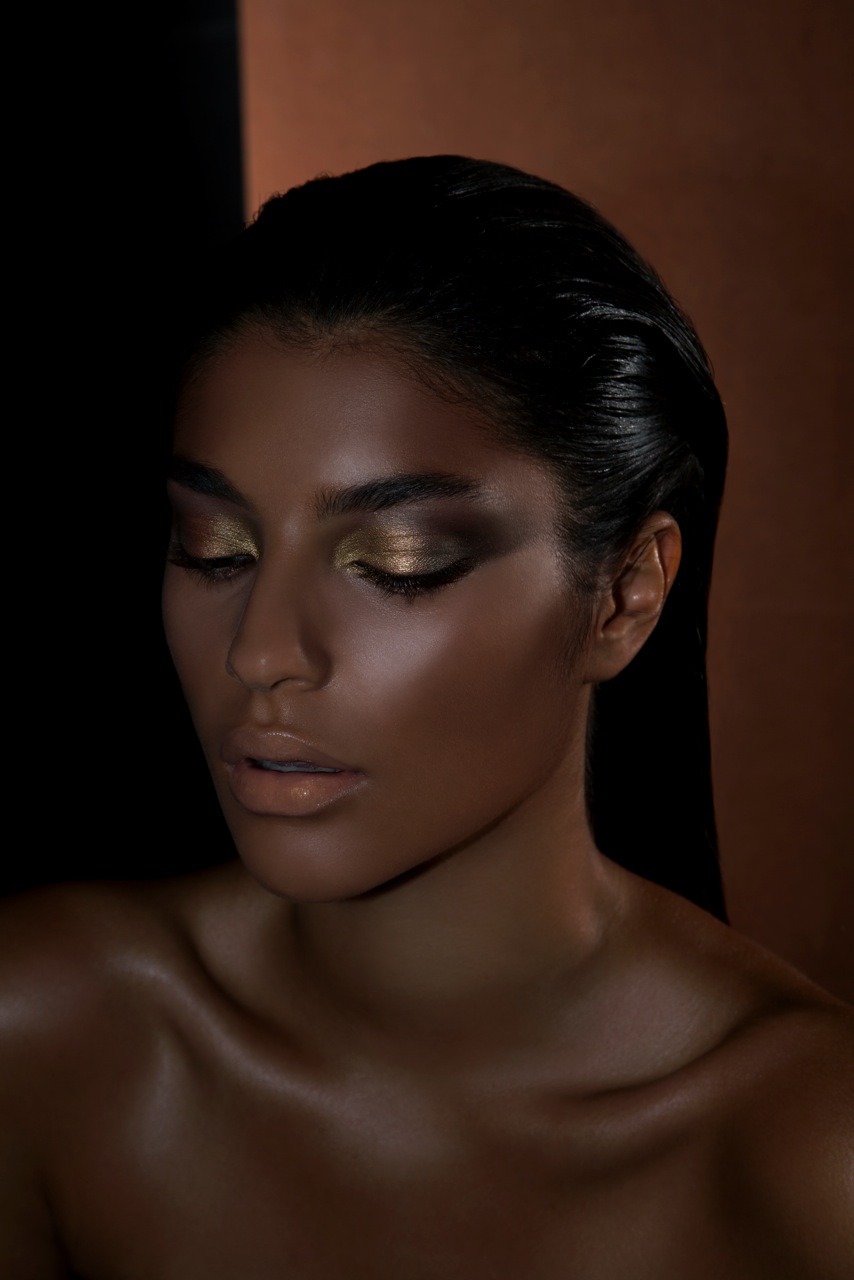
Another rock star in this category is makeup artist Natasha Denona.  She even has a “Glow Collection” to help you attain the most ethereal skin.

370329928733737213536

And it would be ridiculous not to mention Wayne Goss, who has preached and perfected luminous skin before it was cool.

So how can we normal folk get the glow (without looking like a flashbulb or the $$$ price tag)?  I’m so glad you asked.

EXFOLIATE & MOISTURIZE

You're building a house.  You've put down beautiful hardwood floors, but they need stained to reach their full potential (we’ve been rolling through Fixer Upper on Netflix, just stay with me).  Before you can stain them, though, you have to sand them so the stain can really get into the wood.  Likewise, your face is the floor and the stain is your moisturizer.

Both are really important, but if you don't gently exfoliate on the regular, even the best moisturizer can't get through gunky pores to do its job.  You can add a little sugar to your daily cleanser, use a manual device like the Clarisonic, or even a good, old washcloth.  Just make sure to gently exfoliate at least three times a week (more or less depending on skin's sensitivity), then repair and moisturize your skin with a suitable skin cream or oil.

HYDRATE

Drink water and get your electrolytes and healthy fats!  The vast majority of my clients are dehydrated.  Though they're not walking around like a lost soul in the desert, their skin has a slightly scaly texture, it's dull, and their lips are chapped.

The magic amount of water is half your weight in ounces, so 75 ounces for a 150-pound person.  That's over two liters.  And if you drink caffeine, you're supposed to replace those ounces with water, too.  I know it sounds daunting, but just try to have some water with you at all times in case the urge strikes.

Something I just learned recently is that even though my water intake was good, it wasn't "sticking" because I wasn't getting enough electrolytes.  Also very helpful are the fats found in raw nuts, salmon and avocados.  I've made those regular diet staples, and I've definitely noticed a more "plump" quality to my skin.

GLOWING PRIMER/ILLUMINATOR

Now that your skin is #IWokeUpLikeThis quality, you'll want to add in a creamy, dewy product either as your primer or into your foundation or tinted moisturizer.  My favorites are the BECCA Shimmering Skin Perfector, Giorgio Armani Beauty Fluid Sheer, and NYX Cosmetics Born to Glow Liquid Illuminator (only $7.50!).  Then, after your makeup is done, dot and blend a little more of the product on top of the cheek bones.

~~~~~

Especially in the cold weather months, radiant skin really perks up my look no matter what other makeup I’m wearing.  A Friday Flash will be coming up showing my glowing skin routine, so make sure to follow @ElectraLane on Facebook and Instagram to catch it.

P.S. For yet another take on this look, check out The Beauty Department's version HERE.


{Featured image c/o Brides.com}

Makeup {Bug Out} Bag Part I

IMG_3120.jpg

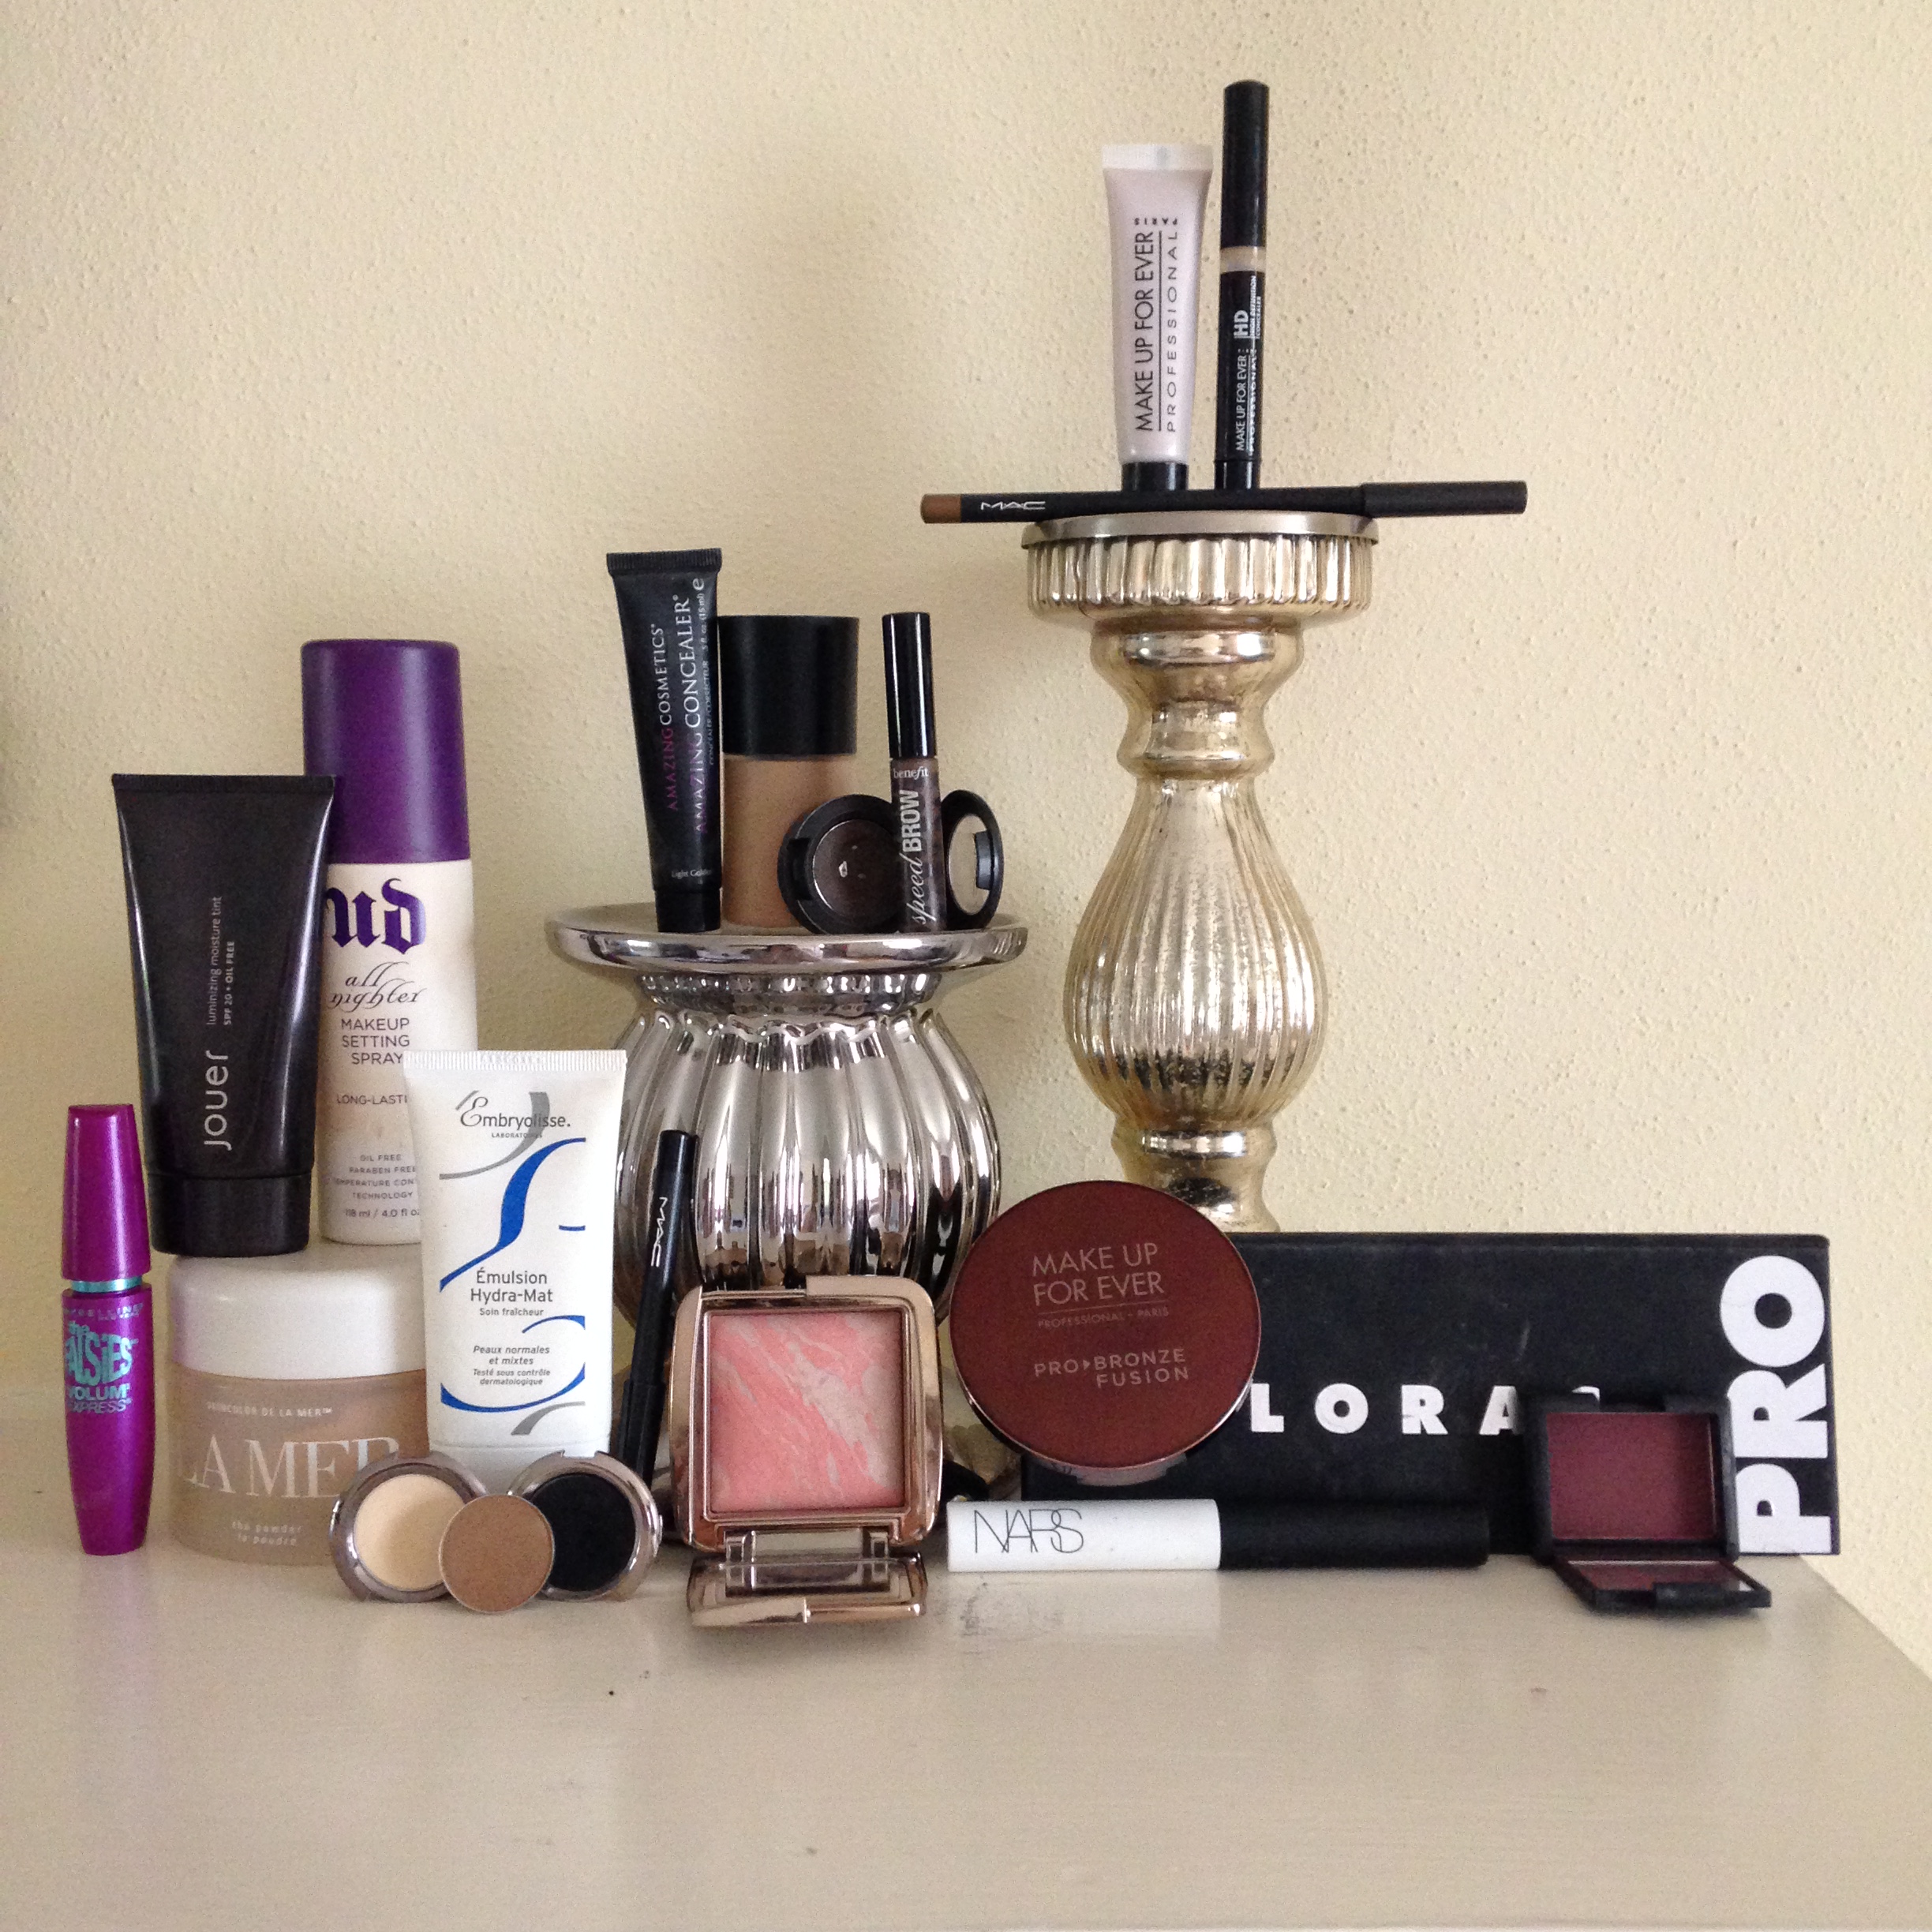
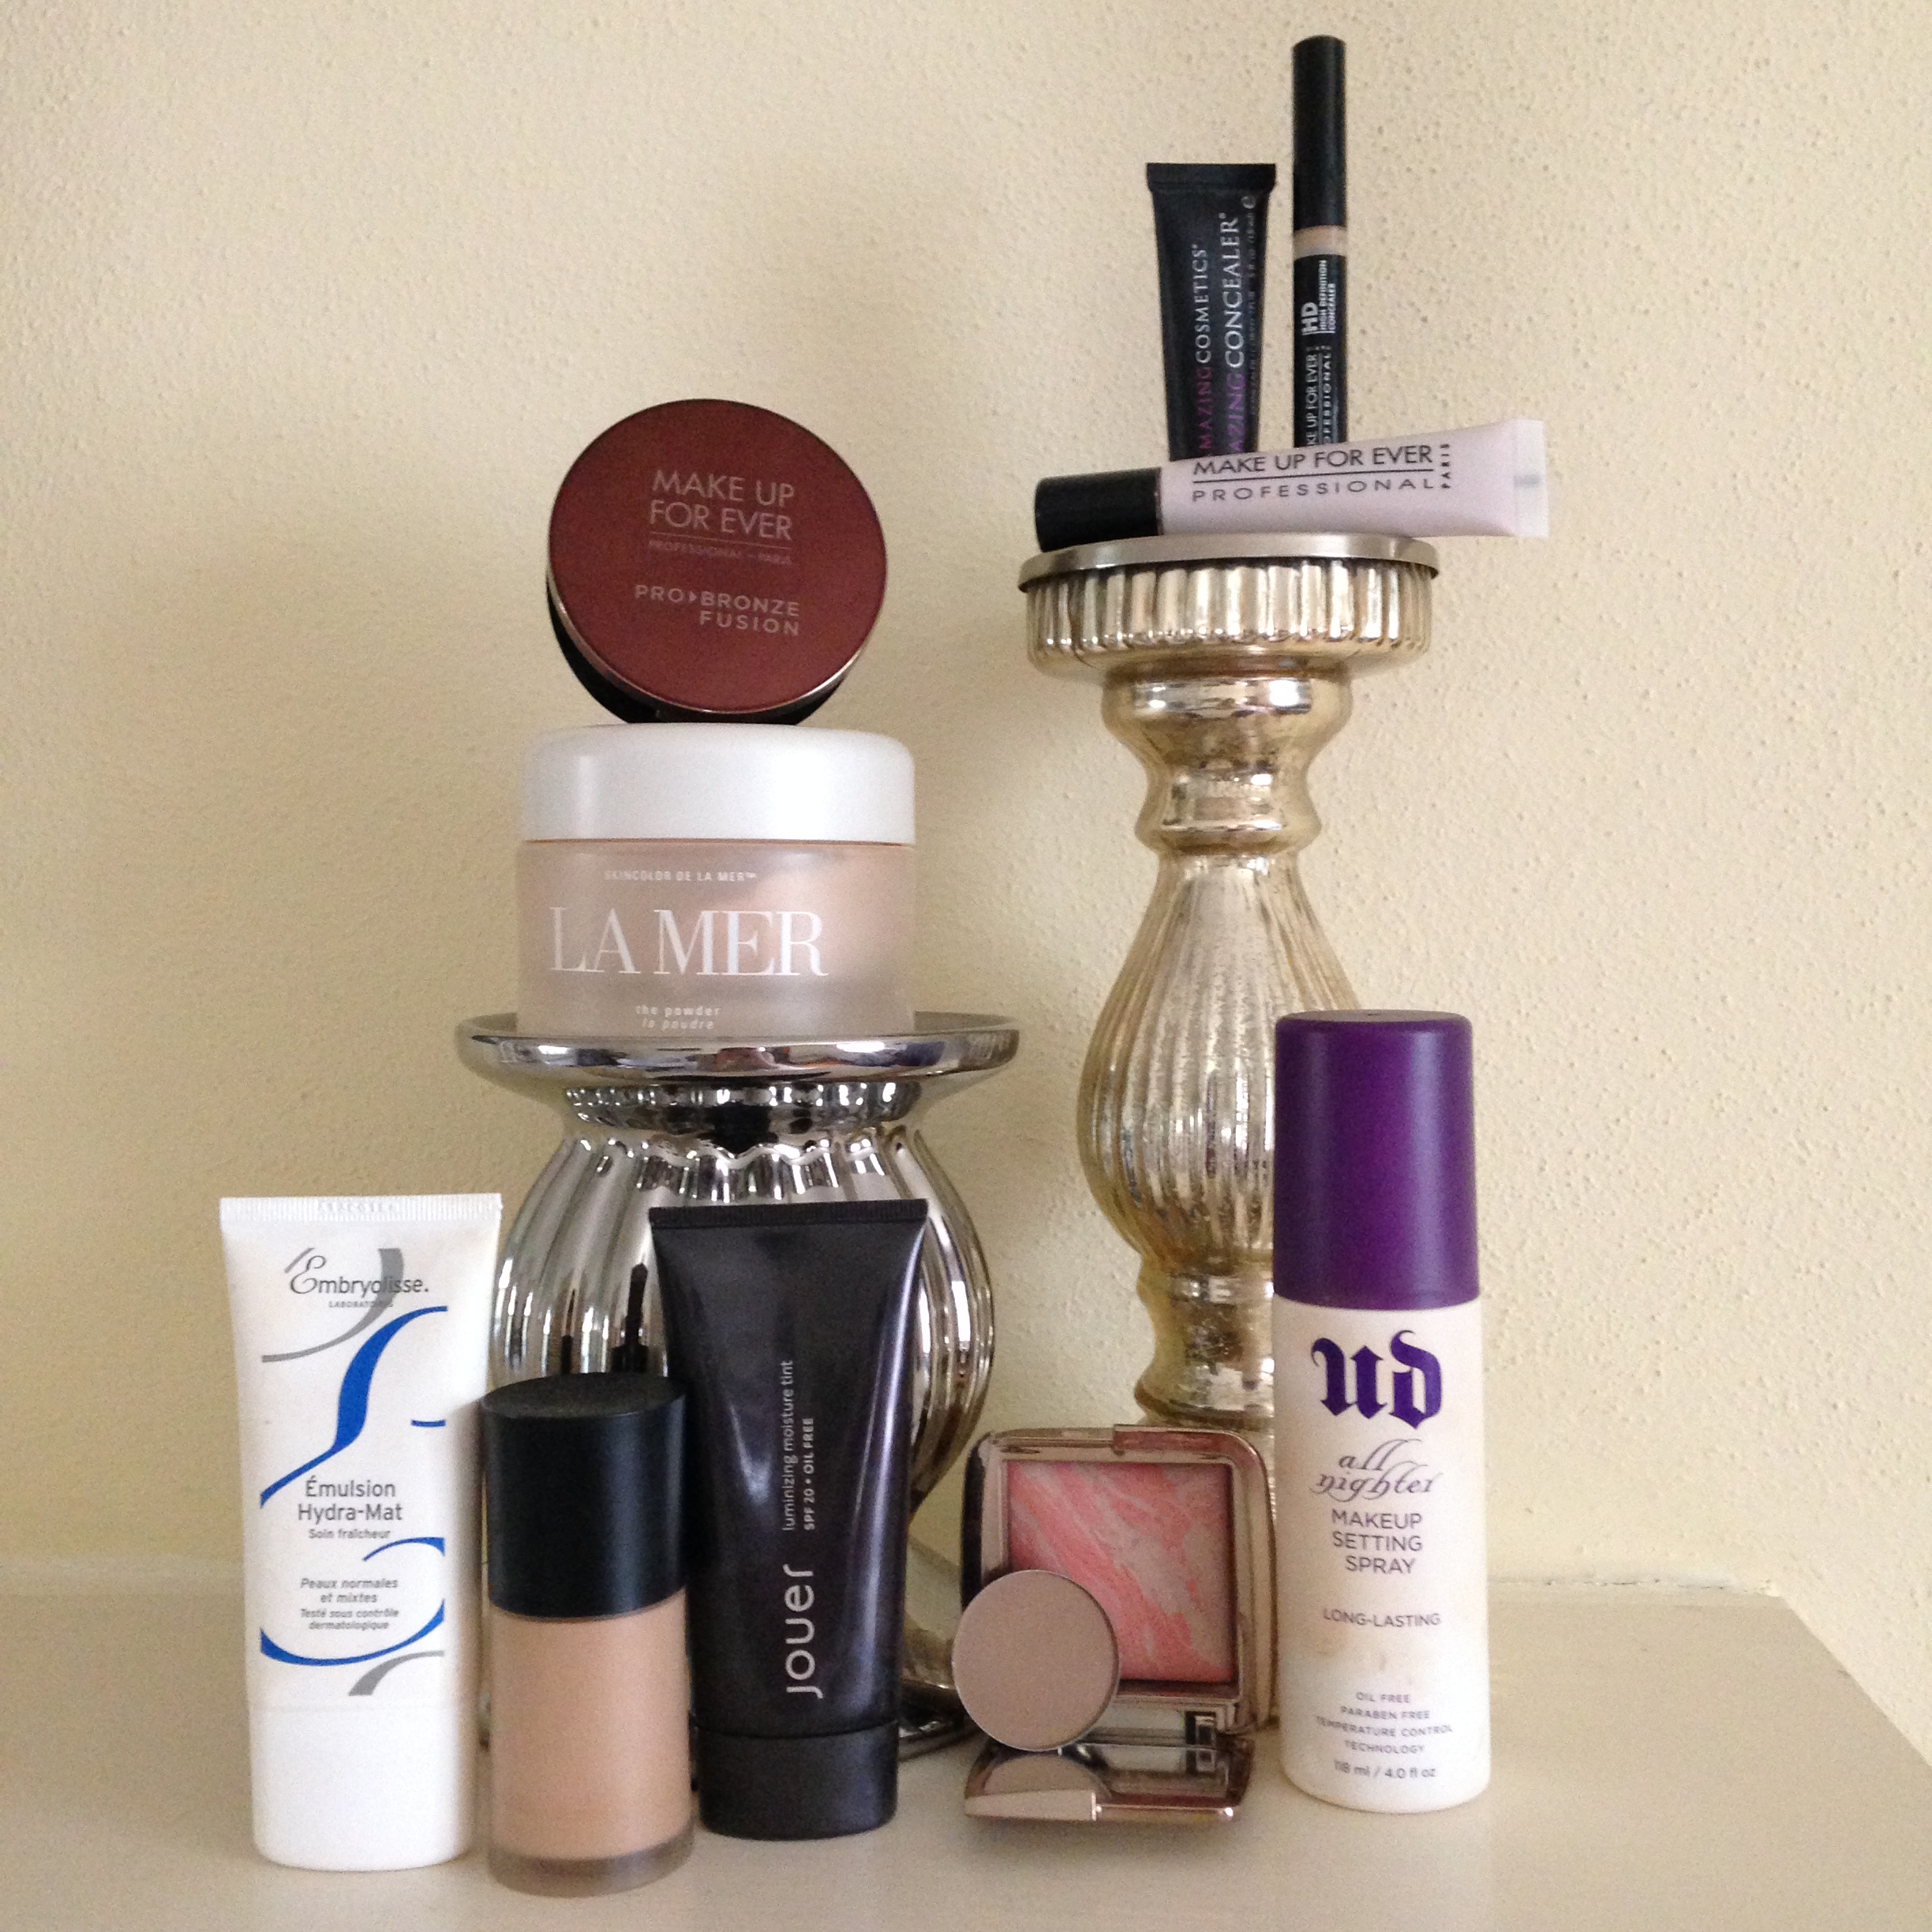
A little while ago, I read Maskcara's post on her personal makeup capsule, and I was inspired to create my own.  Instead of trying to narrow down my collection into just a few pieces, I imagined what I'd put in my bug out bag in case of the zombie apocalypse, so I picked my favorite item in each category of Skin, Eyes, Lips, Brushes, and Tools.  This week I'll cover Skin and Eyes, so stay tuned for the rest of the list coming next week.

Skin

IMG_3118

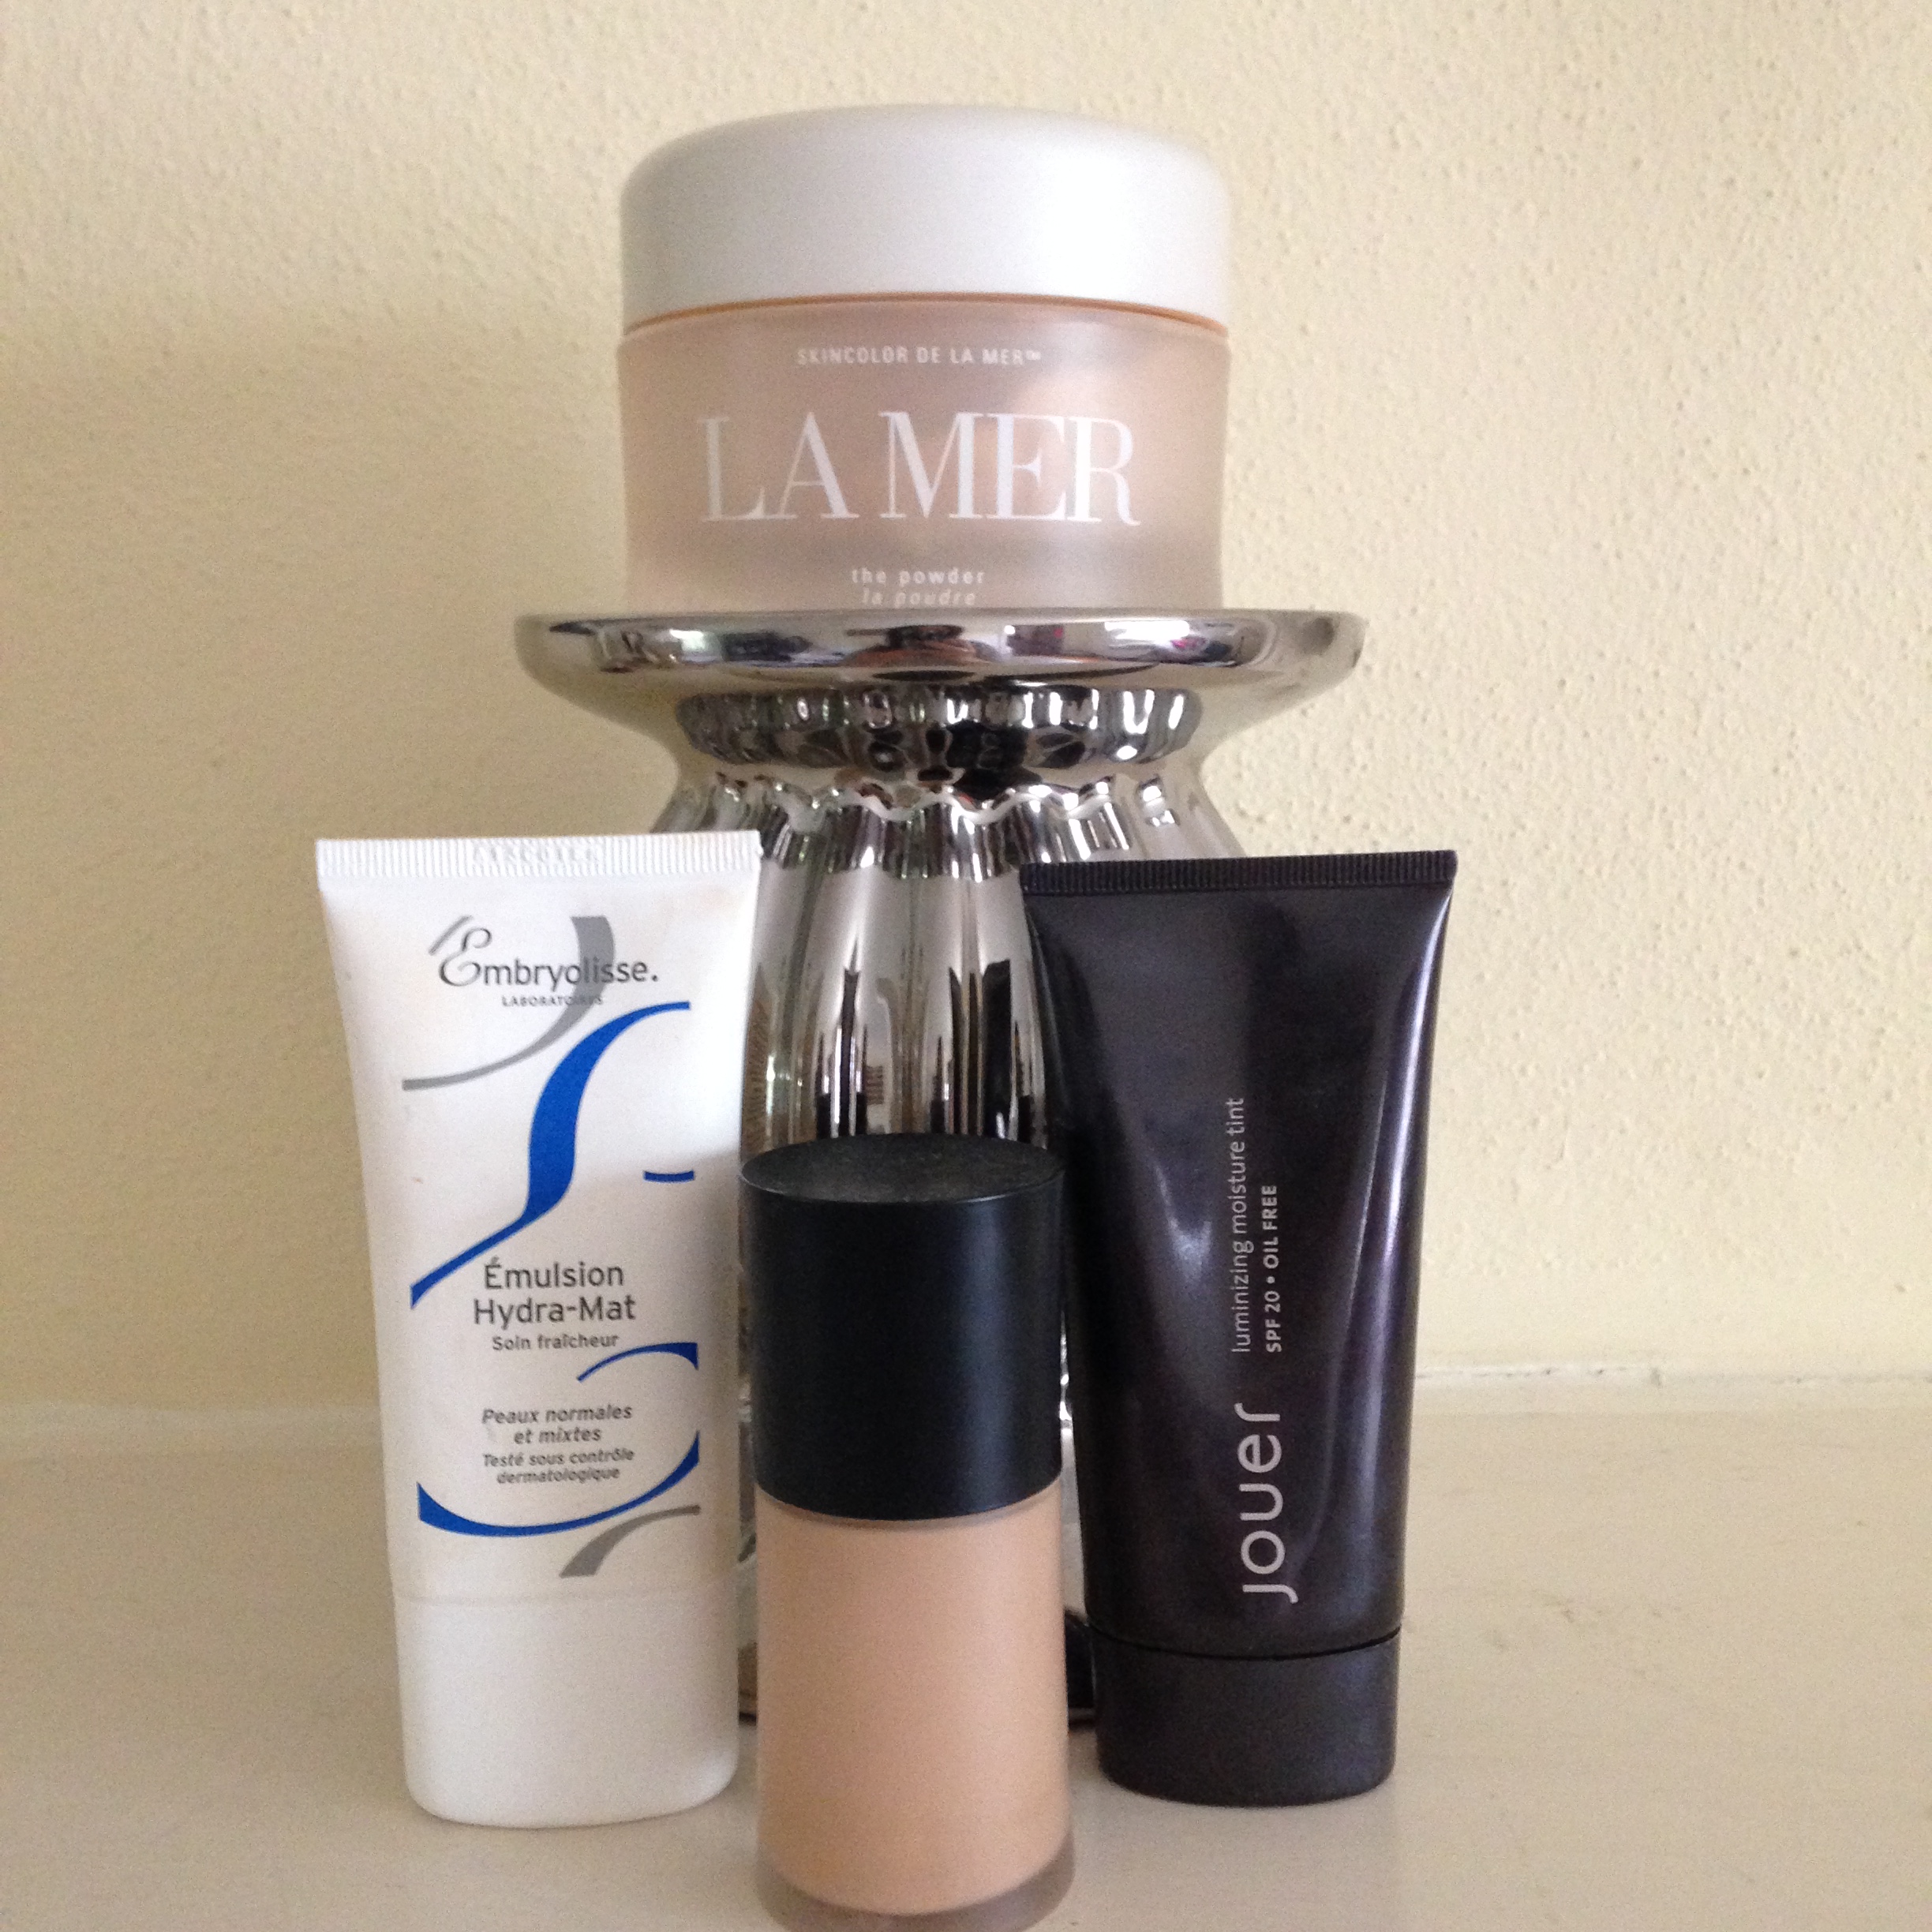
1. Primer

Embryolisse Hydra Mat: a moisturizer that's matte without oil-absorbing properties and perfect for dry skin

2. Foundation

Armani Luminous Silk: it's been my go-to for several years because it looks like skin and is lovely in photos

3. Tinted Moisturizer

Jouer Luminizing Moisture Tint: sheer coverage that lasts all day and provides sunscreen

4. Powder

Creme de la Mer The Powder: weightless, sheer happiness that never cakes or looks heavy

IMG_3124

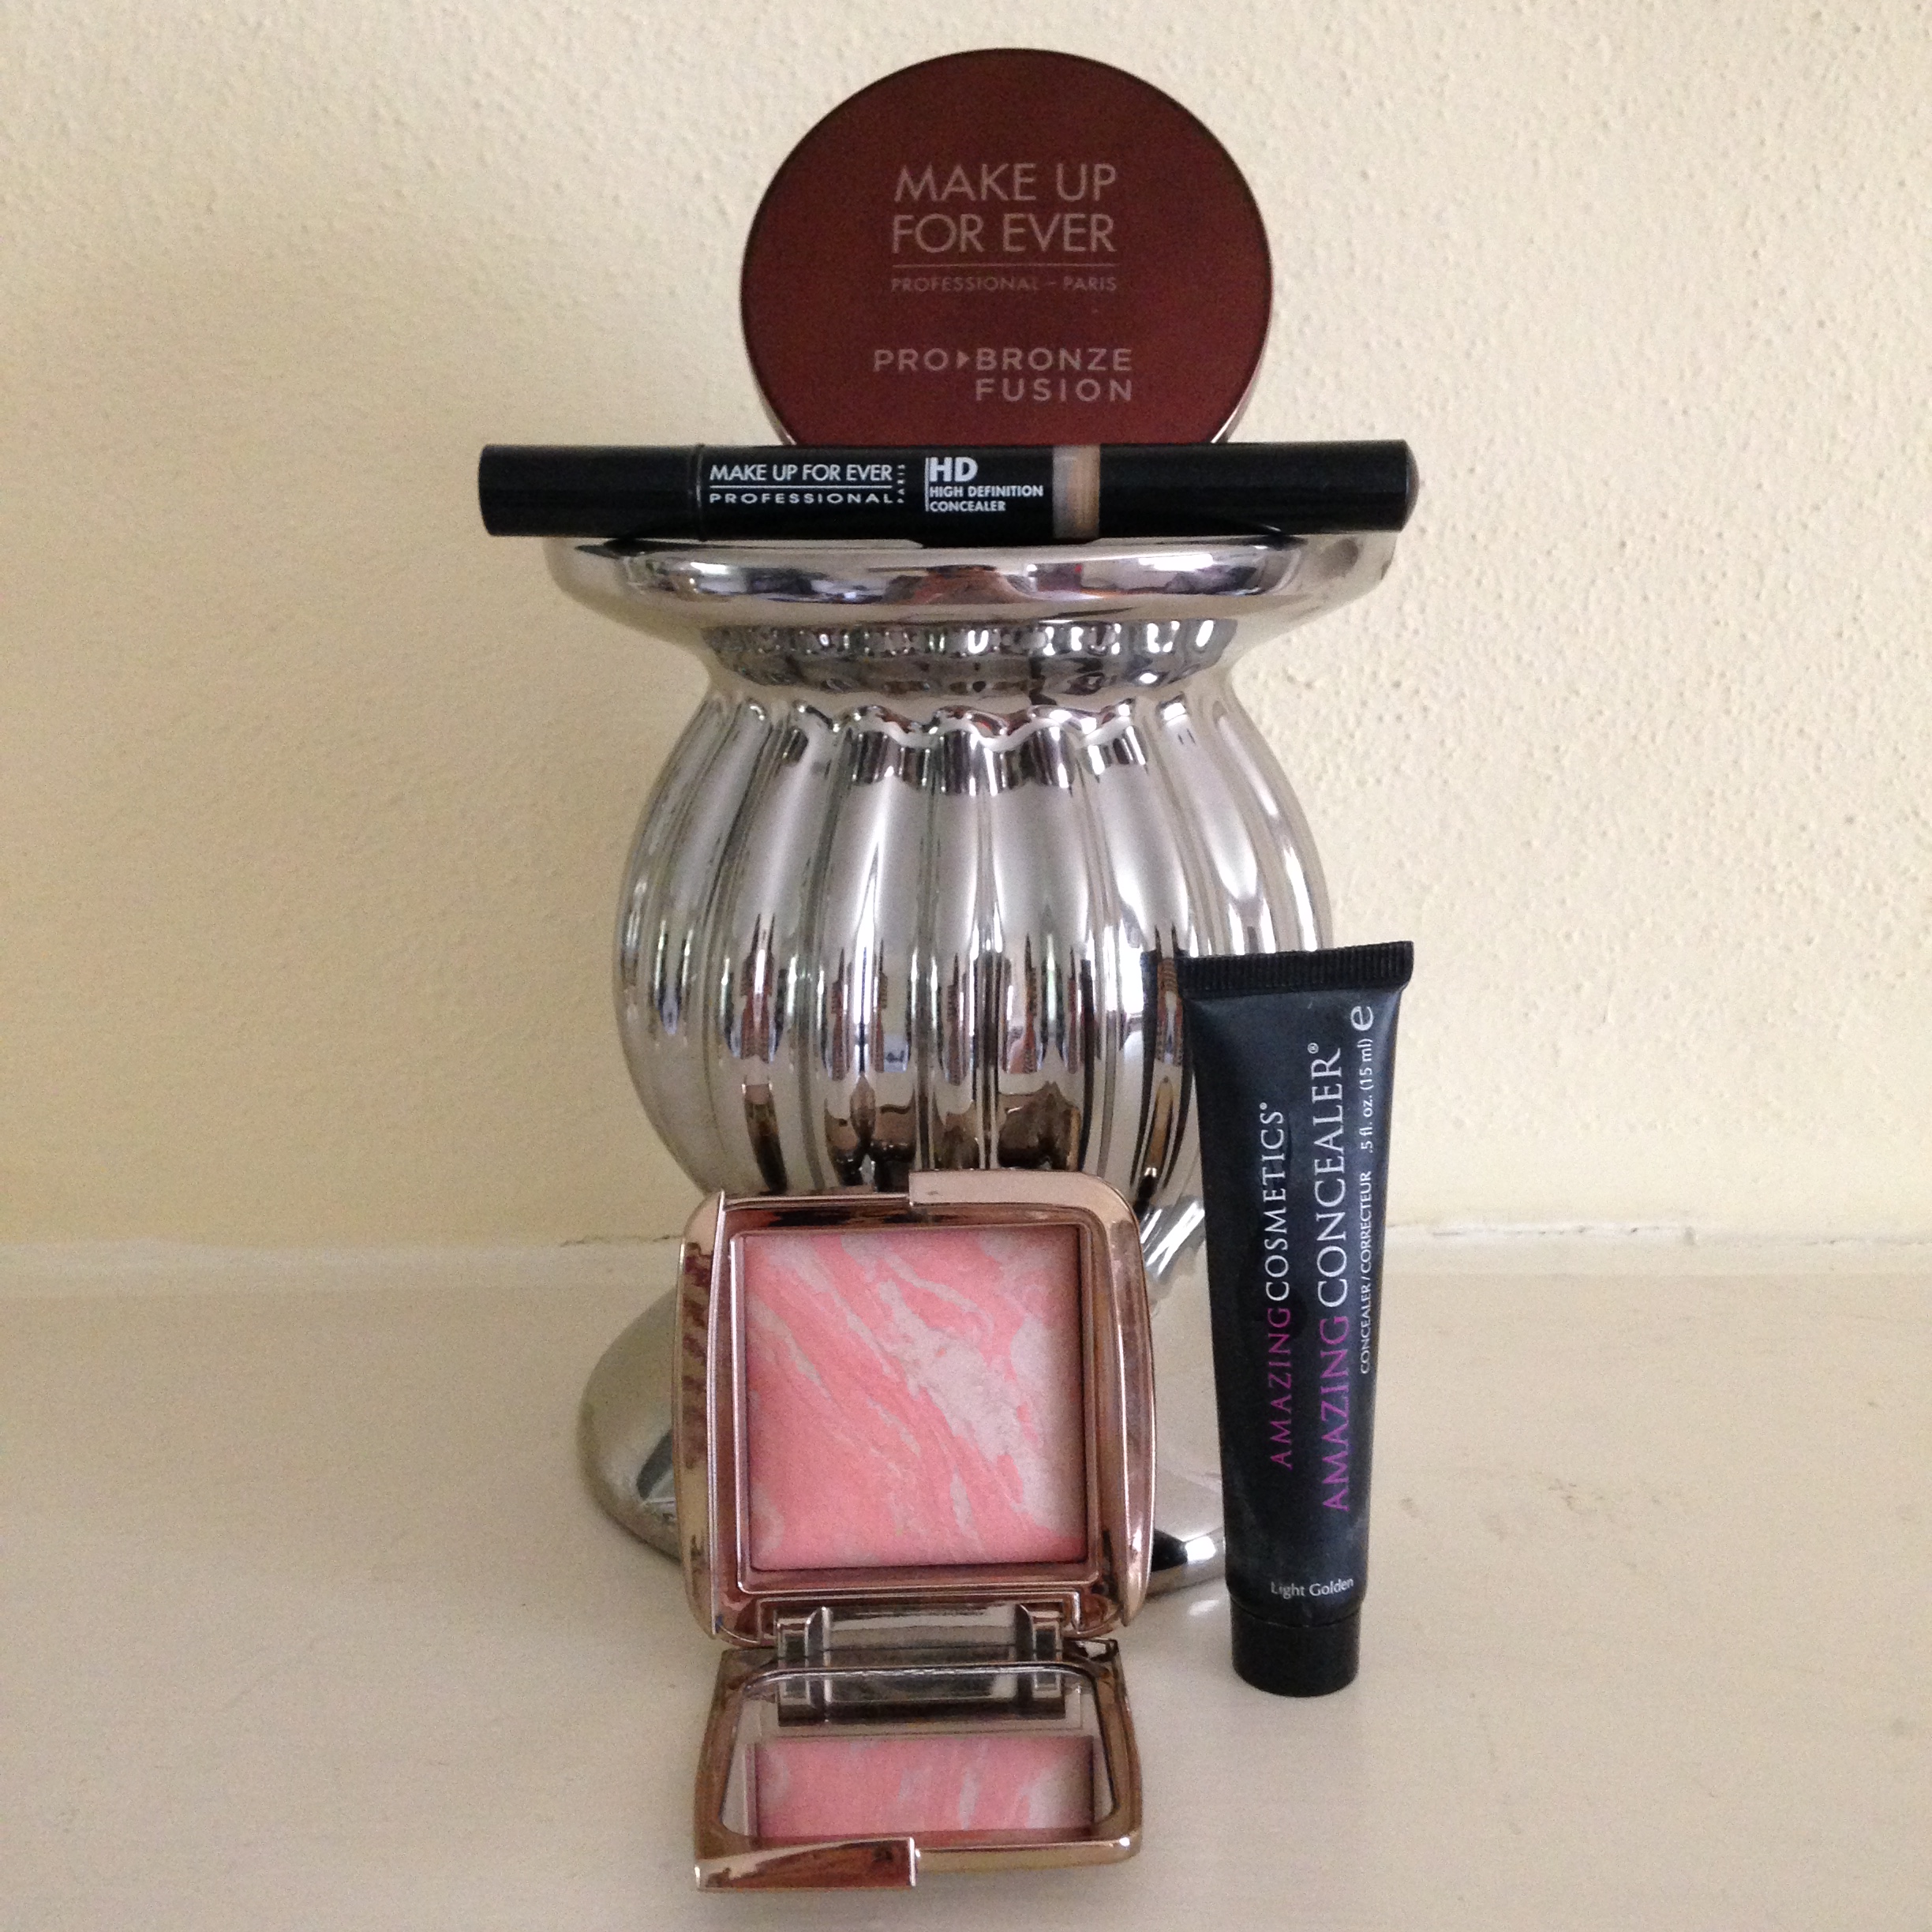
5. Concealer

Under Eye - Amazing Cosmetics Amazing Concealer: covers dark circles with no creasing

Skin - MAKE UP FOR EVER HD Invisible Cover Concealer: excellent coverage that looks like skin

6. Blush

Hourglass Ambient Lighting Blush: a gorgeous whisper of color that doesn't look like blush

7. Bronzer

MAKE UP FOR EVER Pro Bronze Fusion: a brand-new formula that's practically imperceptible except for the warmth in your skin

IMG_3125

8. Contour

Anastasia Beverly Hills Contour in Fawn: a grey-based contour that perfectly fakes a shadow

9. Highlight

MAKE UP FOR EVER Lift Concealer: with dry skin, I prefer a cream highlighter, and this one brightens and makes the skin look flawless

10. Setting Spray

Urban Decay All-Nighter: never fails to live up to its name

IMG_3126

Eyes

IMG_3119

1. Primer

NARS Smudge Proof Eyeshadow Base: although truly smudge-proof, allows shadow to effortlessly glide over it

2. Base Shade

Urban Decay Foxy: for my skin, this is a brightening option that can easily stand alone

3. Crease Shade

MAC Cork: a warm shade that blends seamlessly

4. Liner Shade

Urban Decay Blackout: a deep, dark matte that I can also blend into a smokey eye

5. Accent Shade

NARS New York: such a versatile shade that brings out the green in my eyes

IMG_3127

6. Top Eye Liner

MAC Eye Kohl in Smolder: tried and true GOAT (Greatest Of All Time)

7. Bottom Eye Liner

MAC Eye Kohl in Powersurge: a new favorite that actually stays in place

IMG_3129

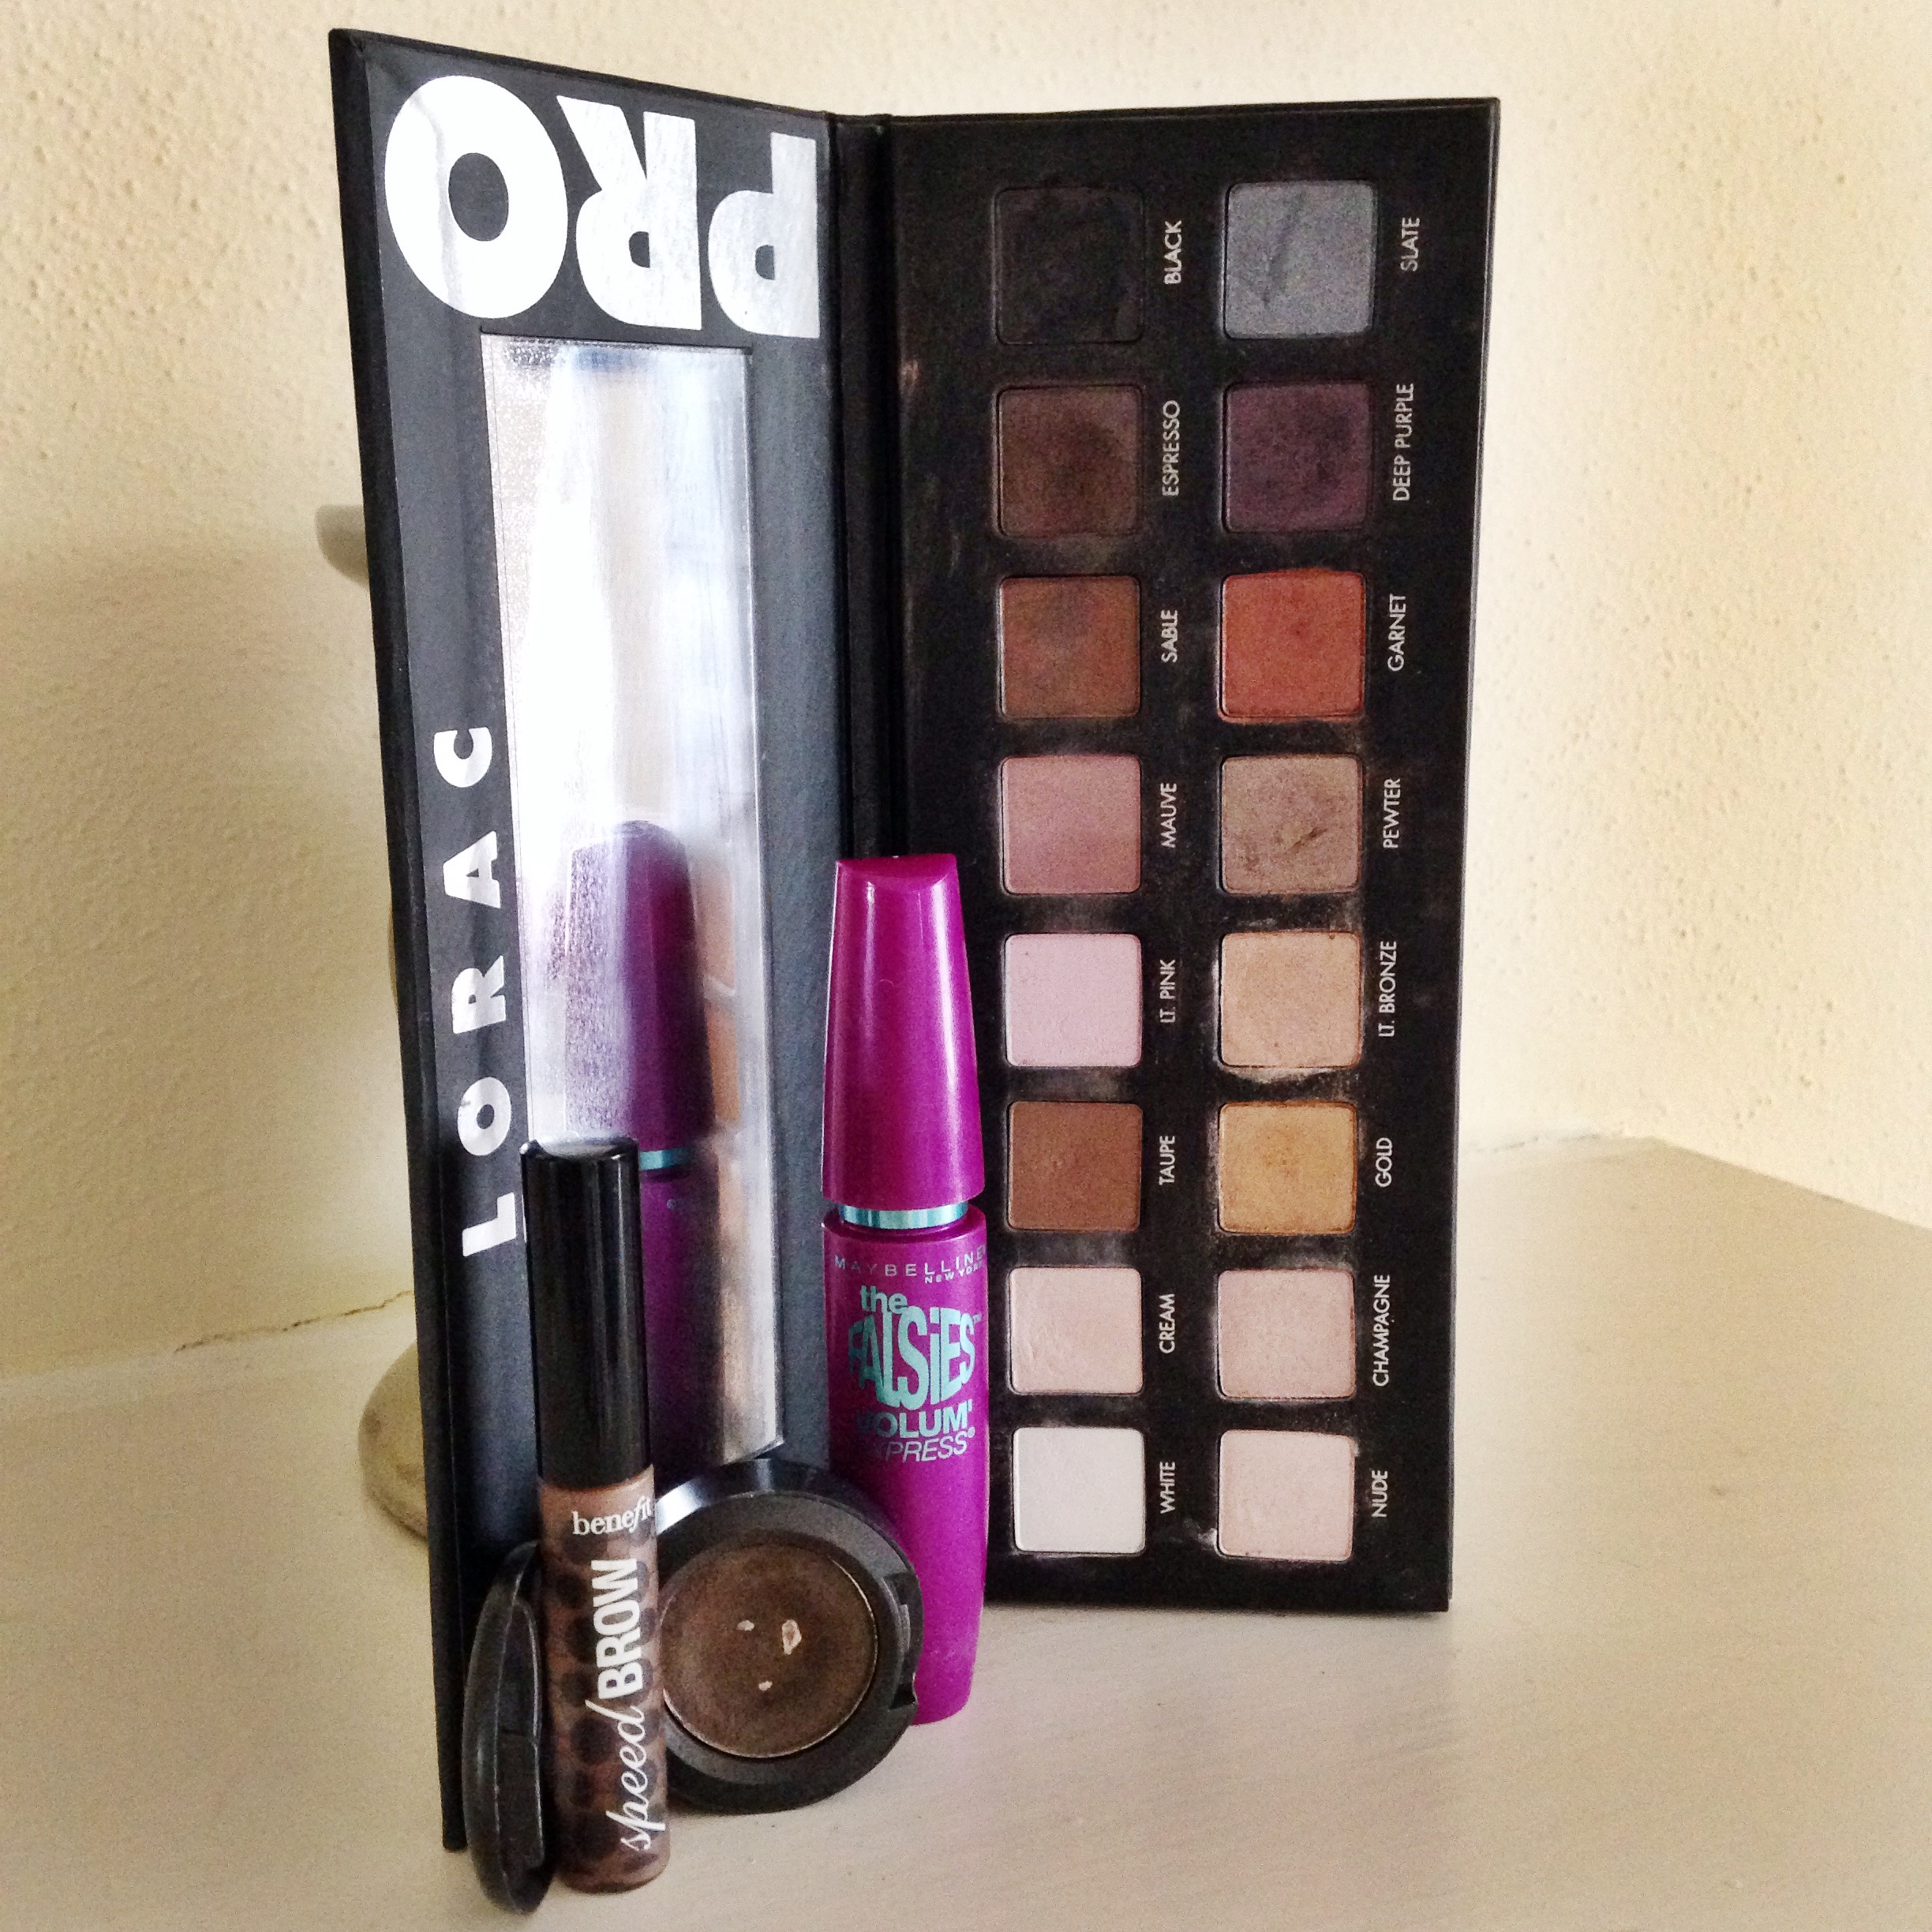
8. Mascara

Maybelline Falsies in Blackest Black: I always, always come back to this

9. Brows

MAC Brun eye shadow + Benefit Speed Brow: my favorite combo for natural, long-lasting brows

10. Palette

LORAC Pro: an equal amount of shades in matte and satin/metallic gives you endless options for every occasion

IMG_3134

Mad Props

kandee_urban_decay.jpg

If you don't know about Kandee Johnson, you should.  Even if you're not into her incredible impersonations and cream foundations, you can still learn so much from her.  And she's really perky, so I tend to watch her videos while I'm on the elliptical for an energy boost. I recently watched THIS video where she shows how to do skin makeup - meaning everything but eyes, brows, lashes, and lips.  It's almost 20 minutes, but she goes through everything step-by-step using drug store AND high end versions of each product.

Normally I only do this many layers of makeup for brides or special events, so I'll work on and post a fast(er) version of great skin in the weeks to come.  She makes a great point: even the best smokey eye or crazy lip color won't look as good if there are several skin imperfections.  If you focus and spend time on skin, then a little brow gel, mascara, and a swipe of gloss goes much, much farther.

Also, I apologize, I accidentally erased several photos from this website.  I'll go back and add as many as I can, but I just wanted you to know that I know, and I'm sorry, and I'm on it!


{Photo courtesy of KandeeJ.com via Google Images}

Trend: Skin is In

I say it all the time: better skin means better makeup.  Since the purpose of makeup is to enhance our natural features, the goal is to wear as little makeup as possible.  And this fall, it looks like the makeup trend is dewy, lush skin. The key to achieving this look is exfoliation and moisture, so get with a trusted professional if you need help creating a skin care routine.  Also, remember diet plays a huge role in how our skin behaves.

Since most of the country is still thawing out, the one product that helps when the weather is so dry my skin is literally peeling off is the Kiehl’s Ultra Facial Overnight Hydrating Mask, and I use it all year on any dry spots or just for a moisture boost.

Another product that isn’t necessarily skincare, but is good for your skin, is the RMS Living Luminizer.  It gives that ever-so-subtle highlight displayed on the Fall 2015 runways.  When my face has some color, I can get away with just this and sunscreen.