eye liner

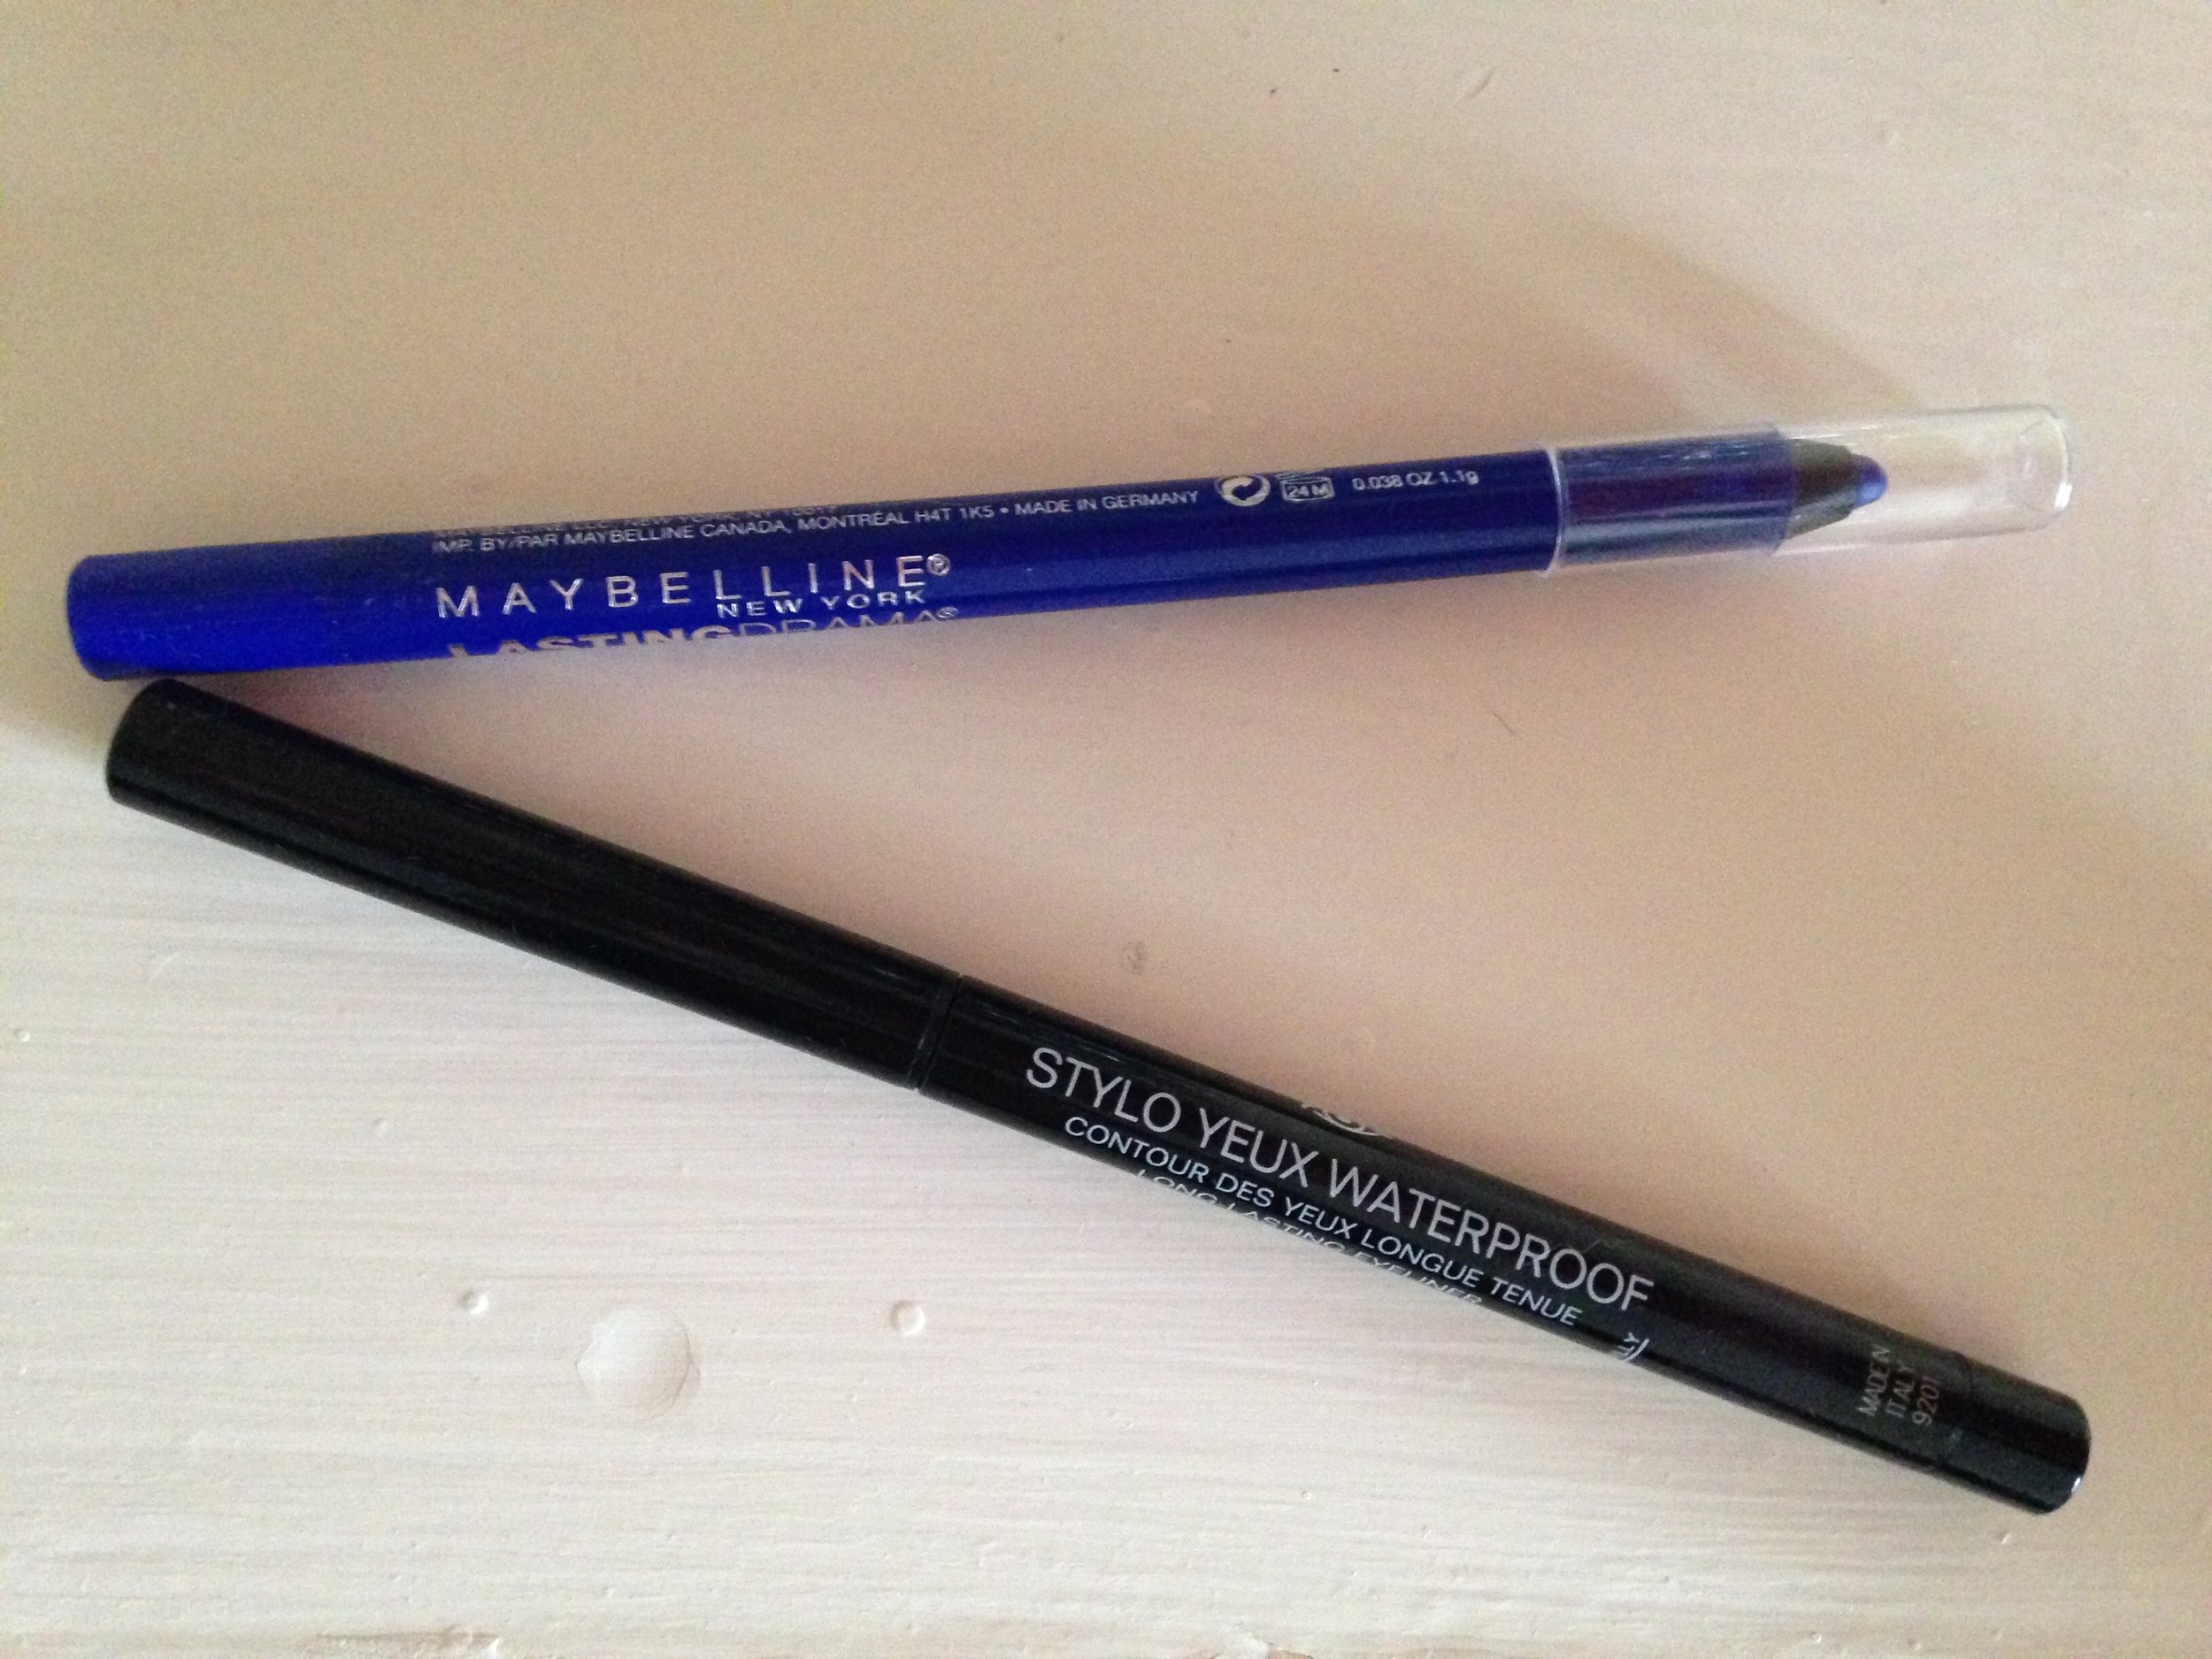
For Better or Worse: Chanel Yeux Stylo Waterproof Eyeliner

FullSizeRender-4.jpg

This liner has been so highly suggested that when I was in the market for a new eggplant-hued one, I finally decided to give it a try.

The Better:

I love the color, the application is smooth, and, blame marketing, but I do feel fancy busting out the one and only Chanel product I own.

The Worse:

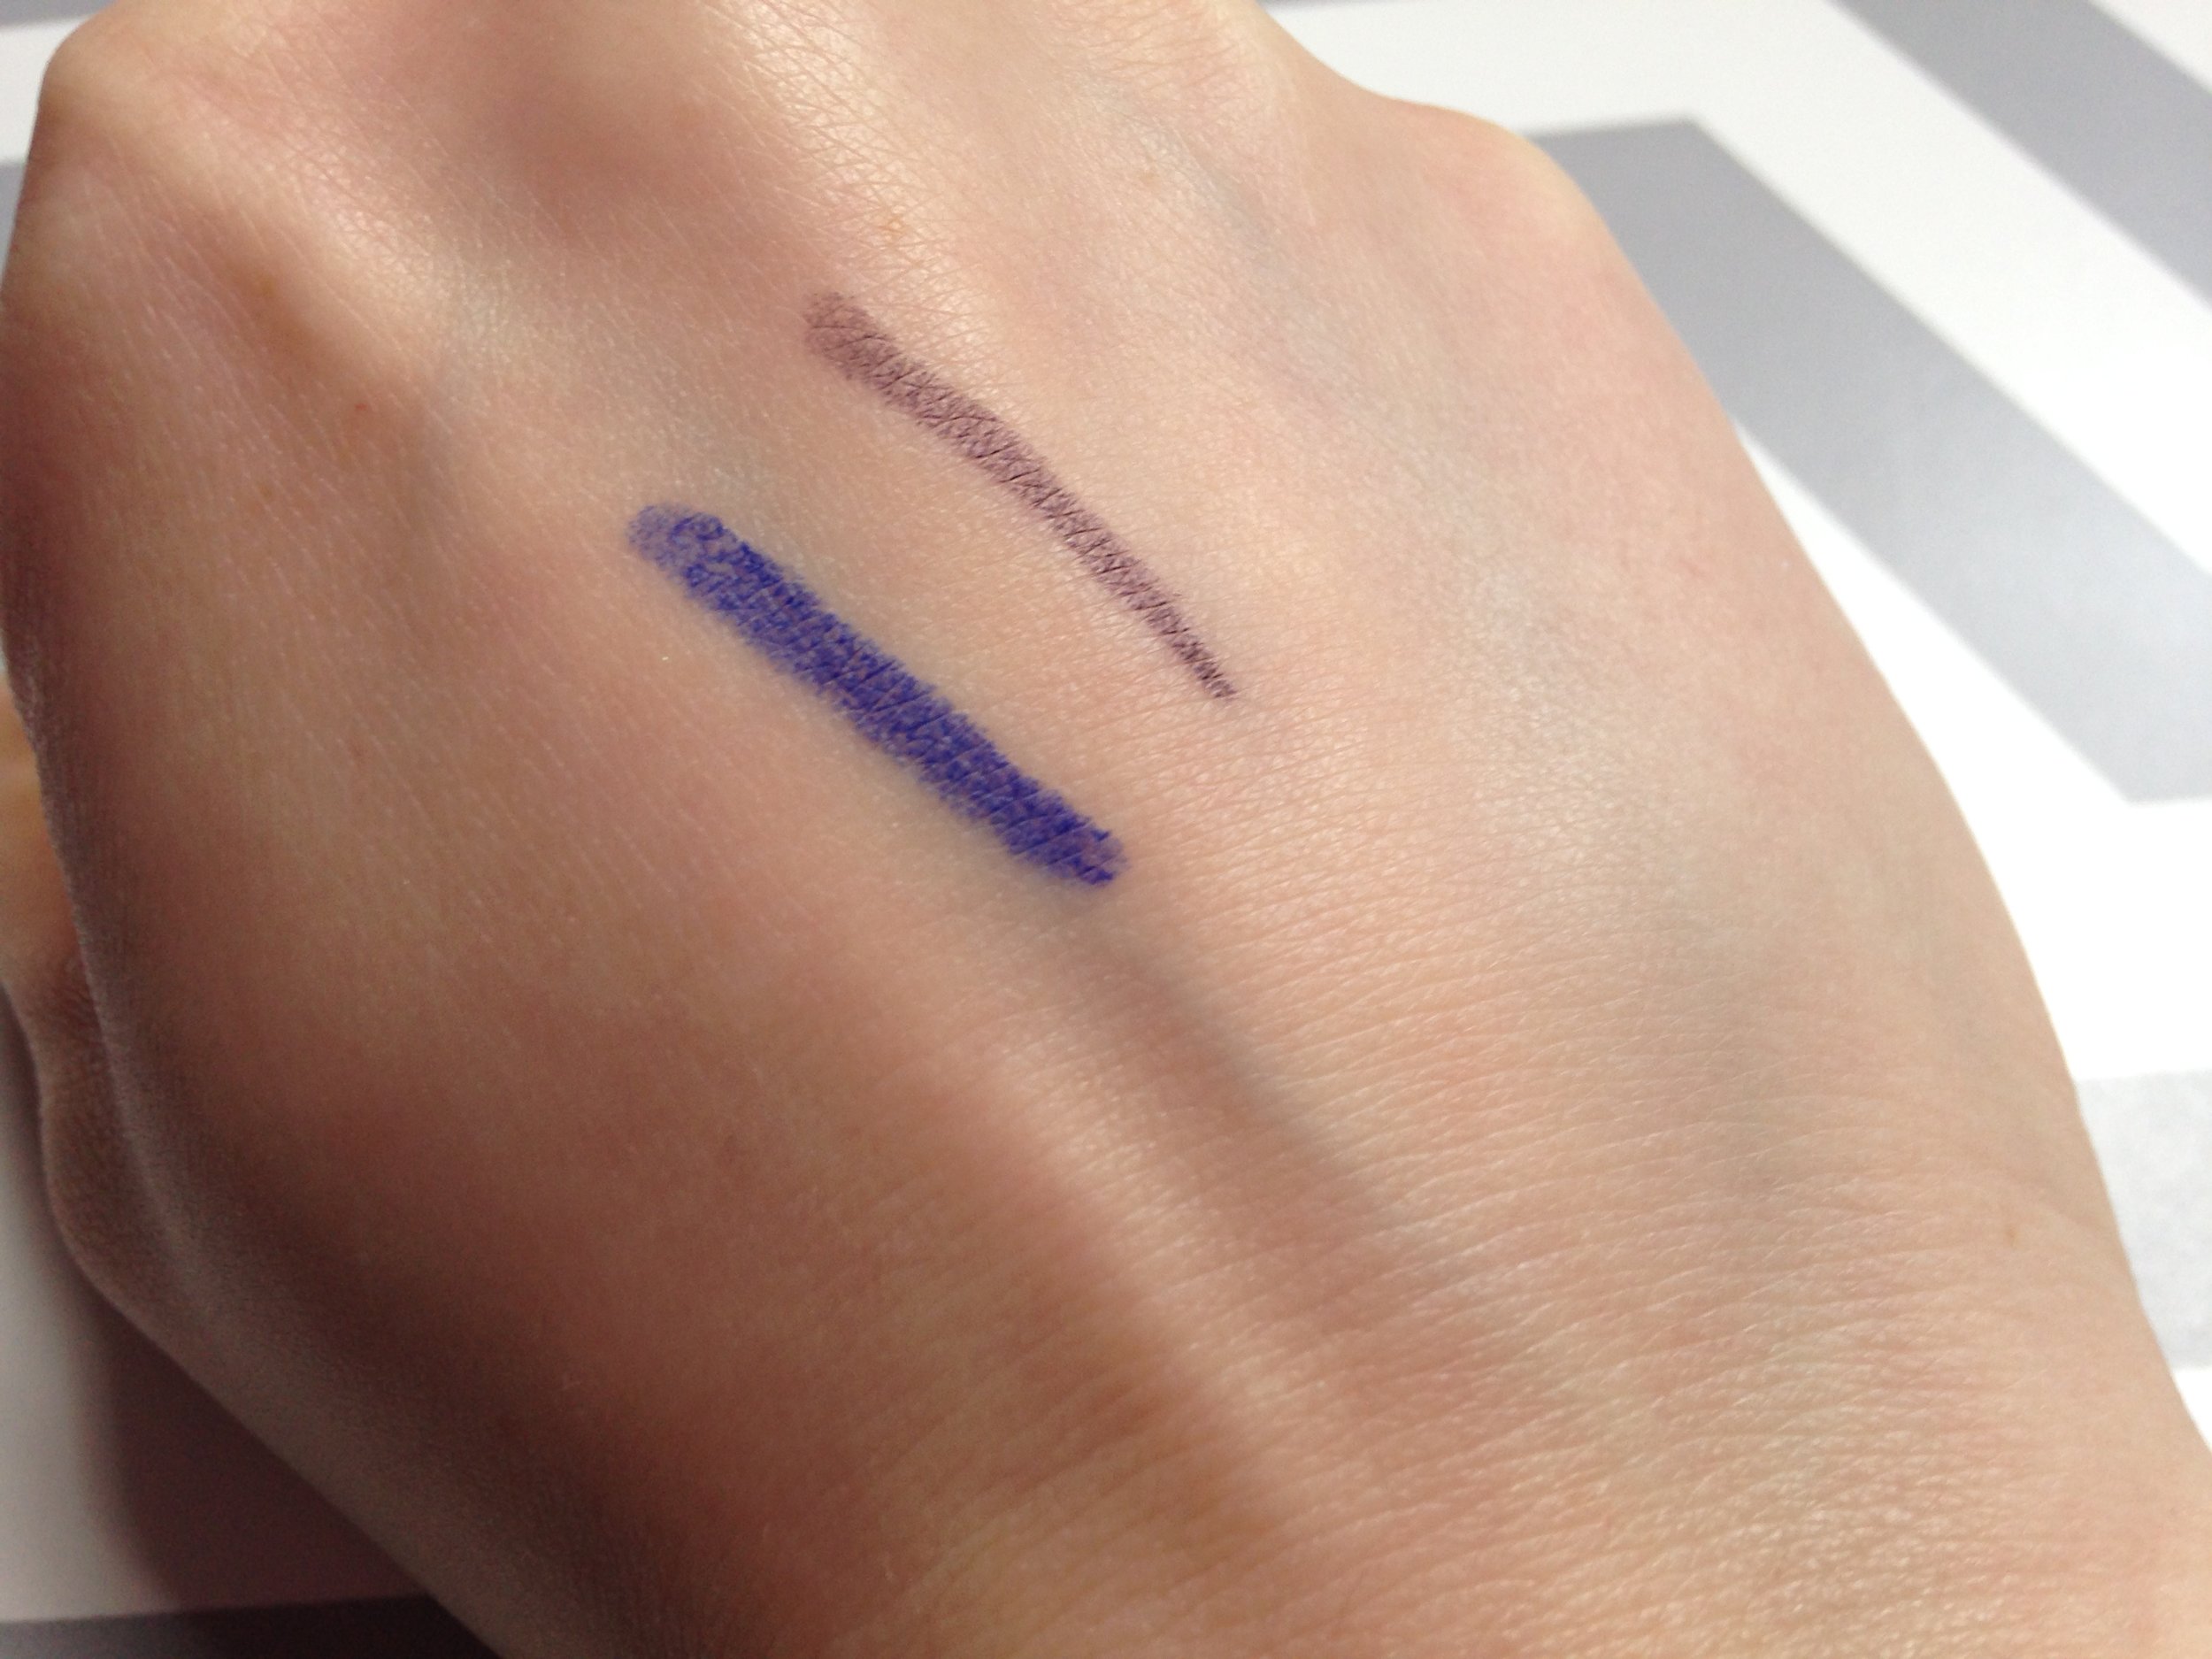
Basically everything else. First of all, this this was $33. Shocking. I figured that because it was so highly recommended AND it was labeled "long-lasting" I would get more for my money. Nope. I have to apply about three layers to achieve non-sheer results. And, worst of all, the pigment disappears throughout the day.

{Flaky and fading}

Although it doesn't slide around, I almost would rather it did because, instead of being nonexistent, at least it would look a little smokey. Frankly, I get better results from the Maybelline Lasting Drama liner.

FullSizeRender (3)

Here, I applied one swipe of the Maybelline and went back and forth three times with the Chanel, let it dry, then rubbed over the lines:


FullSizeRender (1)


{After}

The Verdict:

Skip it.

Finger Painting

fpCollage.jpg

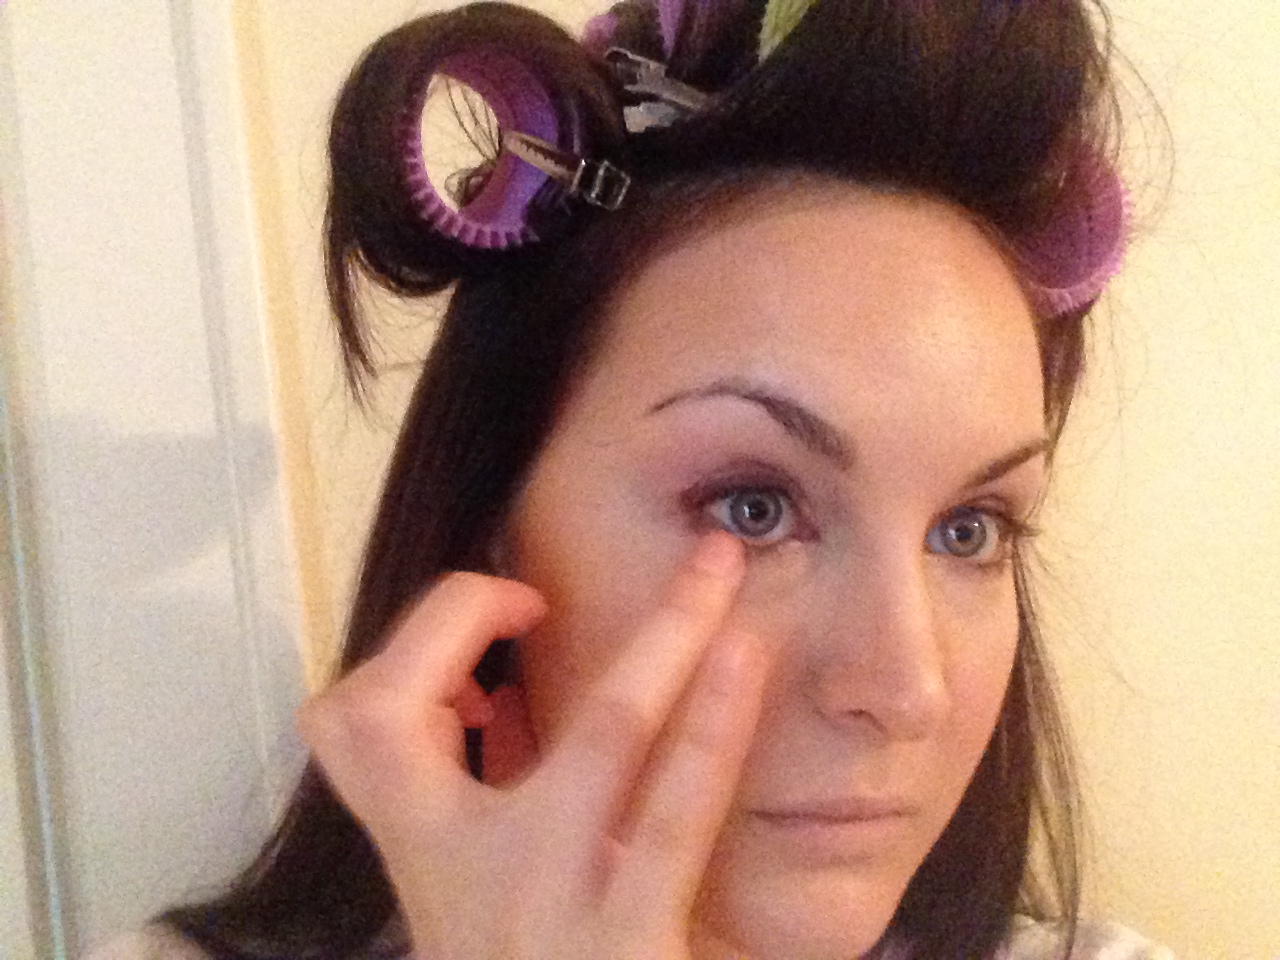
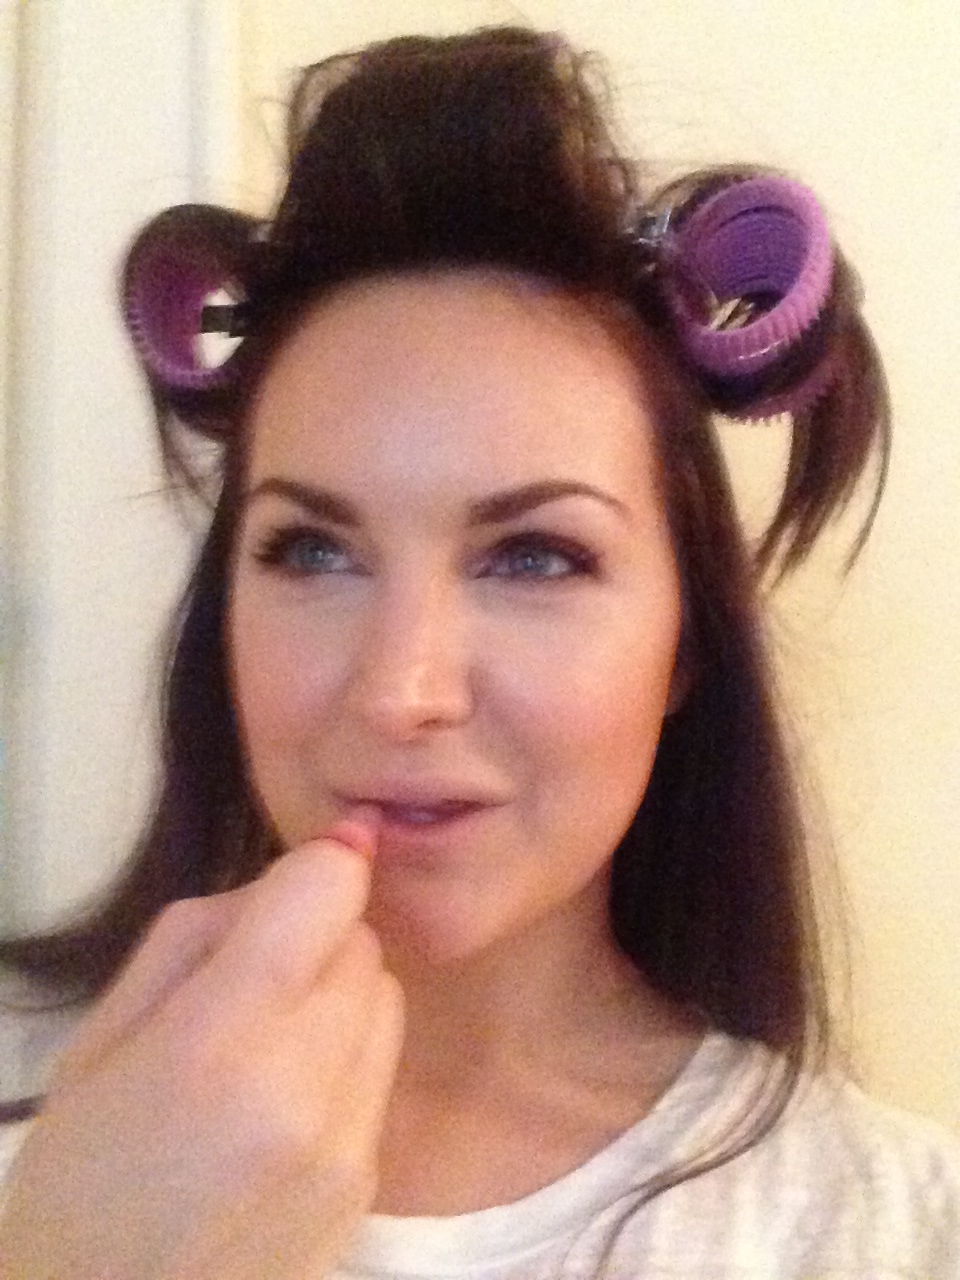
The other day I was running out the door when I realized that, after their monthly bath, none of my brushes were dry. So I used the original makeup brushes, my fingers.  Disclaimer: like many of my posts, this was unplanned, which means I was literally in a rush to get out the door (hence the curlers) and I was literally applying my makeup in my bedroom while trying to snap photos with my iPhone (hence the really poor quality).  We're all about keepin' in real real here at Electra Lane. While this isn’t enough color for me for The Work Appropriate, it would work for those who want a clean, low-maintenance everyday routine (it’s my perfect Minimalist).  I started by smoothing on tinted moisturizer (Glow), then I added a little cream blush (Anguilla) and blended upward

fp1

I took a liquid concealer darker than my skin (Amande) and dotted it on the sides of my nose and under my cheekbones, then blended back and up into the blush

fp2

fp3

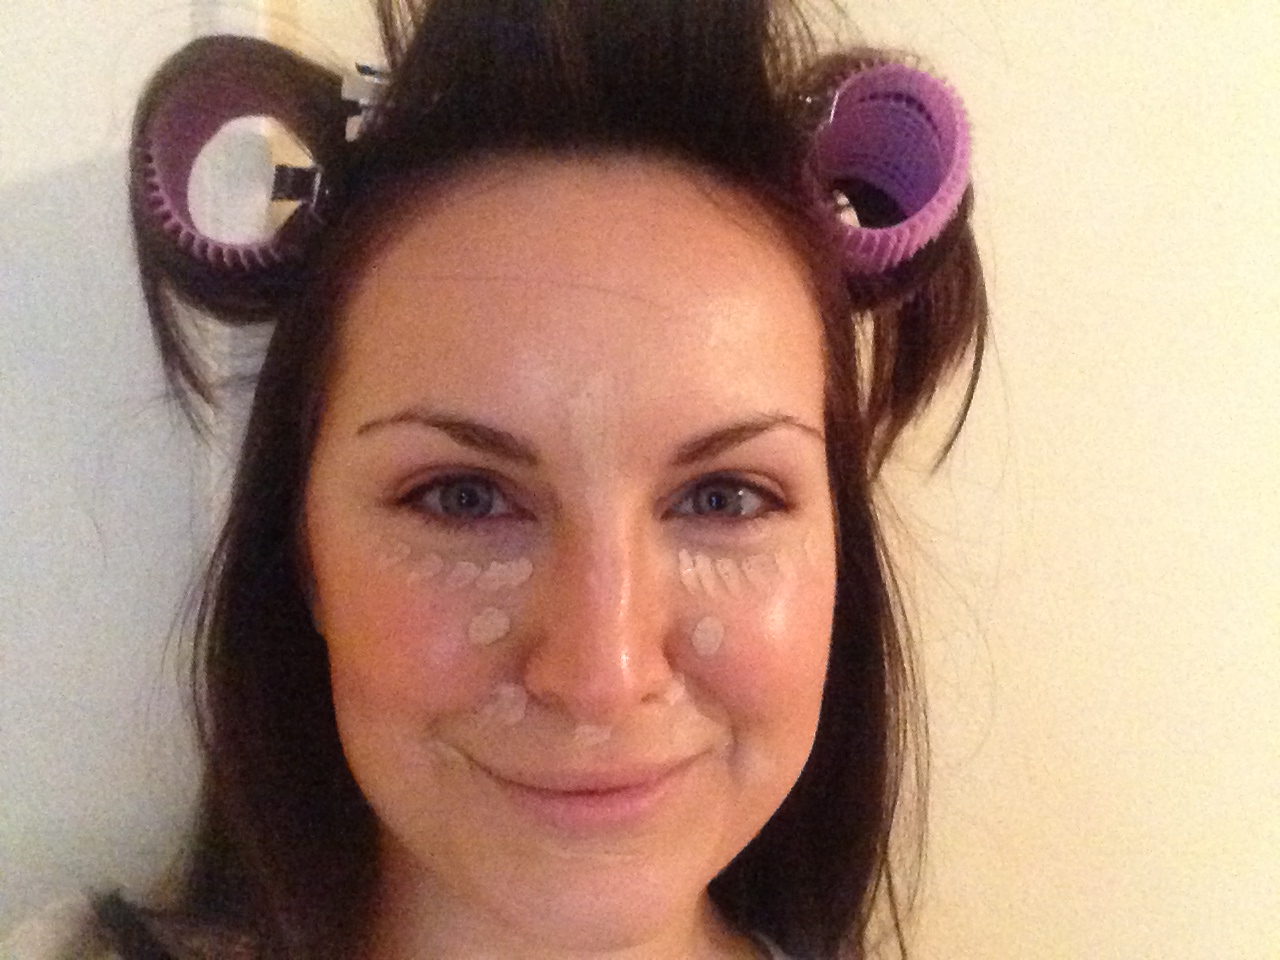
Next, I took that same concealer, but in a shade lighter than my skin (Vanilla), and patted it under my eyes, around my nose and mouth, and in the center of my forehead and down the center of my nose.

fp4

fp5

This is where we are so far:

fp6

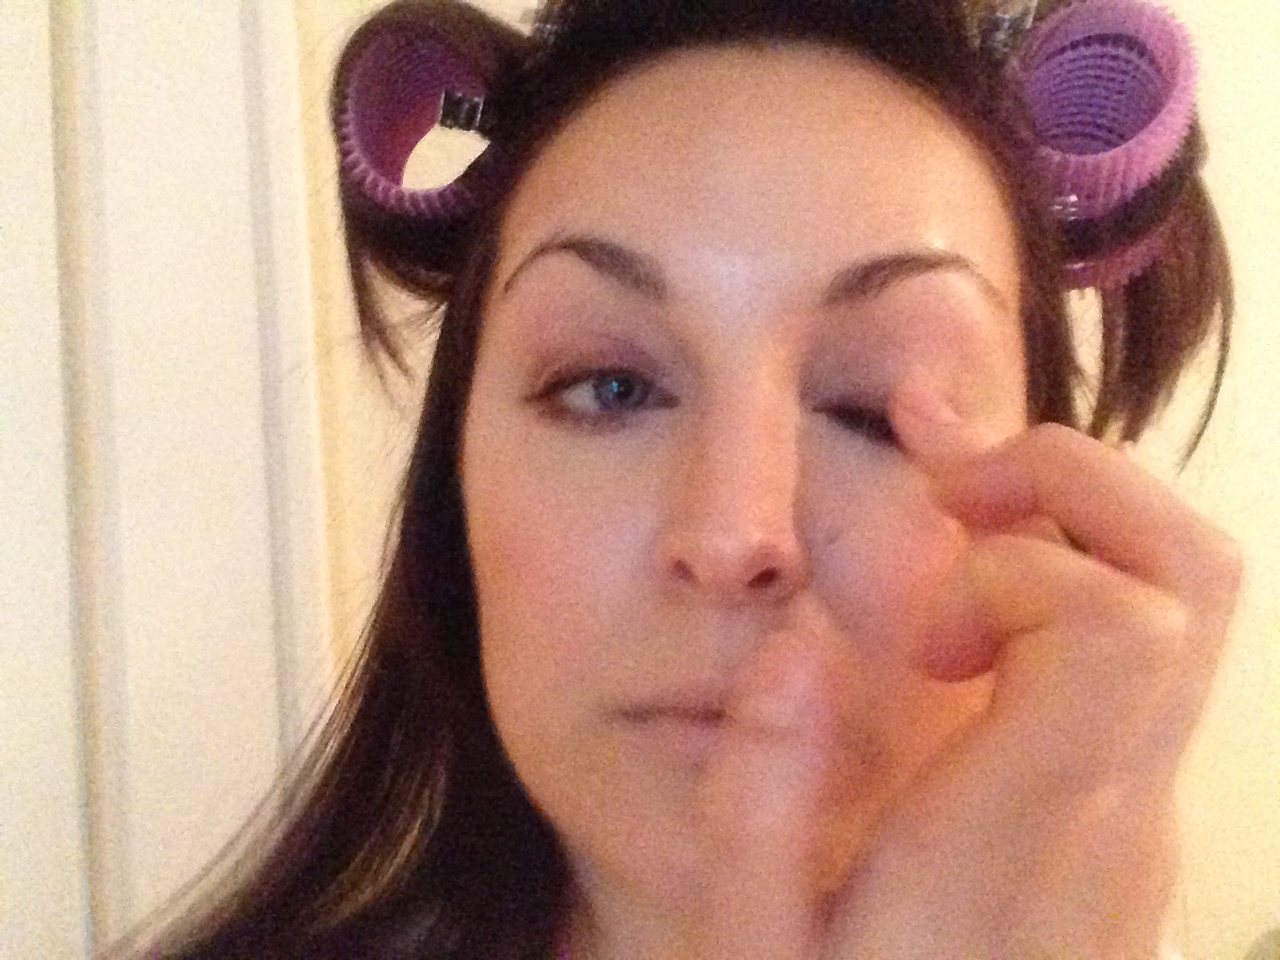
For my eyes, I added a thick line of warm brown eyeliner (Costa Riche) to the top lash line and just the outer corners of the bottom lash line and smudged gently with my ring finger

fp8

fp7

I filled in (Taupe) and set (Clear) my eye brows

fp9

Then added a brightener just to the inner corners of my eyes

fp10

Next, I curled my lashes and applied mascara (Blackest Black)

fp11

And added a little gloss (Bellini)

fp12

Finally, to set everything, I used a few spritzes of setting spray

fpFinal

Refinery29 wrote an article about no-brush makeup, and a new line, called Nudestix, has capitalized on the technique, so that might be a great option for those who want an ever quicker and easier routine. HRH Wayne Goss does a lovely demo and review of that line here.


Five-Product Challenge

Folks ask for my top five makeup products…but I rarely have an answer because I’ve been known to use around 20 different products (tools not included). For a challenge, I tried a makeup look (I actually liked) with only five makeup products.  It was fine, but since I couldn’t use anything to set my makeup, this look won’t last all day.  If you want to be a naughty rule-breaker and add powder and/or setting spray, this would be a perfect Minimalist or Work Appropriate.

Here’s the breakdown:

I applied tinted foundation with an SPF using my fingers and dabbed concealer around my eyes and nose, then blended cream blush onto my cheeks and lips.  Next, I used a dark brown eyeliner to my lash line and smudged, then used the same pencil to fill in my brows.  I really wanted my bronzer to contour, but I remembered a technique from this video (@ 5:50); so I used my liner instead.  I dotted a little liner down the sides of my nose and smudged using the same brush used on my eyes – then I used the residue on the brush to draw around my cheek bones and jawline.  Finally, I curled my lashes and added mascara.