Let's Do This

This is BIG. Huge. A Holiday Giveaway!

champs.jpg

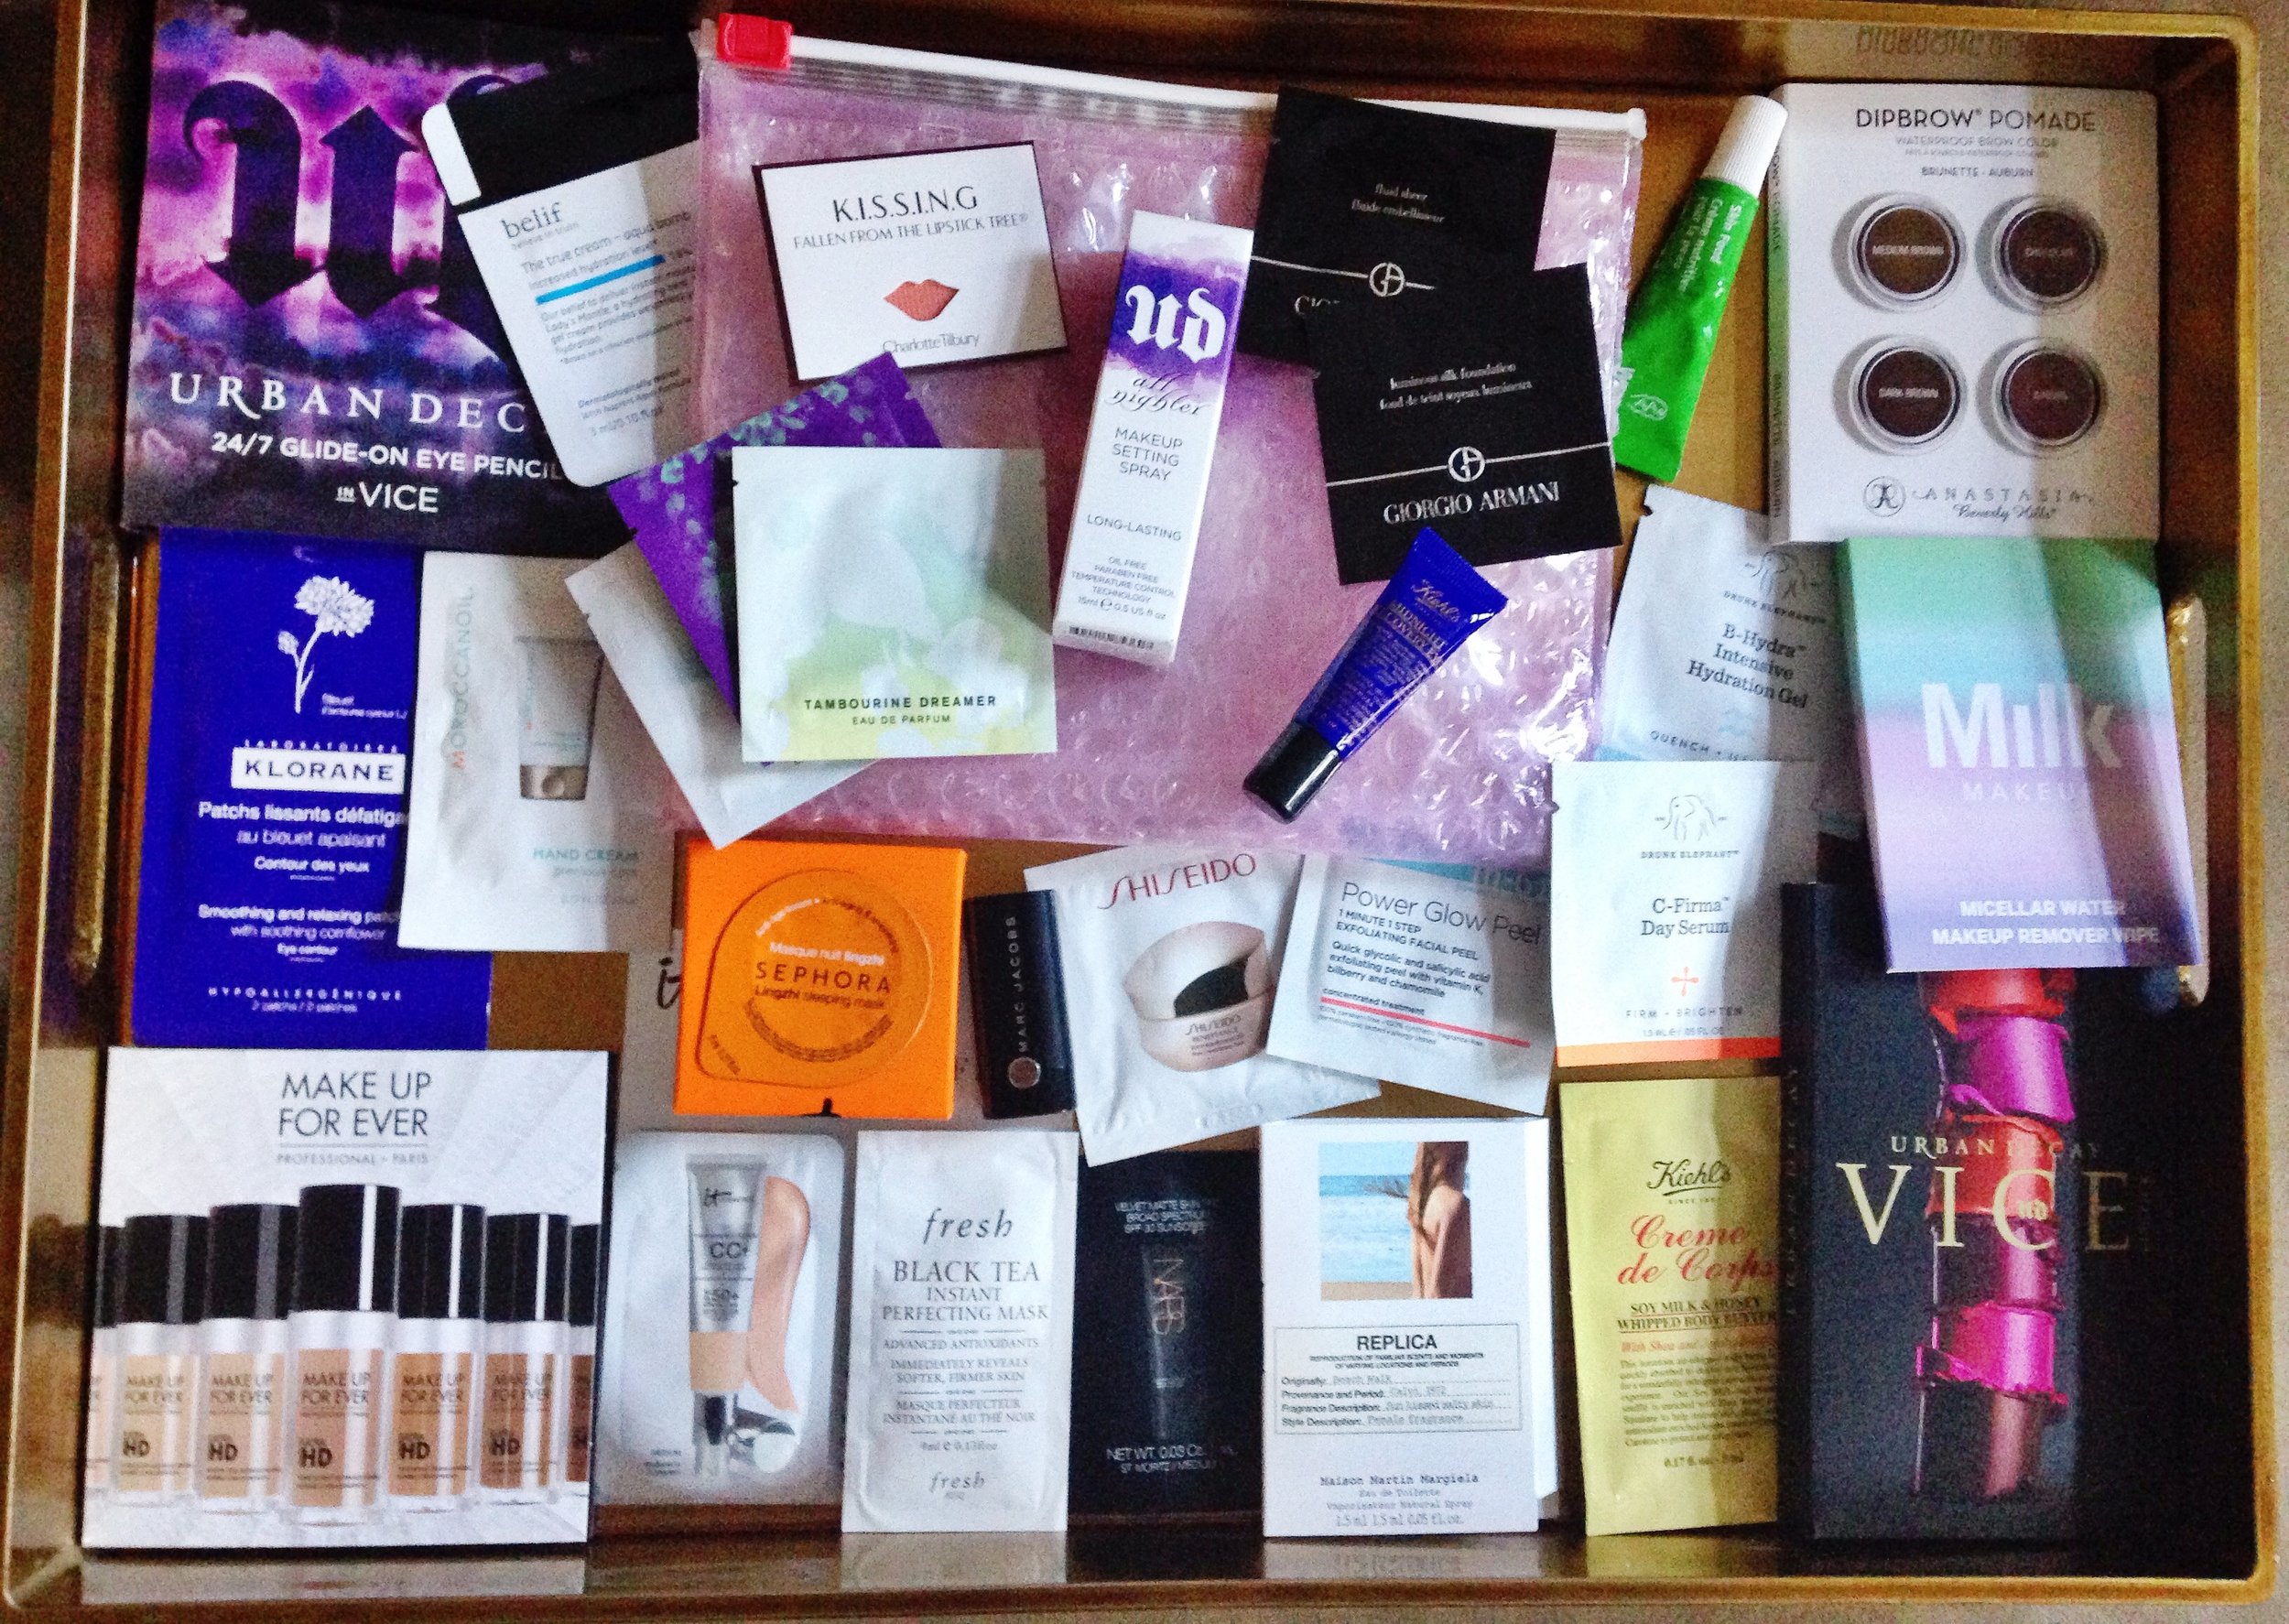
Normally, I take time off from the blog from Thanksgiving through New Year. This year, though, I wanted to say a big THANK YOU for all of you who have stuck with me the past 2 years. I am giving away 25 samples of some of my most loved products, all packaged in a signature Glossier pink pouch.

To enter, just make sure you are subscribed to this blog. To sign up, tap the red *SUBSCRIBE* button on the right of the screen for desktop view, or scroll to the bottom on mobile devices, and enter your email. I won't spam you or sell your email, but I will drop a delicious blog post once a week right into you inbox. The only other stipulation is that the winner gives me an address where I can send the goods!

Here are 10 of the 25 samples...

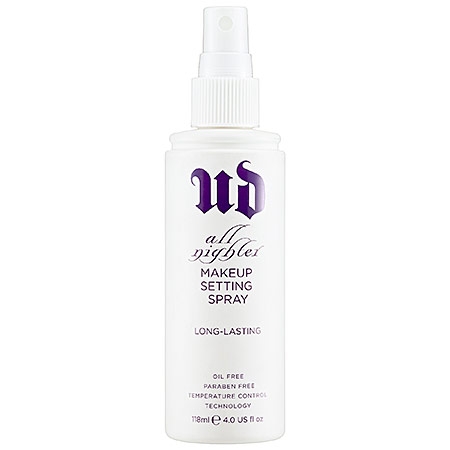
Urban Decay All Nighter Makeup Setting Spray

I feel like I've worn this out, but I love it, I use it every day, and I can't wait for you to try it!

IT Cosmetics CC+ Cream with SF 50

This is a recent favorite, but it was love at first sight. I just returned from an 8-day work trip with long hours in a stuffy conference hall, but I received so many complements on my skin. This is why.

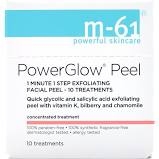
m-61 Power Glow Peel

This is a great brand I've followed for some time, and these peels perk your skin right up with out irritating it. You can use it before a night out or as part of a spa night.

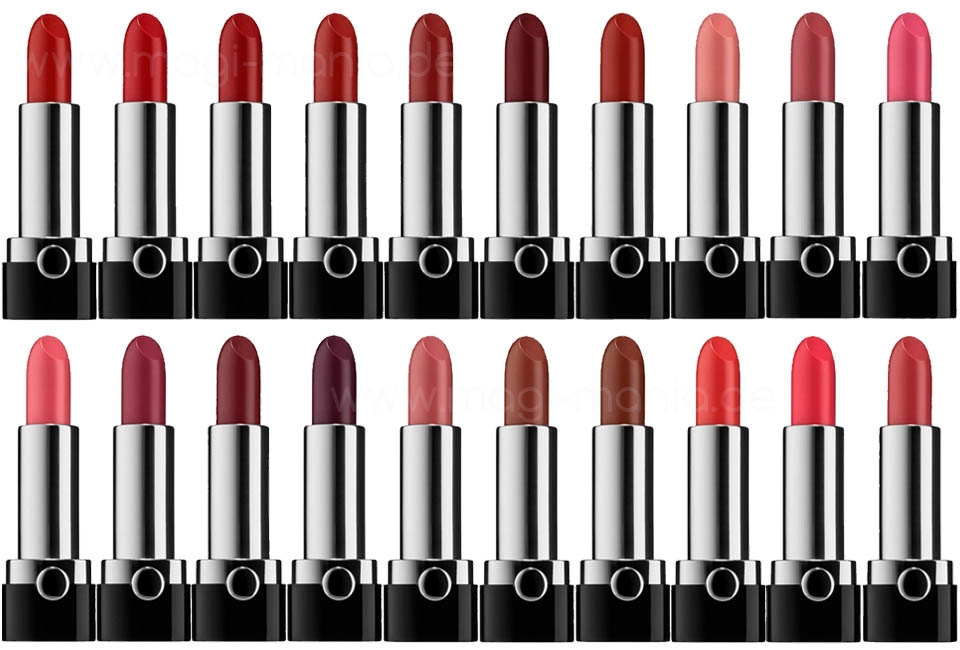
Marc Jacobs Lip Cream in Kiss Kiss Bang Bang

Since I couldn't find a sample size of my favorite Marc Jacobs gloss in the shade Sugar Sugar, the next best this is this luxurious lip creme.

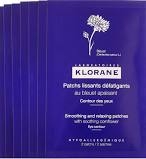
Klorane Smoothing and Relaxing Patches

I use these on all of my clients to not only prep their under eyes, but also shield their cheeks from eye shadow fallout.

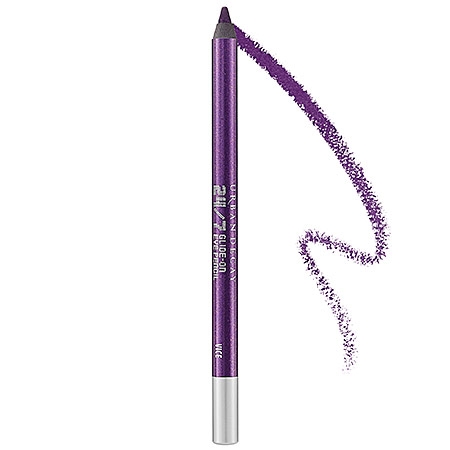
Urban Decay 24/7 Glide-On Eye Pencil in Vice

This royal purple shade is one of my favorites, and I own several of these pencils because they go on easily, let you smudge them out or create a precise line, then stay in place all night.

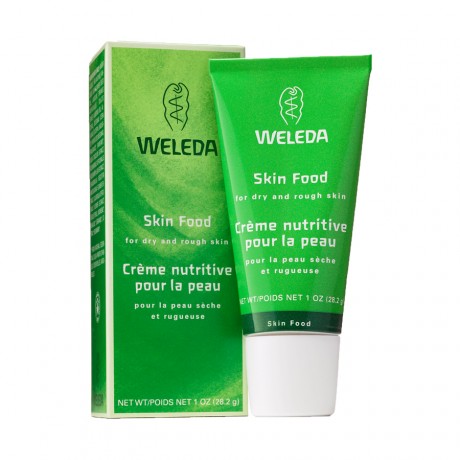
Weleda Skin Food

Remember last week when I shared all the amazing things about this product? Well, now you can see for yourself!

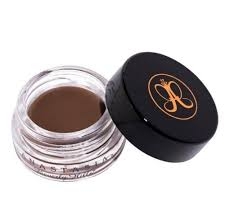
Anastasia Beverly Hills DIPBROW Pomade

This is the stay-all-day brow gel you've heard about nonstop since its launch. It also makes a fantastic gel eyeliner.

Drunk Elephant C-Firma Day Serum

This. Is. Everything. You have to have a vitamin C in your anti-ageing skincare routine, and this is the best I've found (even over more expensive versions).

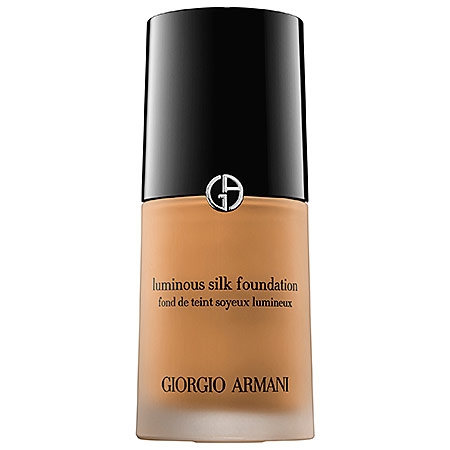
Giorgio Armani Luminous Silk Foundation AND Fluid Sheer #2

While this foundation is perfect on its own, adding a layer of the Fluid Sheer underneath - or mixed right into a pump of foundation - gives the skin the most ethereal, silky, air-spun finish.

~~~~~~~~

Yay! I can't wait to treat the winner, so don't forget to *subscribe*! I'll announce the winner NEXT WEDNESDAY, December 14, right here on the blog (and you'll know who you are since you'll be subscribed and you'll wake up to this awesome news. Just saying.). Cheers and good luck!


Images c/o Author, Google Images, Sephora.com and Birchbox.com

How to Get Disney Princess Skin

Disney.jpg

I've been playing around with the "buffing technique" for a little over a year, and I can't believe how cool this trick is...you'll see the proof at the end. It makes me feel like a Disney Princess, and I hope you'll give buffing a try. P.S. If you could see me right now, I'm doing my happy dance, which kind of looks like this:


via GIPHY

I'm so thrilled because I've spent hours upon hours of my life sifting through YouTube footage and blog posts about buffing, then trying out different combinations of all that info, so I can definitively state that layering proudcts in a certain way, then buffing them all together, makes your skin look insanely beautiful. Stick with me - this post is a long one - but I'm taking off next week to celebrate Thanksgiving so think of it as a two-for-one special!

Step 1: Skin Prep

There's a lot going on with this look, so it's imperative that your skin is ready. I make sure to follow my normal morning skincare routine: cleanse, exfoliate, tone, apply serum/eye cream/moisturizer. If I have time, I also like to do a peel or mask after the exfoliation step.

Glossier

Once I'm ready to start with the makeup, I use a thin concealer on my lids and dust on a light layer of translucent powder. I then mix a primer with an illuminator, and smooth the concoction all over my face and neck.

Step 2: Eyes

Do whatever your heart desires here - I would suggest, at a bare minimum, curled lashes with two coats of mascara.

Here is an easy smokey eye and an over-the-top gilded eye to try.

Step 3: Skin

Now we're getting to the good stuff. Here is the inspiration...

...but I had to take it in another direction. It's like a recipe - I always follow the instructions the first time, but then I start tweaking it to fit my needs. This method requires layers upon layers of makeup that no one really has time to apply (this video, by far, shows the least - many I've seen do a primer, thick foundation, cream contour, highlight and illuminator, concealer, powder, powder contour, powder blush, bronzer and illuminator, and a shovel to remove it all later), so here's my version - which you'll see in action on Friday:

Primer * Concealer * Foundation * Setting Spray * Loose Powder * Powder Contour/Blush/Bronzer/Illuminator * Buff with Pressed Powder * Setting Spray

I realize that still seems like a lot of makeup, but there are a couple of things to keep in mind. First, the addition of the loose powder (this is amazing) keeps you from buffing off your foundation. Second, make sure to add foundation on areas NOT covered by concealer so there is only one layer of product (even though there are two products).

Step 4: Brows and Lips

Fill in your brows, add your favorite lippie and you're done! I'm not wearing any lipstick in the photos below because I got so excited about the skin that I just hauled off and started snapping. Please forgive me.

*Can't-Miss Tips*

*Sheer down the foundation by adding some moisturizer, primer or illuminator (unless you want full coverage) to keep it light

*When it comes to the powder blush/bronzer/contour part, you don't have to do all three. I would suggest picking at least blush or bronzer so the face has dimension - and if you do contour, I would also blend that out with some blush and/or bronzer

*Make sure setting spray dries before adding loose powder. This is still my favorite.

*This one is important! When applying the loose powder, you need to use a powder puff or sponge to press and roll the powder into the skin. Don't be afraid of it! You'll knock off the excess when buffing

*The buffing brush doesn't have to be special, but it should be soft with a flat-ish top. A great steal is from Real Techniques - only $9! For a luxury option, you can't beat Wayne Goss's #13 for $53.


Real Techniques

Wayne Goss

The Three Things That Make This Awesome

Out of all the versions of the buffing technique I tired, these are the three constants, the three things you must do in order for this to work:

  1. Make sure your concealer and foundation do not overlap
  2. Press the loose powder over the entire face
  3. Don't be scared to buff for a while, making sure to use the smallest amount of pressed powder on the brush

The Proof

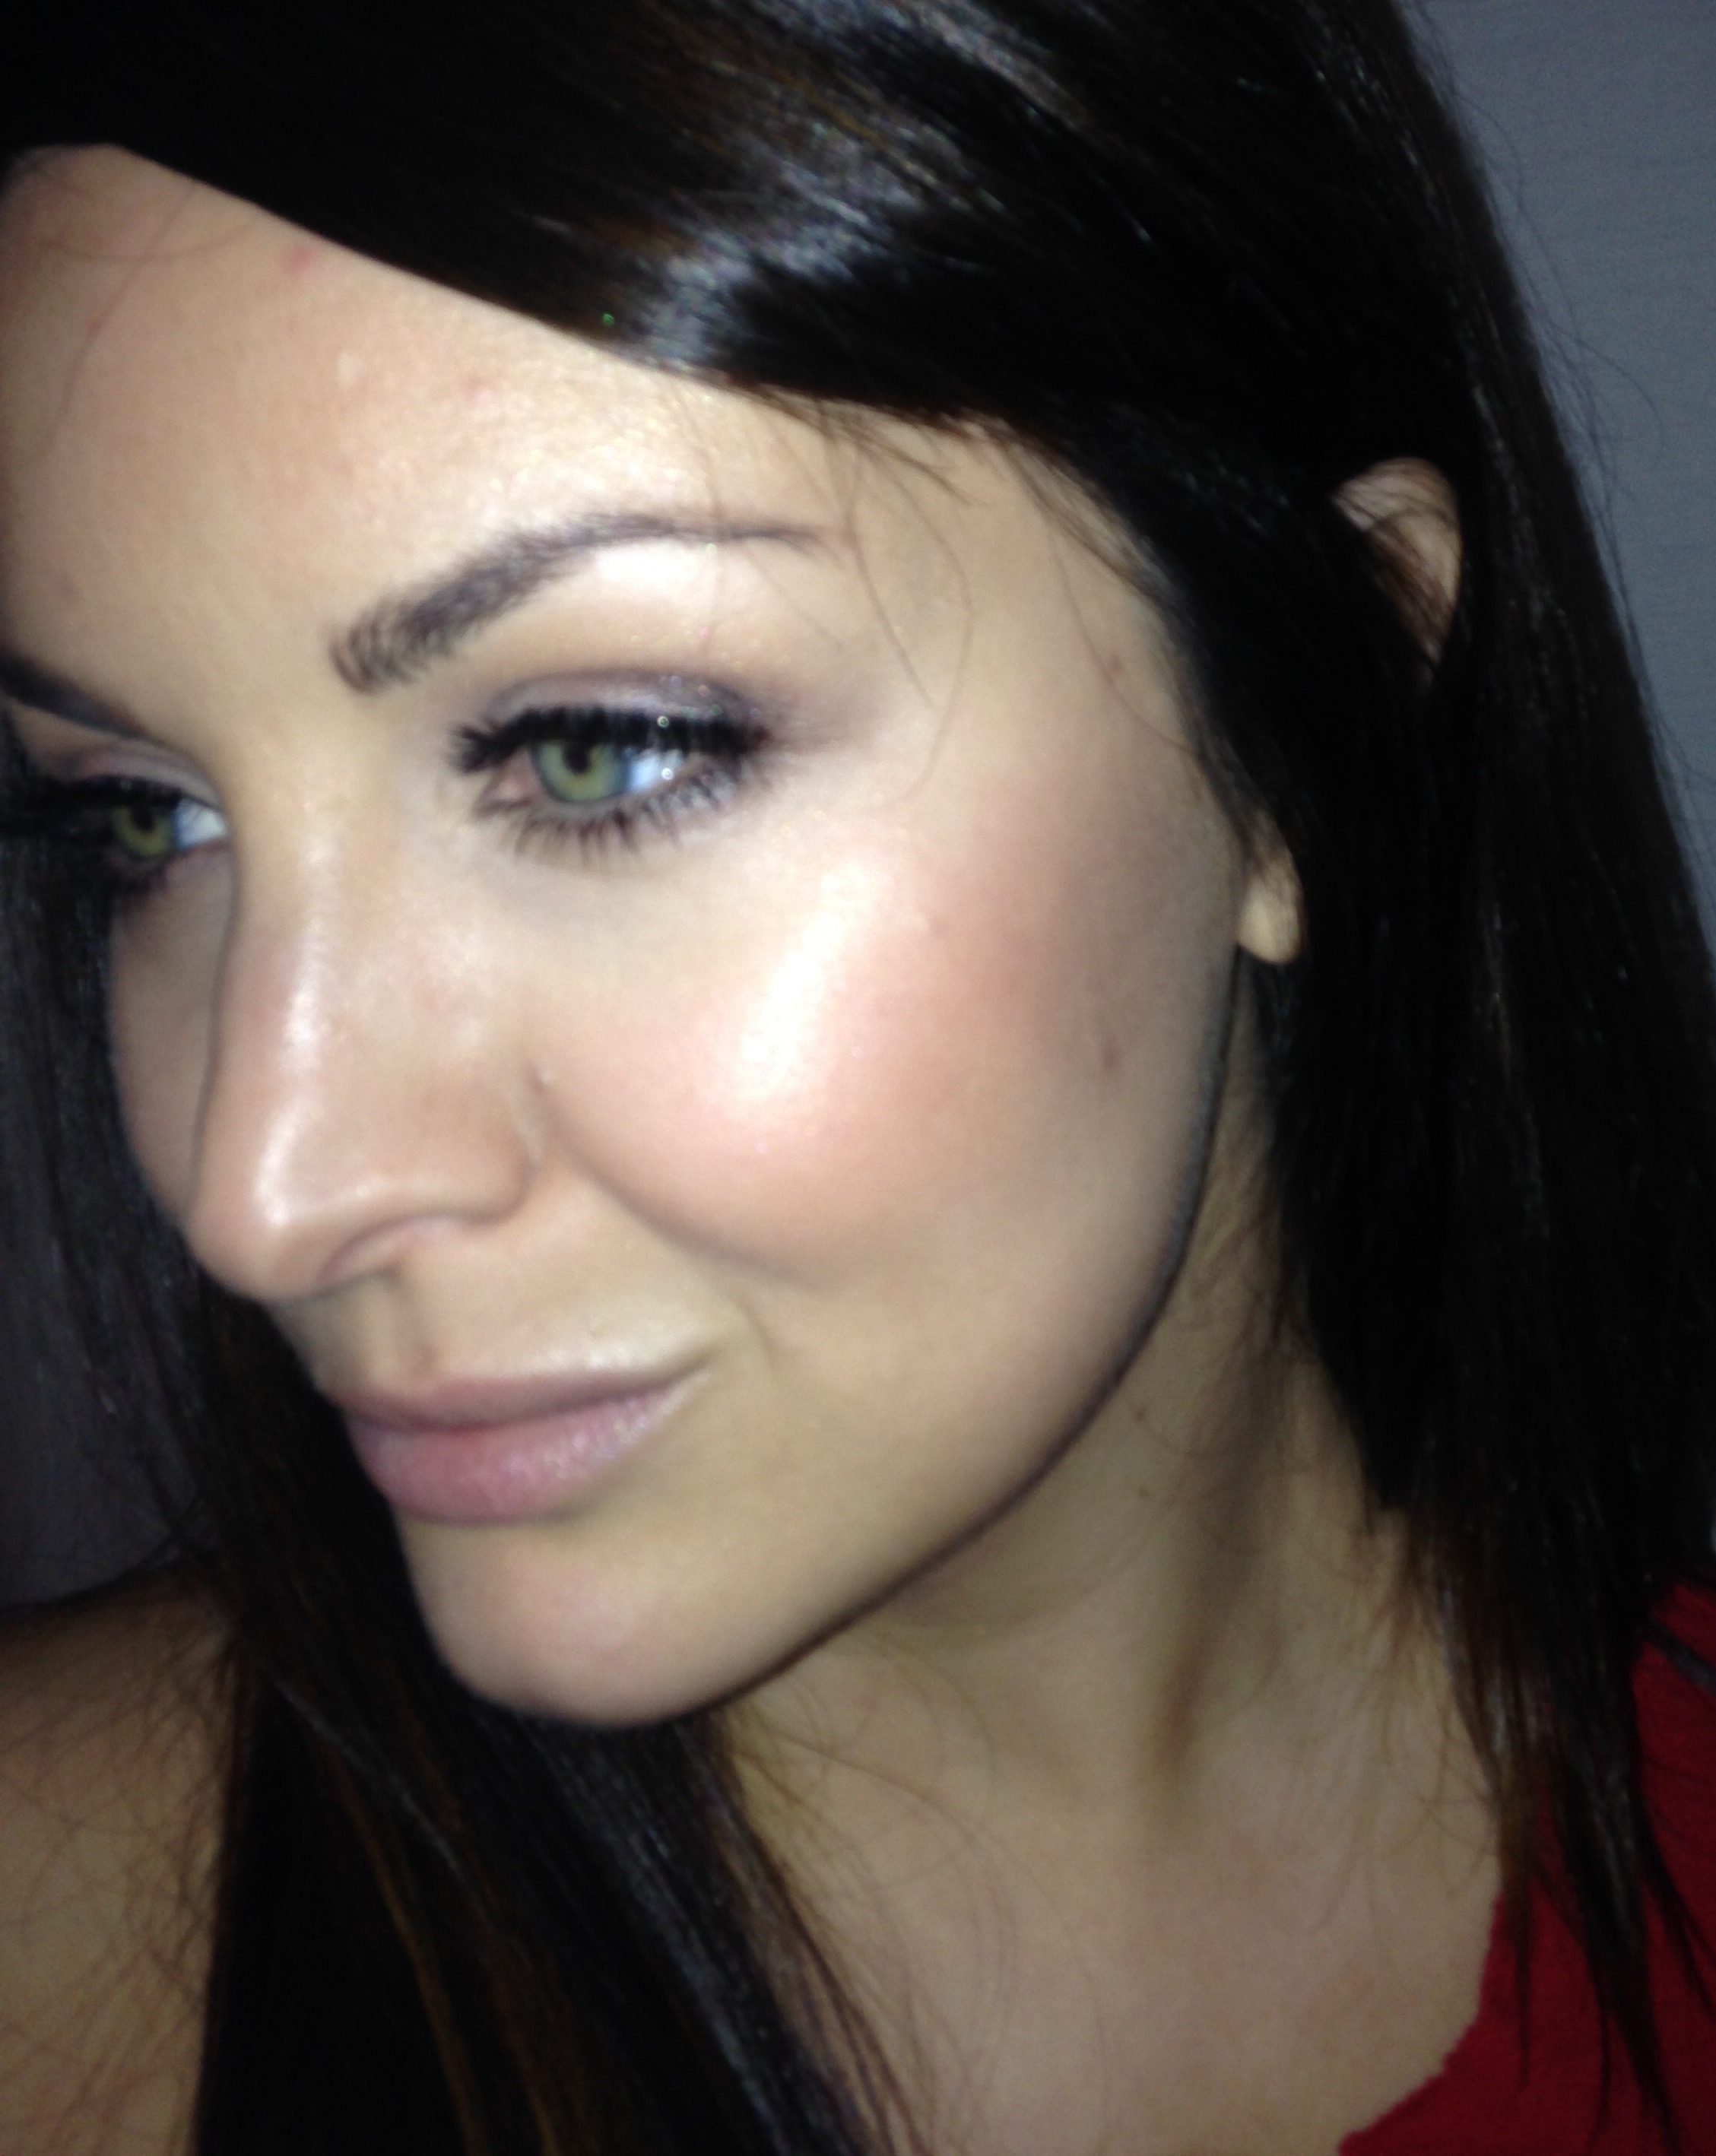
These are un-retouched, unedited iPhone photos in a dark room with a flash - a.k.a. the worst light possible.

image1 image2

RIGHT?! You can still my skin - I intetionally did not cover sunspots/freckles/pimples to show that even with all of those "layers," the buffing action beautifully blends everything together and makes the makeup look like it's your skin (if your skin were made of glass).

~~~~~~~~

I feel like I need a nap after all of that. I really do hope you'll give this a try, and don't forget to follow @ElectraLane on Facebook and Instagram so you don't miss the Friday Flash of this look (a sped-up demo). As always, thanks for stopping by, and please subscibe to this blog! As I mentioned, I'm taking next weekend off for Thanksgiving, so I hope you enjoy your week.

Images: Author, Ulta.com, Beautylish.com, Google Images

Every Day Contour

I think everyone wants defined features, but, for every day, not everyone has the time to contour. And since lots of people still seem confused by what contouring is, I'm going to share a little about contouring, then give you two quick ways to rock it. We contour to give the face dimension. Think about it: if you put one color all over your face, i.e. just foundation, your face will look flat. Add some shading, and things become more interesting. Here's a visual:

yellows

And, so, we introduce blush and bronzer and contour and highlighting into our makeup routines. So...how and when do I contour on a daily basis?

Create Shadows

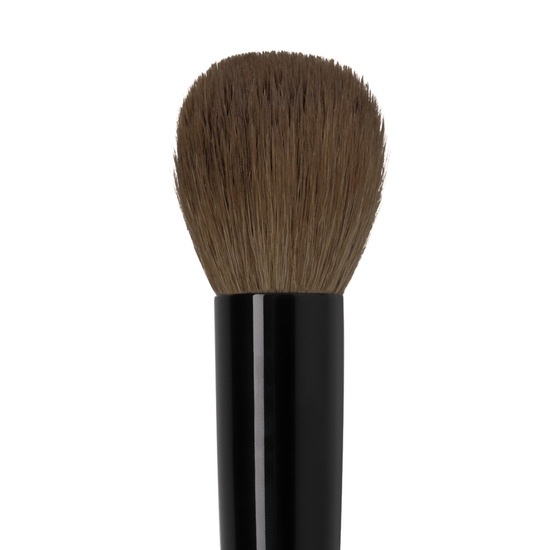
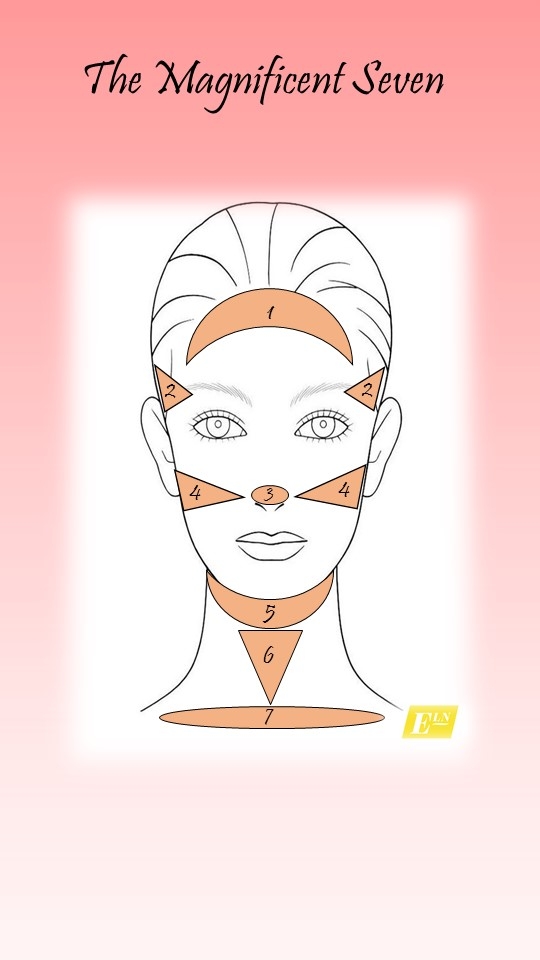
For true contour, I use a small brush to precisely and strategically place a grey-ish powder. For every day? I take a big, fluffy brush (this one is my favorite) and sweep bronzer in seven places to create subtle shadows:

magnificent-seven

  1. Top of forehead
  2. Temples
  3. Nose
  4. Cheeks
  5. Chin and slightly under jawline
  6. Down center of neck
  7. Under collar bones

If this seems confusing, just think about the last time you were in the sun - what parts of your face showed color? (Hint: it's usually the parts that stick out.)

Liquid Smudges

When all else fails, take a little concealer (in a shade a couple darker than your foundation) or a liquid bronzer and finger paint! Because this technique can get a little messy, I usually apply the cream or liquid just under cheek bones.

fp3

~~~~~~~~

I contour every day because I love how it makes me look alive and gives my face structure, even if I'm not wearing anything else except brows, mascara and gloss. If you liked these tips, make sure to subscribe so you can learn more, fun makeup tricks - we can also keep in touch on Facebook and Instagram @ElectraLane.

How to Get the Perfect Smokey Eye

image1-1.jpg

It's fascinating that every time I get a woman in my makeup chair, she wants to look glamorous. But as I add the glam, she starts talking about how she really just wants to know how to do eye liner for every day, or how to do makeup that also makes her look like the best version of herself. So I created Electra Lane, to bring you all my tips and tricks and knowledge and hands-on info I learn from painting faces, in the hopes that you could have a resource for the more practical side of makeup since there is so much over-the-top makeup inspiration out there.

But guess what?

While folks need to learn practical makeup, I think they want to at least know how how to get the enchanting smokey eye and chiseled contour.  So, in my attempt to bridge the makeup gap between inspirational and attainable, I will be posting more in-depth blogs, videos and posts mixed in with the basics.  To make sure you don't miss any of these goodies, please subscribe to this blog, to my YouTube channel, and follow me on Instagram or Facebook.

This week, I'm sharing the two things you need to know in order to get the perfect smokey eye, as well as a video tutorial for a classic smokey.

image2-1

Blend Like a Pro

You hear it all the time - the perky YouTuber chirping, "Blend, blend, blend!"  So you "blend," only to have shadow all over your eye and no distinction between the colors you've used. To blend properly, make sure you're blending with a clean brush, or at least a brush you used on a shadow lighter than the one you're trying to blend (you'll see this in the video - I only use one brush for the whole lid). Then, you want to keep your blending just where you want your shadow to be. A good rule of thumb is to not go below your top lash line or beyond the tip of your eye brow.

img_3405

Layer Appropriately

The biggest "Aha!" moment I had in makeup is when I started layering my eye shadows. In my opinion, the best eye makeup I do uses a minimum of six colors. Seriously (if you want to see how to create this gradient of color, this Jaclyn Hill video is a great example - start at 1:45). A big mistake I see is when people start with a really light color, then go in with a really dark color.  You have to have something for the darker shades to blend into (which you'll also see in the video below), so make sure to gradually go darker with your shades.

And now, the tutorial:

~~~

Thanks so much for stopping by and, if you like what you see, please feel free to like and share this post!