Lost In Translation

Technique Class - The Crease

IMG_5274.jpg

One thing that remained the same over my 17 years as a dancer was technique class.  No matter your level of proficiency, no one was ever above starting the day/rehearsal with a class in the basics. As a makeup artist, I've had the pleasure of working with a vast array of clients.  Still, despite differences in skin color or age or skin type, I am consistently asked about the same three or four concerns.

So, I decided to combine these two topics into a series that will run through the end of next month to show you how I approach certain makeup situations.

Today, we'll start with the crease of the eye.

First and foremost - it is very important to manage expectations here.  Every eye shape is different and there are a so many great blogs and YouTube videos on the subject if you want in-depth info.  For now, we'll focus more on basic anatomy.

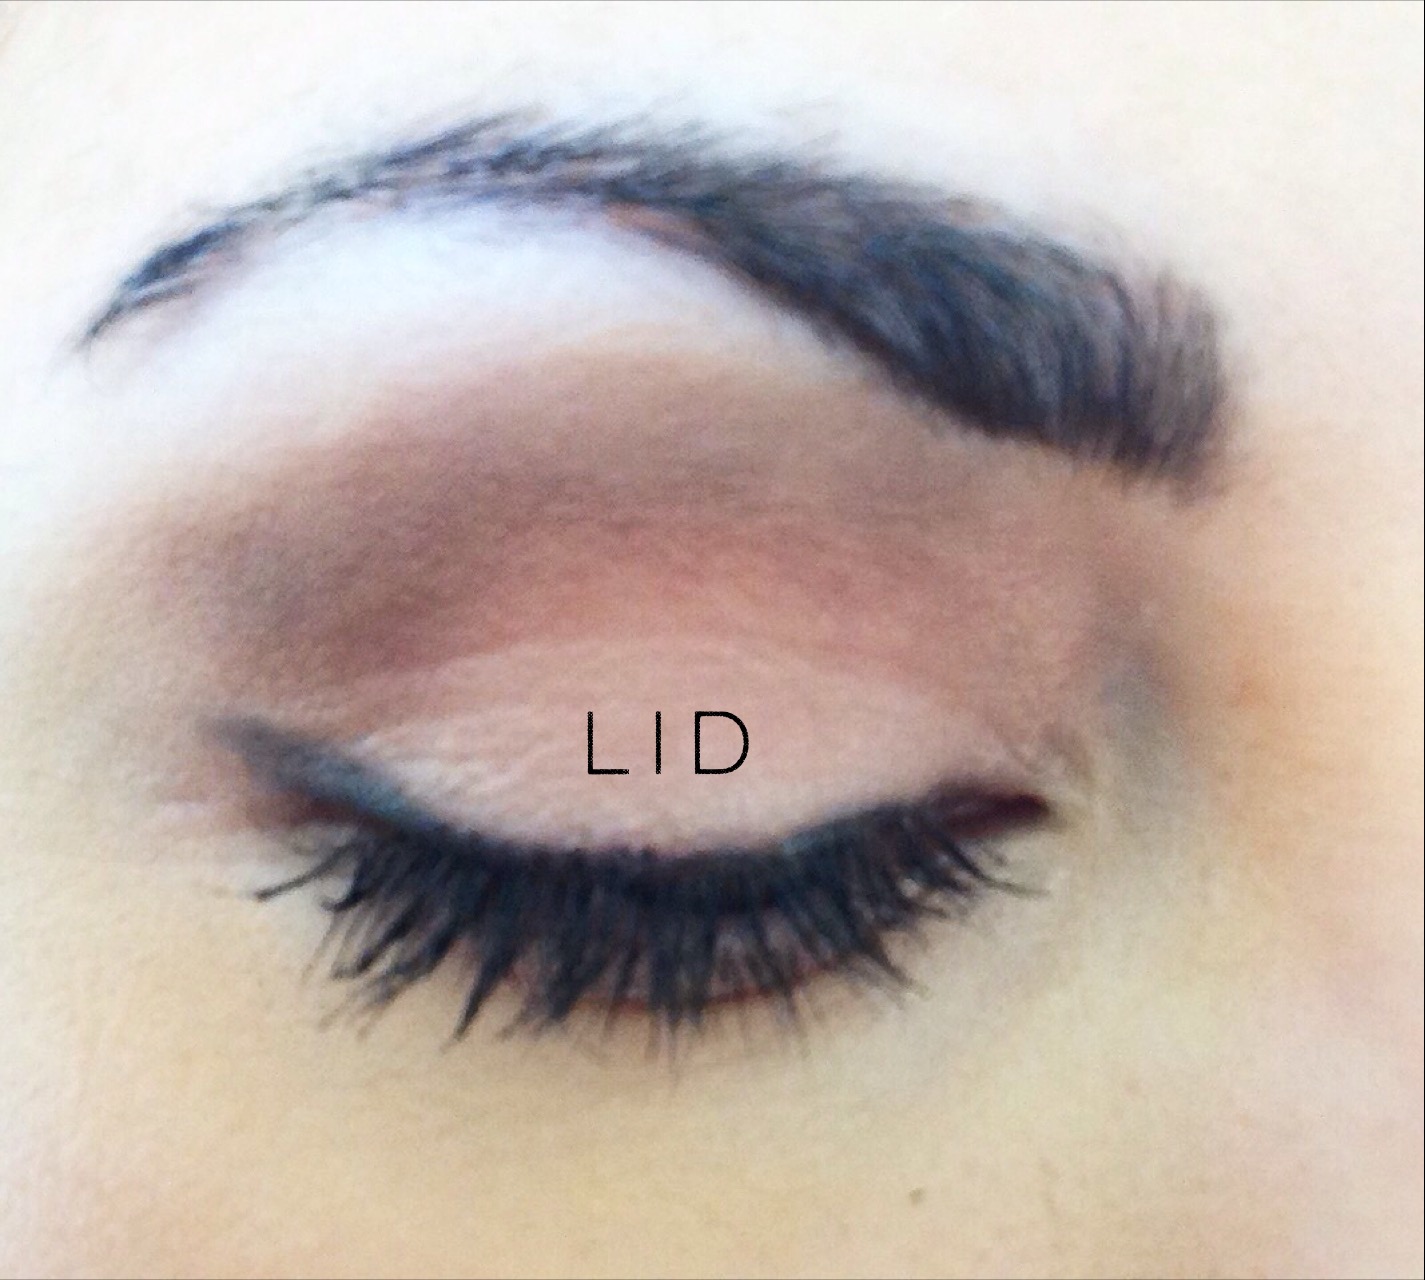
You want to get to know your eye, so figure out where the lid is:

IMG_5273

Your lid, in terms of makeup, is the skin that just covers our eyeball.

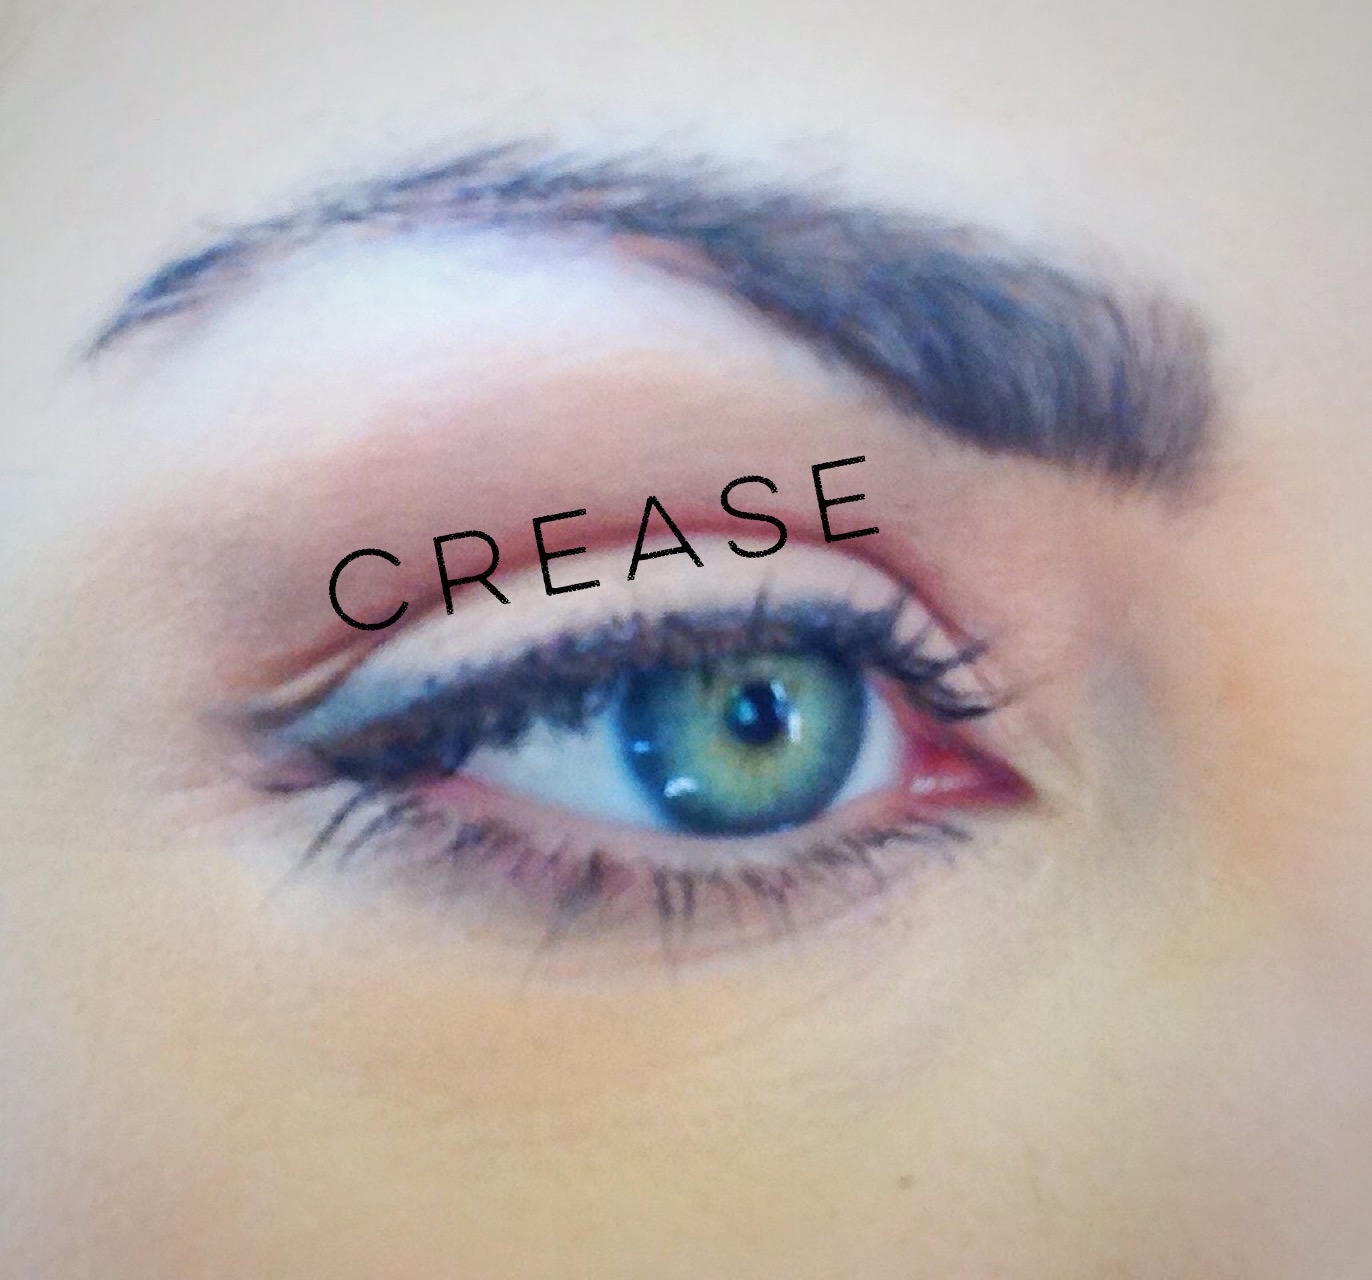
Where the lid breaks when you eye is open is considered your crease:

IMG_5274

Not everyone has a crease, but that's fine!  You don't need one.  If you have a monolid, you can create one if you want to, and if you have a hooded lid, you'll just have to join the ranks of Giselle, Blake Lively, and Jennifer Lawrence (oh, darn) and focus on the lash lines.

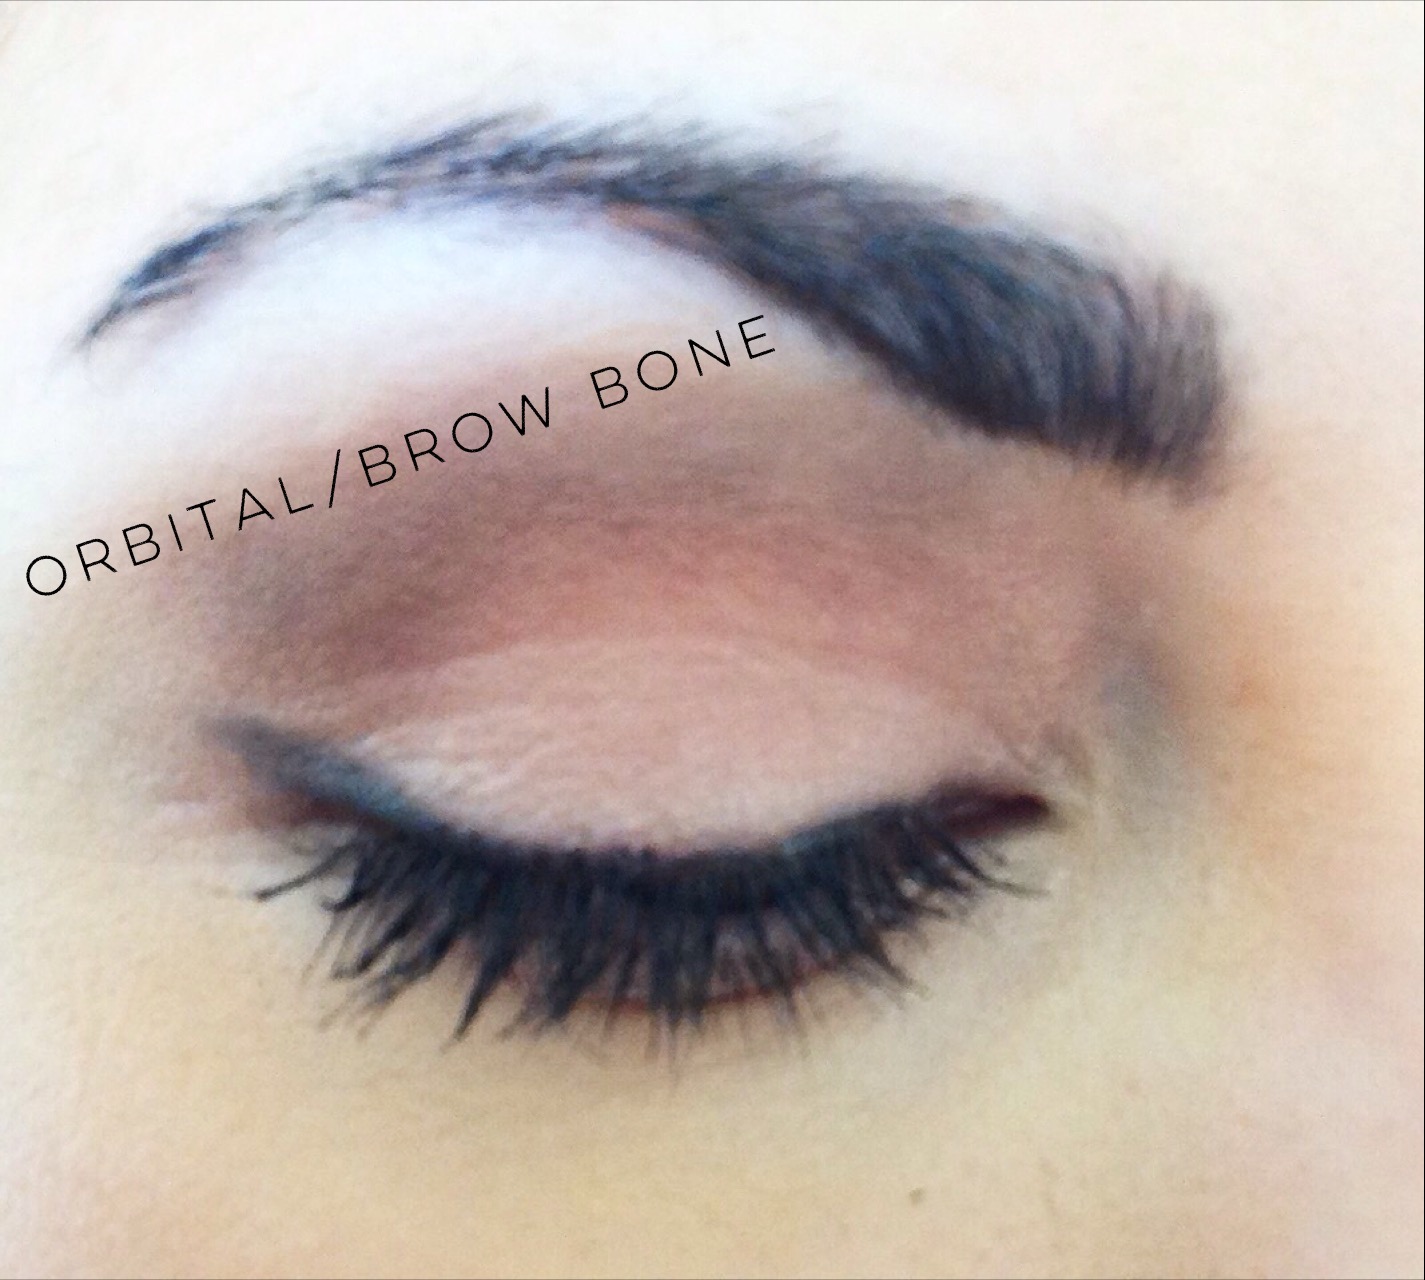
Next, find your brow bone, or orbital bone:

IMG_5270

It's the bone that sticks out near your eye brow.

Everything between those two points can be considered the crease area:

IMG_5271

If you do have a crease, your crease area will vary.  I have a really large one - and if I fill it in with too much dark shadow, my eyes look closed; too little, my brows look too high.  Some folks who have deep-set eyes only have a very thin area.  It's all good!

We fill in our crease to make our eyes look larger because, as I show here,  darker colors make things recede and lighter colors bring things forward; if that crease area recedes, the eye lid comes forward - making it appear larger.

When filling in the crease, start in the outer corner and sweep inward with a slim brush like the MAC 217, then blend the edges with a brush like the MAC 224.

Now that you know where your crease is, have fun creating new looks - and upload a photo to Instagram/Twitter with the hashtag #byoma so I can check them out!
Lashes for Days

IMG_5087.jpg

It's never too early for me to start planning for my favorite holiday, Christmas. In fact, I keep a rolling gift list for family and friends all year long. I've had presents hidden around my house since July. You get the picture. In the same way, I don't think it's too early to start prepping makeup looks for those holiday parties (yay!). In an already busy season, it can seem like a chore to get ready for yet another get-together; but fear not! The quickest and easiest way to punch up your look is with a set of false eyelashes.  Best of all?  These can be purchased at your local drugstore or Amazon.com.

Here are my top three picks:

The Strip

IMG_5084

When you want your eyes to pop while still looking natural, the Ardell 110 strip lashes are my go-to.  I wore them on my wedding day, and I still keep them in stock for any occasion.

Fancy

IMG_5085

When I want a little something extra, I love the Demi Wispies, also by Ardell.  These offer a full fringe that doesn't veer into scary land, and I really enjoy how large my eyes look when wearing them.

Individuals

IMG_5086

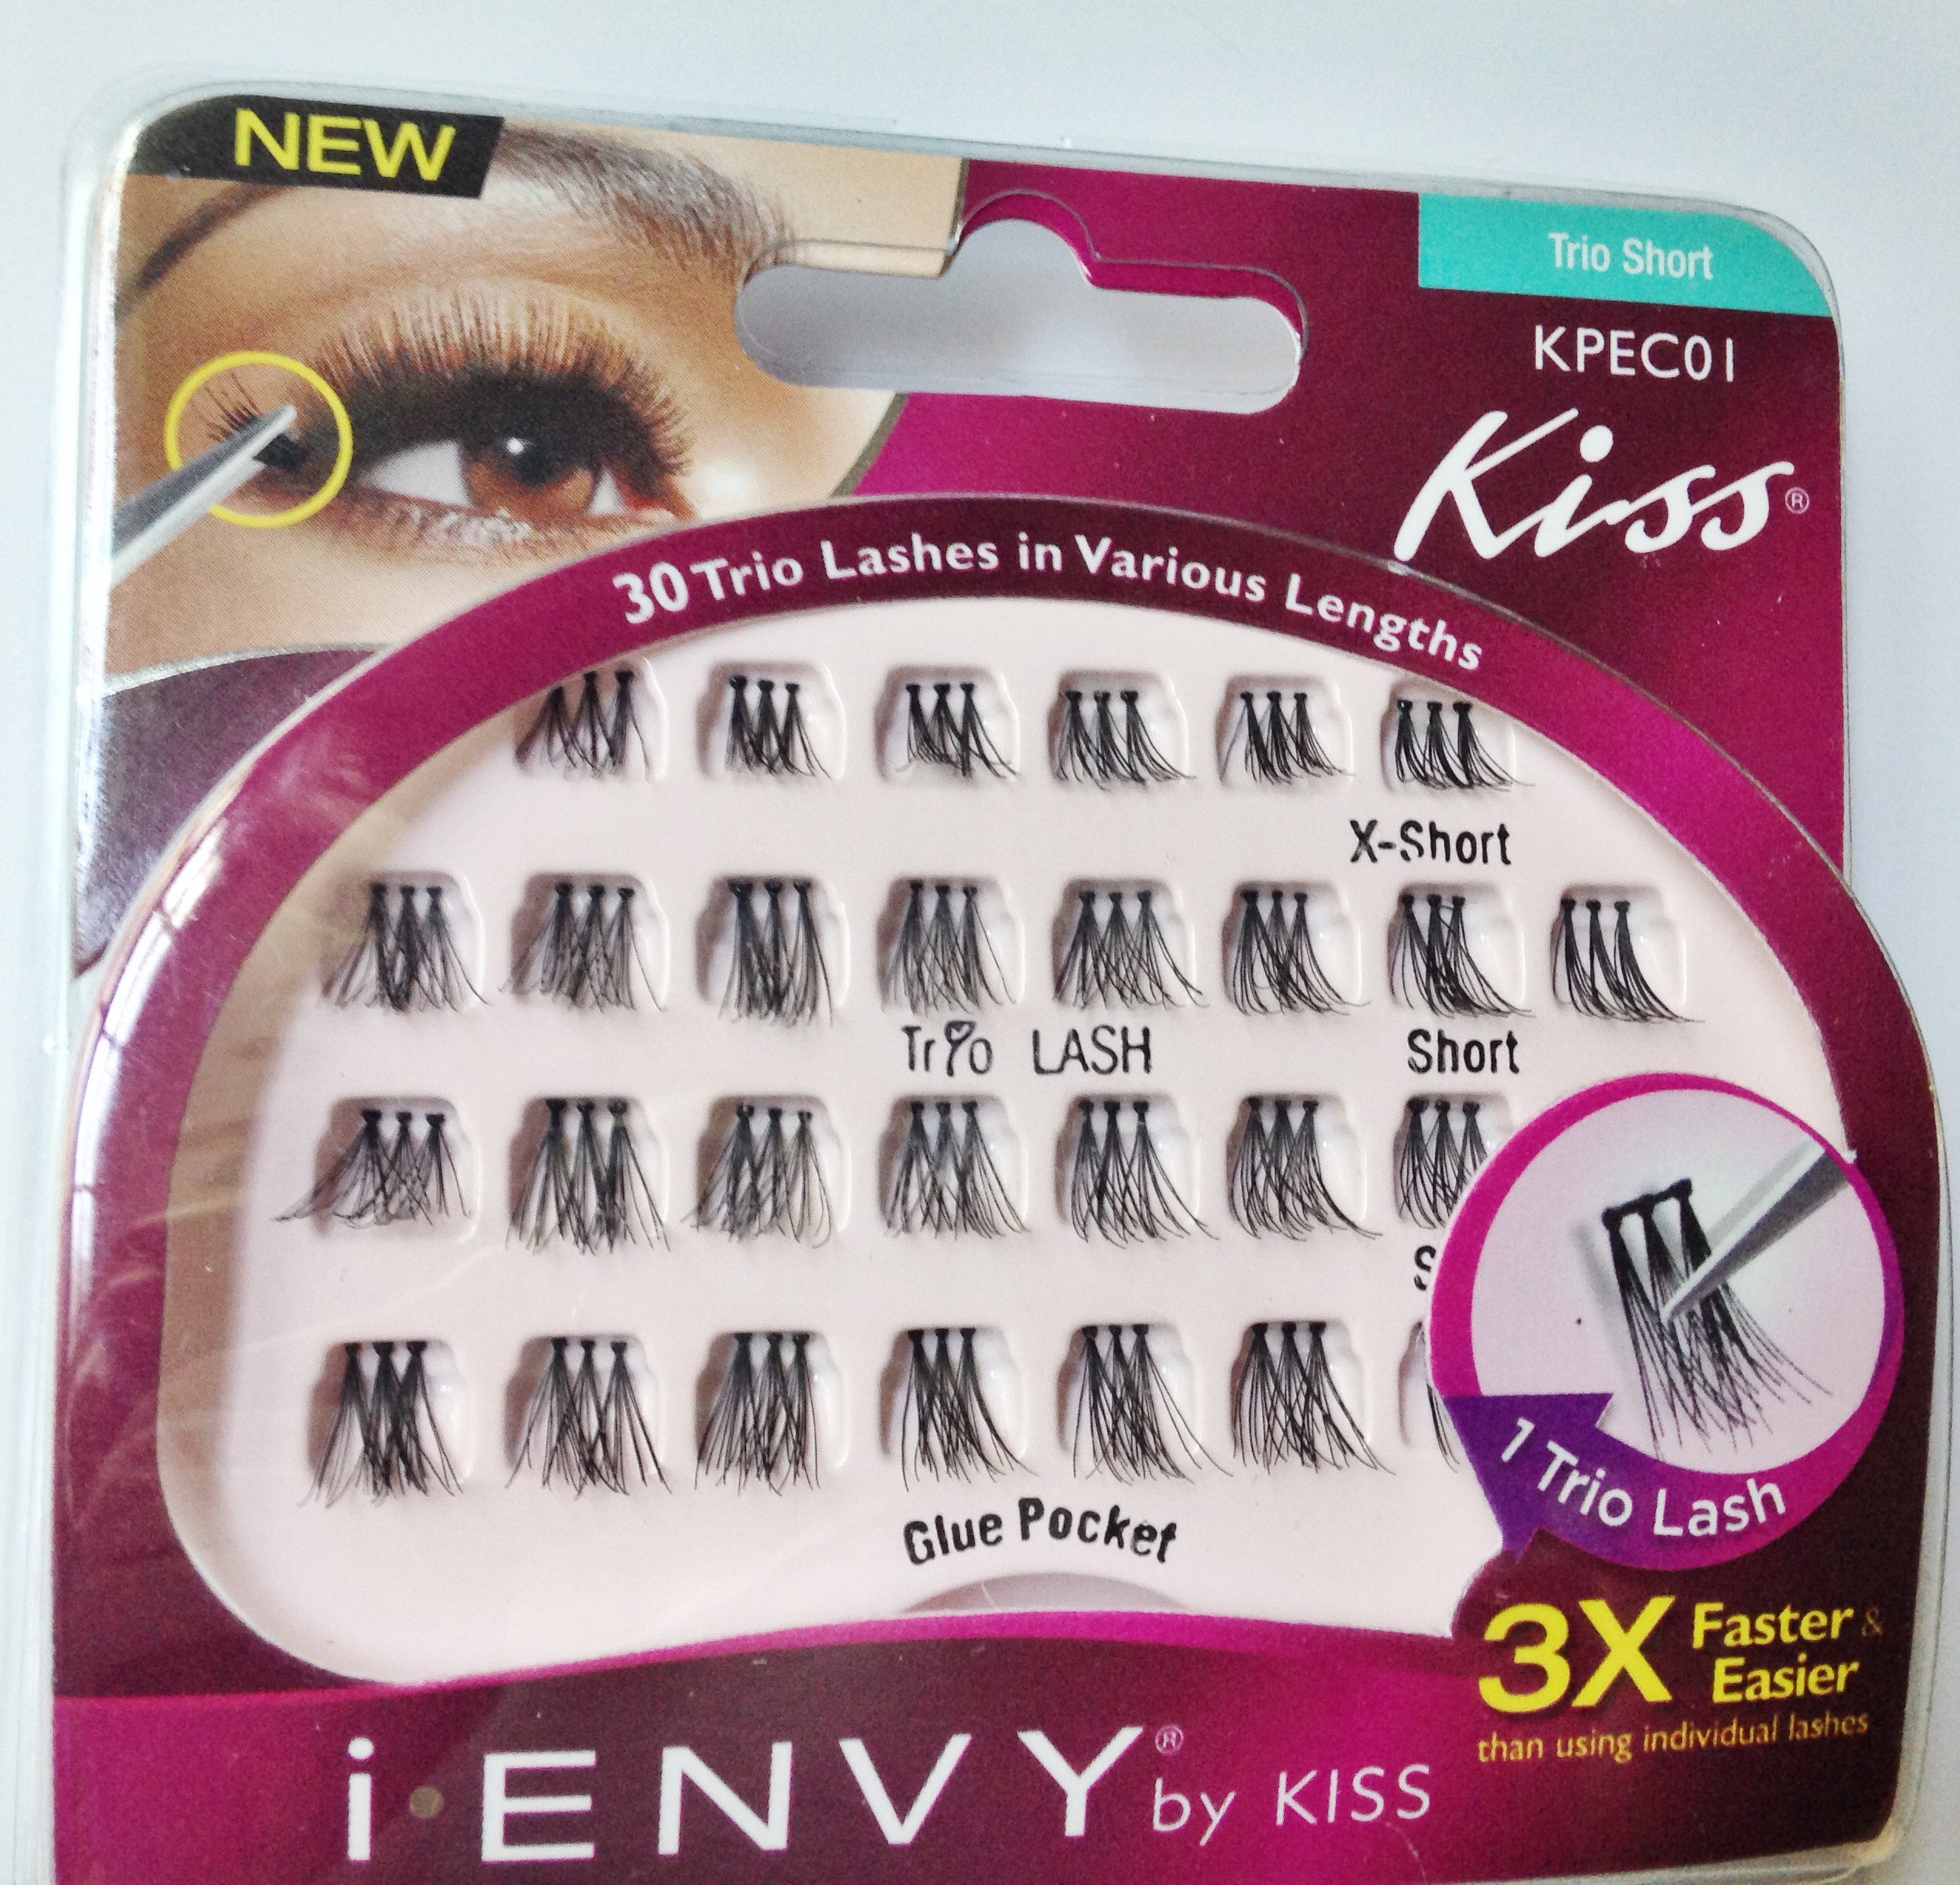
The Kiss iEnvy Trio Lashes are uh-ma-zing because they let you completely customize your look, they're easy to layer on a strip of lashes for more drama, and they're much easier to apply than the single individuals.

Monica Blunder, an incredible celebrity makeup artist, has a fantastic video on lashes - you can check it out by clicking HERE.

Layer Cake

IMG_4335.jpg

I love cake. Specifically, chocolate cake with a whipped mocha or ganache filling and chocolate butter cream frosting. But that's the only way I like it. Unfortunately, I see a lot of caked makeup on faces, and that's not good. While many layers can be buffed together to perfection and look flawless in photos, I believe that light, lasting, photogenic makeup that looks good IRL does exist.

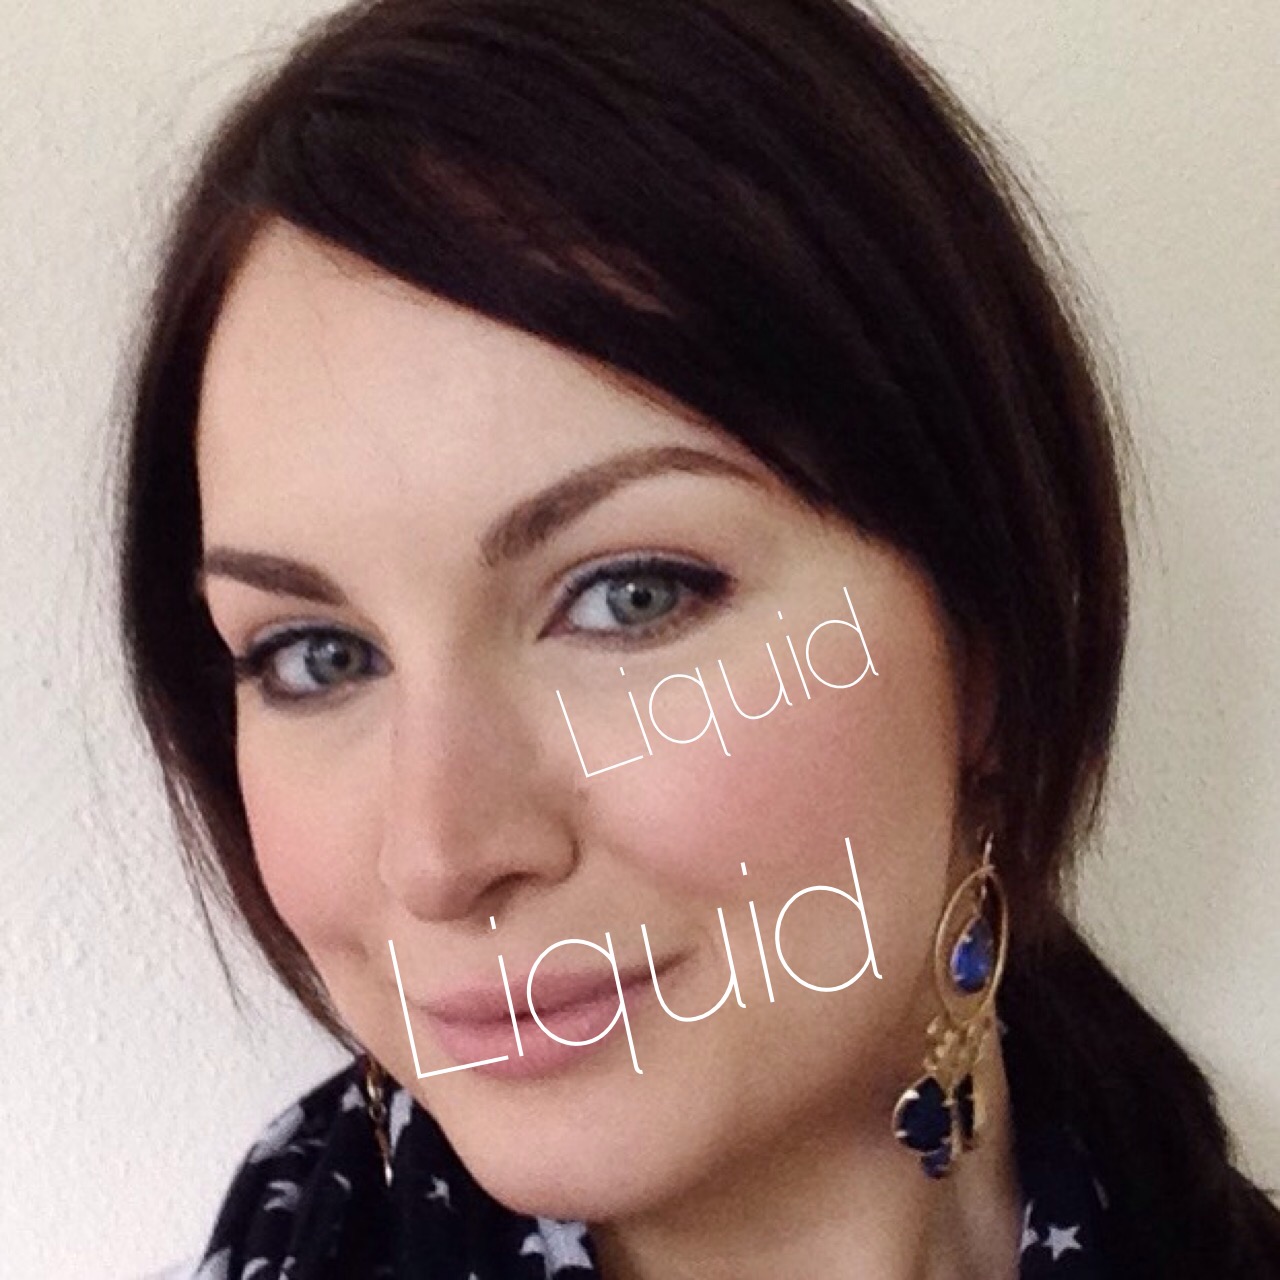
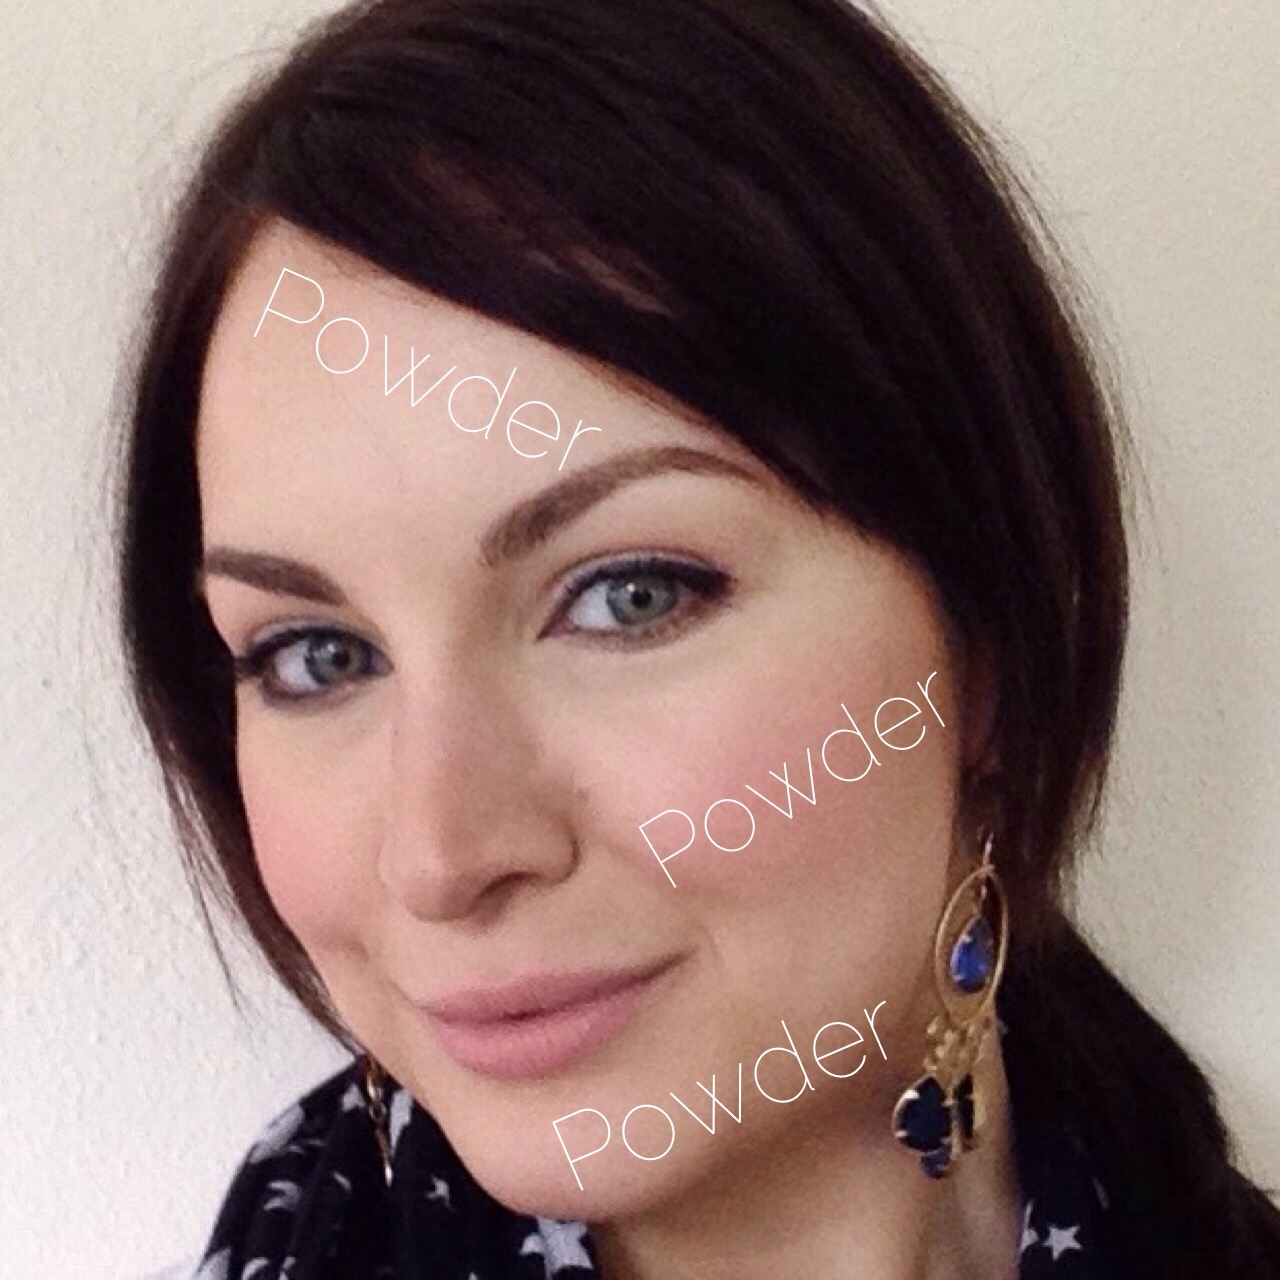
There's a simple answer. Instead of layering foundation, contour, highlight, and so on, on the entire face, just put what you need where you need it.

The trick is to apply powder or cream/liquid products where you get shiny or dry, as needed.

For example, I have dry skin, but as the day wears on some areas get see-through.  My solution is to layer a moisturizing primer under a moisturizing foundation everywhere but under my eyes.  Next, I apply a moisturizing concealer under my eyes, then contour/bronze with powder and add a little brightening powder to the center of my forehead and around my nose. (You can also do this with skincare!)

IMG_4341IMG_4339

Another tip is that oily skin likes powder and dry likes cream and liquid products, but the one time this doesn't work as well is when the entire face is very oily; in that case, powder can mix with oil and get goopy.  The solution for that is to use as little product as possible and stick to oil-absorbing and liquid-to-powder products.

After you get the "skin" aspect of your makeup down, that's when you can start to accessorize, if you will, with eye, lip, and cheek color.

IMG_4342

On a personal note, life is a little hectic right now; but I find that sometimes the best therapy is to sit at a makeup table and create.  So, be on the lookout for the Friday Flash, a quick little makeover that I'll post on, big surprise, Fridays.  Let me know in the comments section, Facebook, or Twitter/Instagram (@electralane) if there's anything you'd like to see.


Luscious Lippies

IMG_4110-1.jpg

In the almost decade that I've painted faces, no client has asked me to make his or her lips look smaller; and while I tend to highlight my eyes instead of lips, I know lips are the main facial feature many focus on. Since there are about 72 million or so videos/tutorials on how create a larger lip line, I'm specifically showing how I fake fuller lips that a) look natural and b) work even if you don't have perfect lips.  If you're a visual learner like me, check out this video (yes, I broke down and started a YouTube channel).

1 - Prep Lips

Apply a little lip balm, then blot with a tissue so your lips are hydrated but not slick.  If they're really dry and flaky, mix a couple drops of olive or coconut oil with 1/2 teaspoon of brown sugar, then gently exfoliate your lips with this paste.  Wipe it off using a damp wash cloth, then apply the lip balm and blot.

2 - Apply Concealer

Using a small dot of concealer, apply to lips and the skin around them.

3 - Fill In

Using a flesh-toned lip liner, fill in your lips making sure to draw just outside the natural lip line.  If you have uneven lips like I do, this would be the time to even them out.

4 - Lipstick

Apply a matte lipstick with a brush over the entire area where you applied lip liner.

5 - Contour

To start adding dimension, line your lips just on the created lip line with a pencil that's slightly darker than the lip color.  Blend gently with the lip brush.

6 - Highlight

In just the center of the lips, apply a matte lipstick lighter than your original lip color and tap with your finger to blend.

7 - Brighten

Unless you like the matte look, top your highlight with a small amount of gloss in a similar color.

FullSizeRender


Eye Shadow Palettes

photo-4.jpg

If the title of this post strikes fear into your heart, makes you panic a little, and/or causes you to break into a cold sweat, you're not alone.  While they might be pretty, eye shadow palettes with five, ten, or even more options can overwhelm even a seasoned makeup junkie. Whenever I get stuck due to eye shadow overload, I go back to the basics.  Since we recently discussed eye shadow 101, all you have to do is pick out a base, crease, lid, and liner color (or whatever combination you want) from the palette.

For some tips and ideas on how to use your palettes, click HERE for a video.

Here are three of my favorites:

1. Urban Decay Naked 2

photo 3

Although I don't think this is the "prettiest" of the Naked palettes, this is the one I reach for the most because it holds my favorite base, crease, and liner shades.

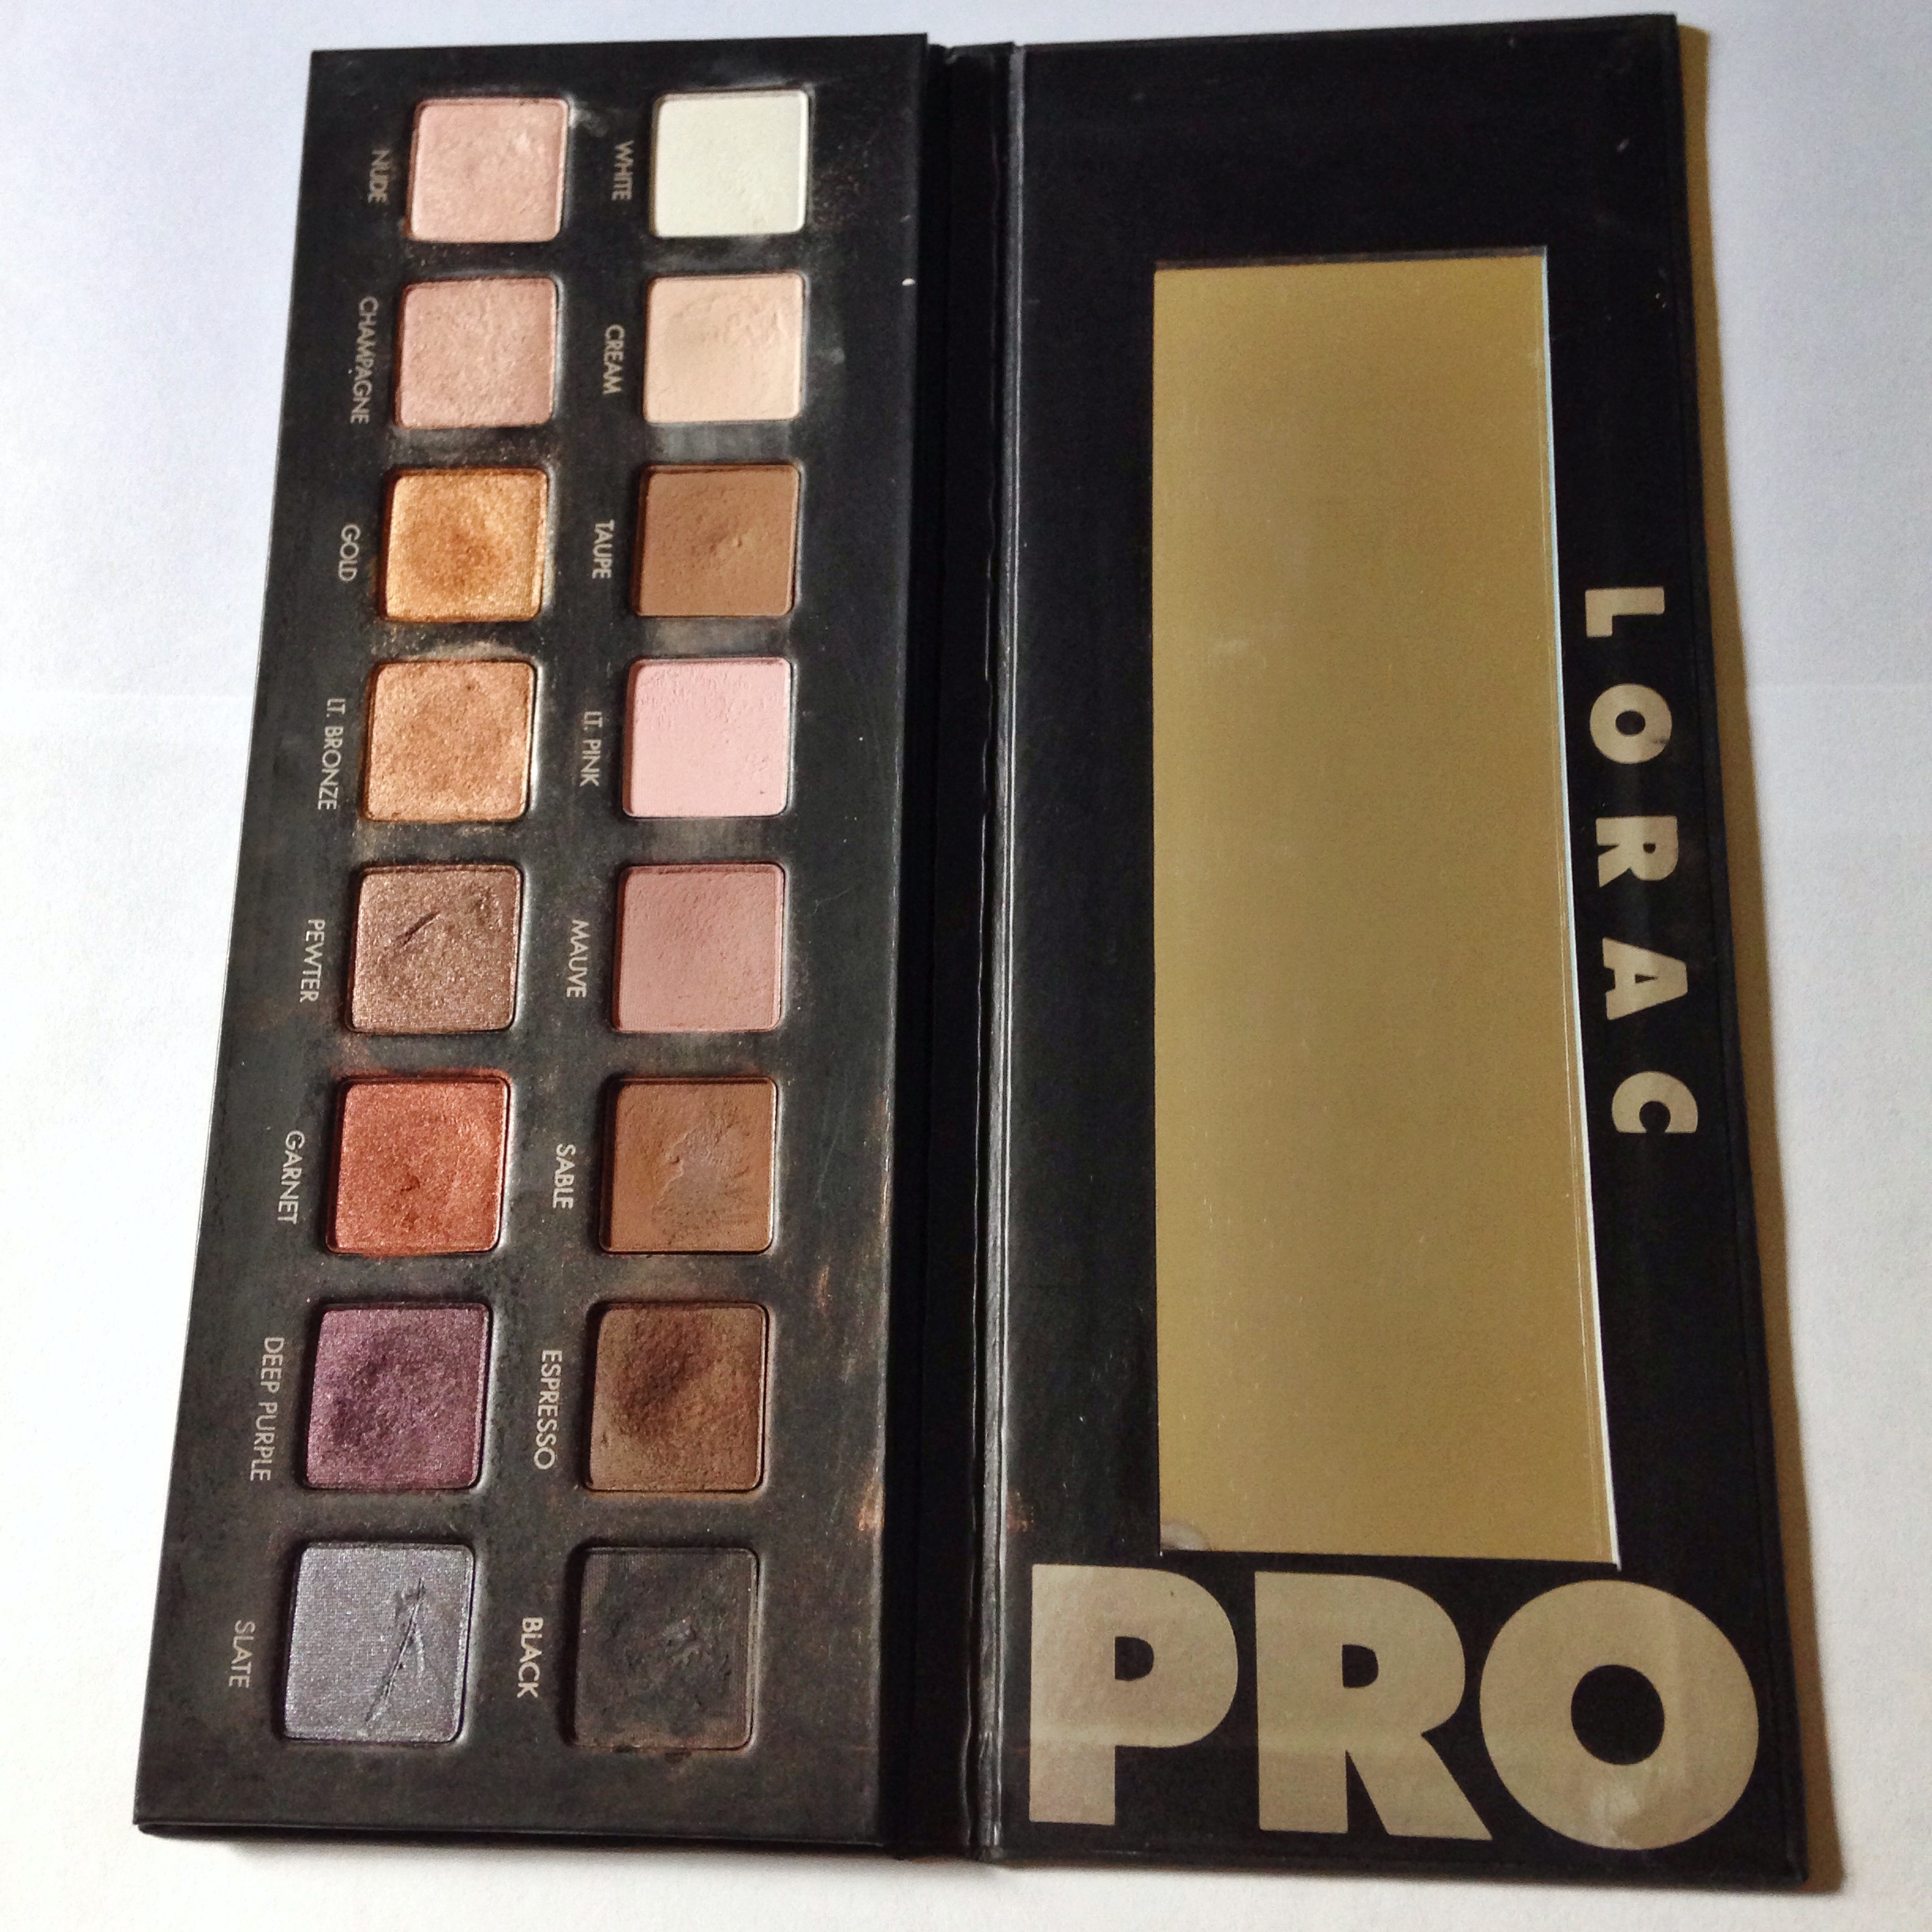
2. Lorac Pro

photo 2

The most complete palette out there in my opinion.  Equal parts matte and satin/metallic shades, there are plenty of color choices.

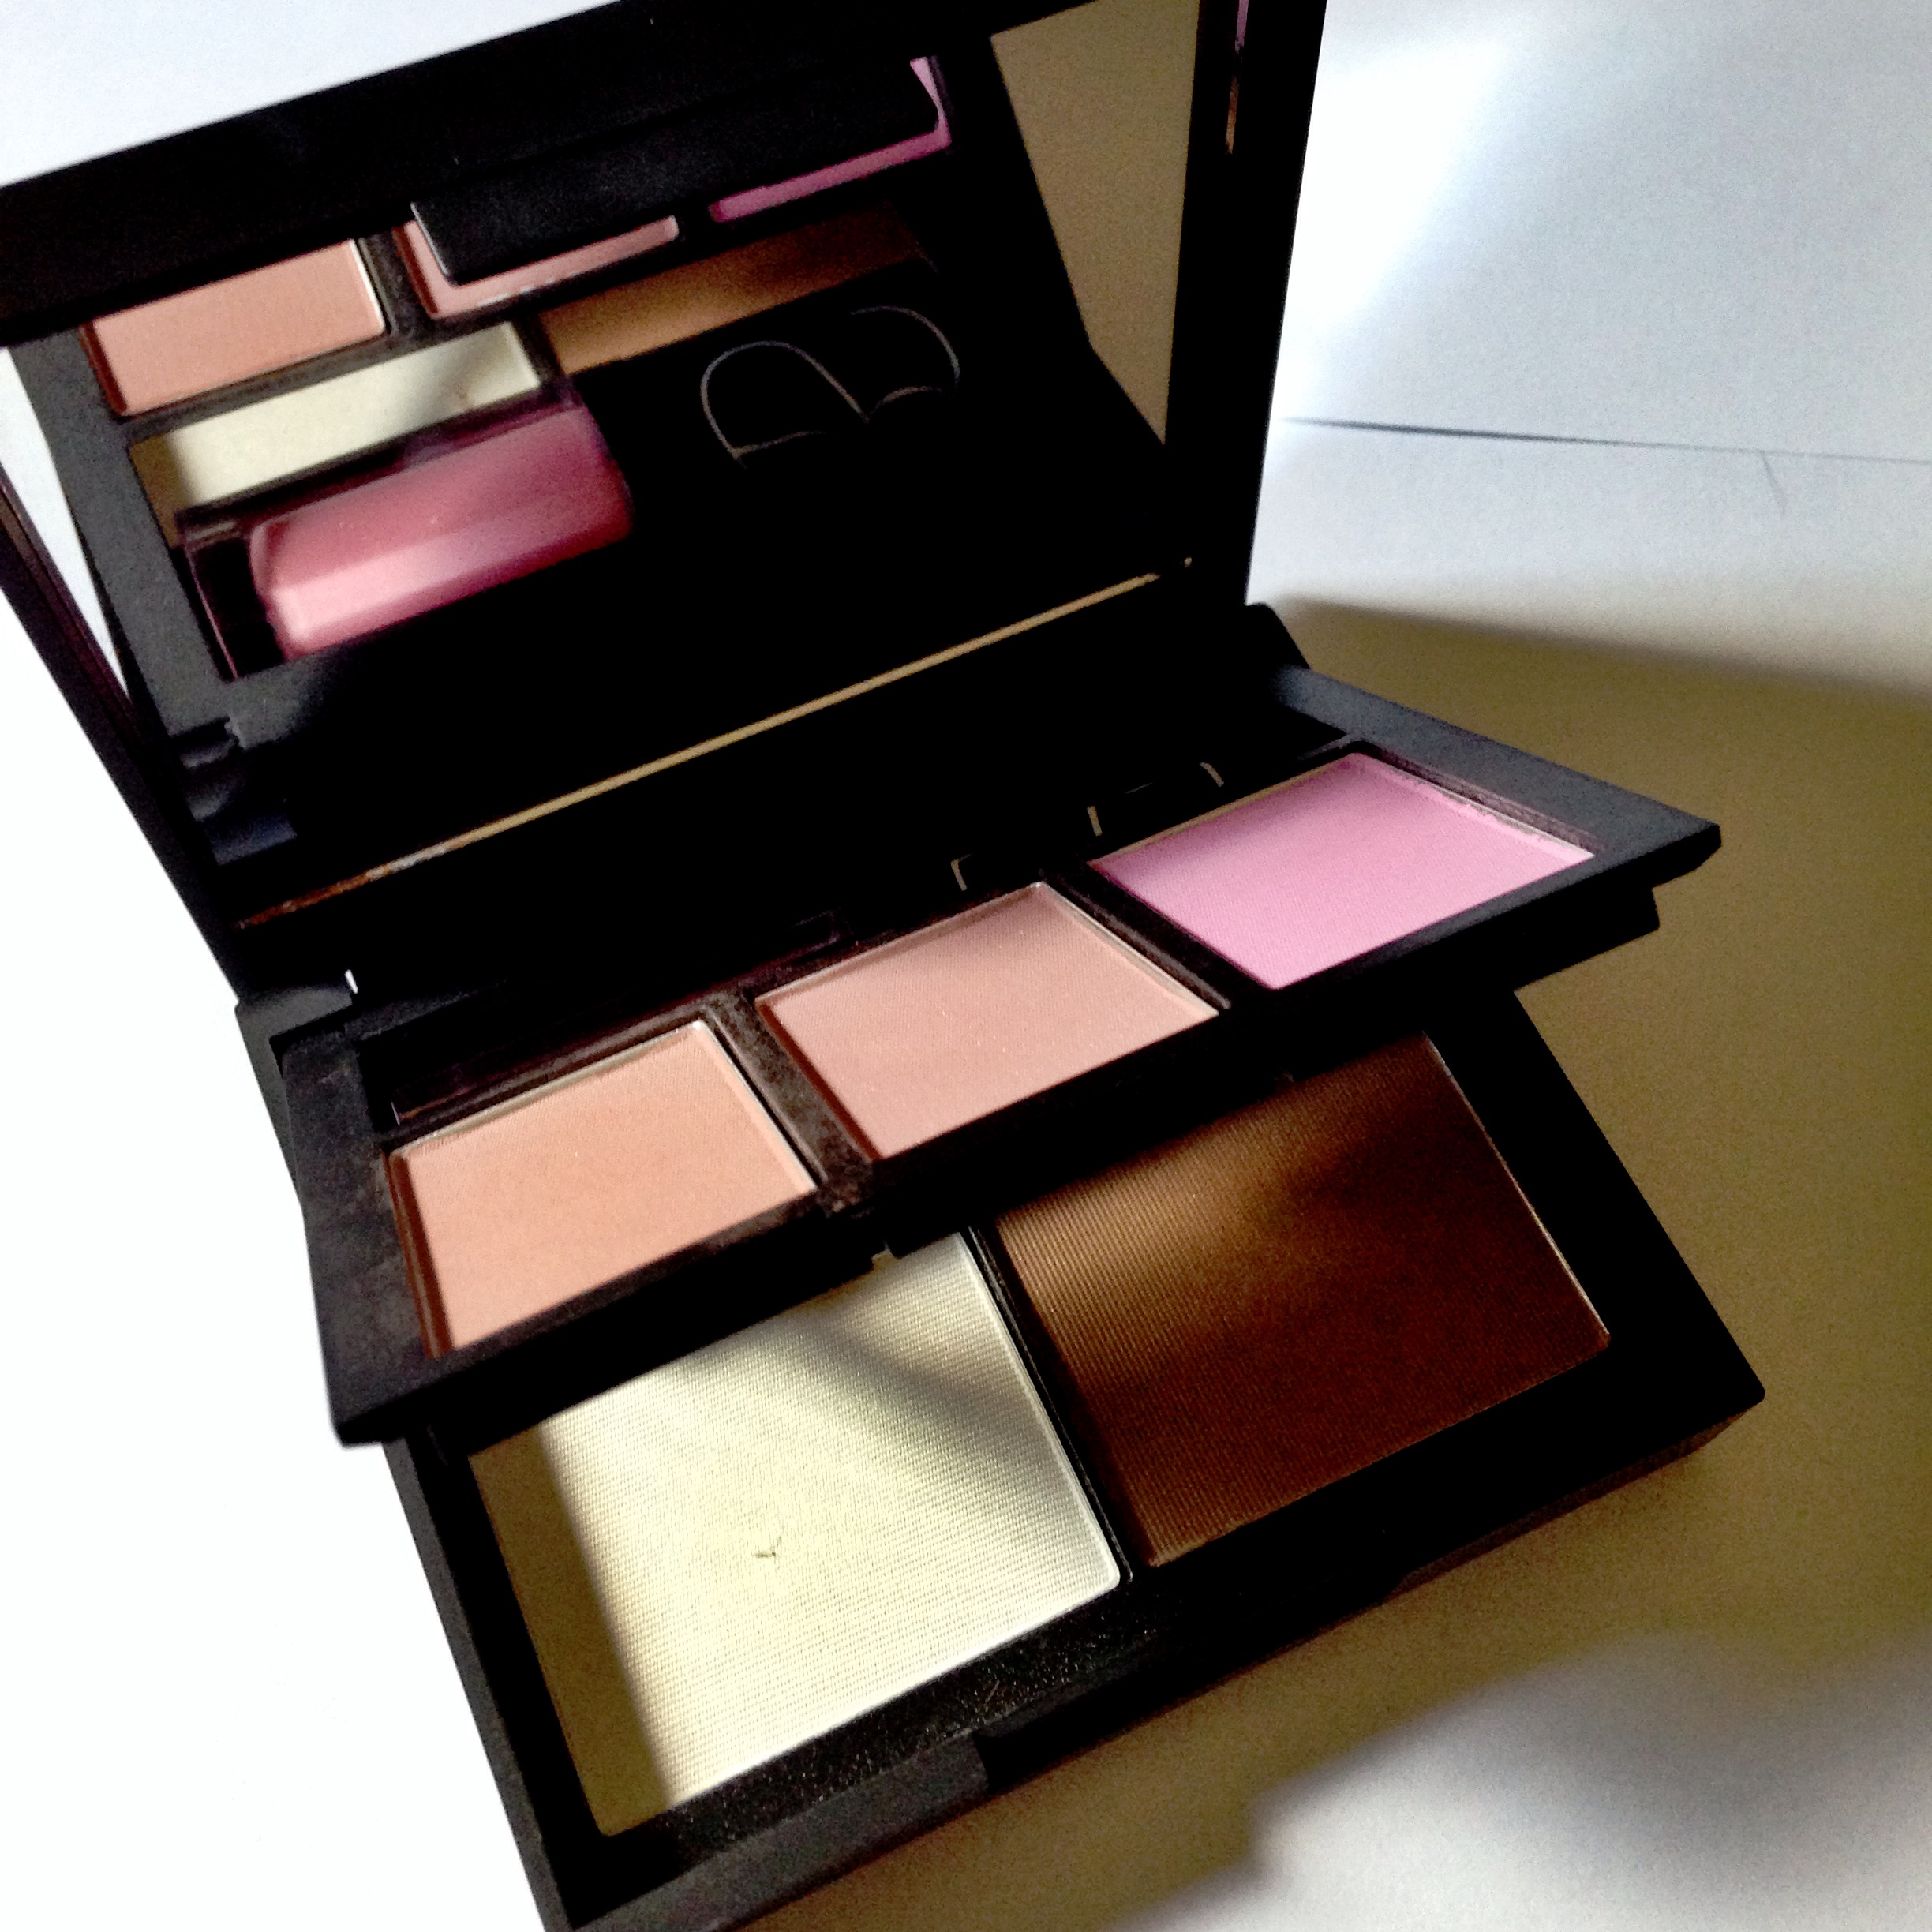
3. NARS NARSissist Blush, Contour, and Lip Palette

photo 1

Finally, my entire face in a case.  I love to use the darker blushes as eye shadow.